Pressbooks offers a complete User Guide with detailed information and advanced tutorials. This content is adapted from the User Guide and will get you up and running with Pressbooks.
THE (SHORTEST!) 5-STEP GUIDE TO MAKING A BOOK WITH PRESSBOOKS
- Register for a Pressbooks account.
- Add Book Information (title, author name etc).
- Add/Organize Text (your chapters etc).
- Choose Book Design Theme (what your book will look like).
- Export your book in required file formats: MOBI (for Kindle), EPUB (for Nook/iBooks etc), PDF (for print and print-on-demand).
THE LONGER 5-STEP GUIDE TO MAKING A BOOK WITH PRESSBOOKS
Go to the Pressbooks Home Page to begin.

STEP 1. Register
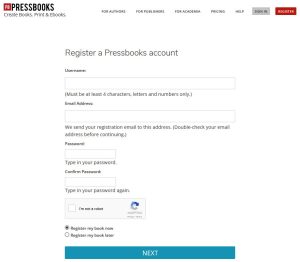
Start the registration process by clicking on the red “Register” button. You will add: your username, email address, and password.
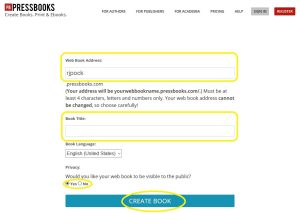
On the next screen, you will choose a web address for your book and a book title. Type in your Web Book address (this cannot be changed after the book is created). Type in your Book Title (this can be changed later and as many times as you like, though the URL will remain the same). Decide if you want the book to be visible to the public or not. Then click “Create Book”. Pressbooks will send you an email to complete the registration and activate your account. Once you log back in to Pressbooks, you will be ready to edit the book information.
STEP 2. Add Book Information
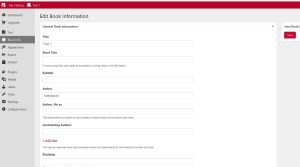
The Book Information screen is where you edit and add important information about your book: author name, publication date, publisher. You can also upload your cover here, and add your copyright notice. You can fill in as little or as much information as you like.
STEP 3. Add/Organize Your Text
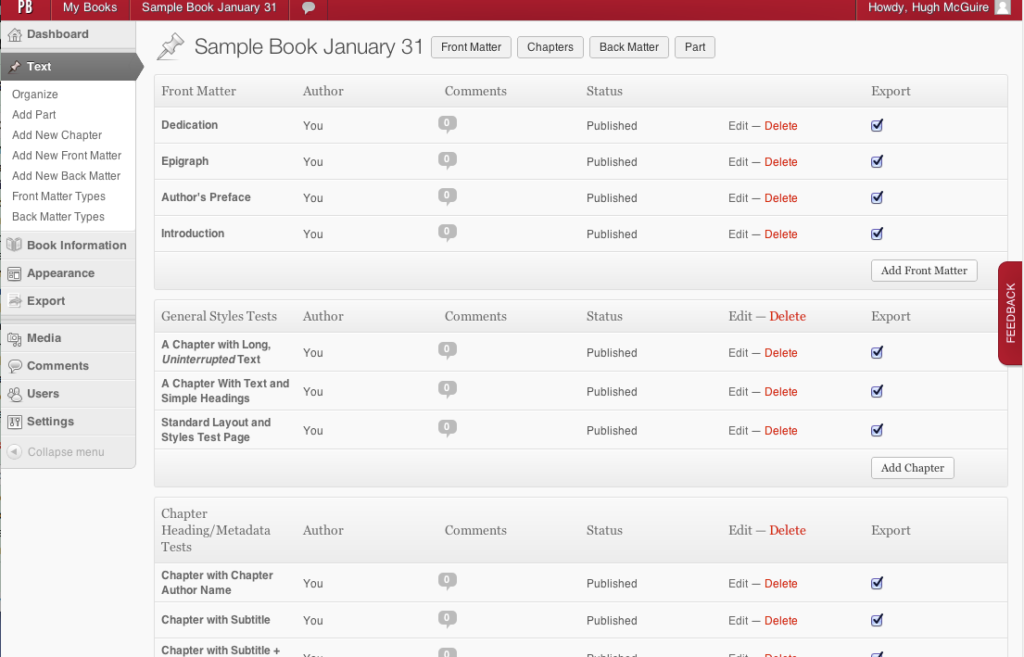
On this screen you can add, edit and arrange the order of the contents of your book. Add chapters and parts, and edit it as you like. You can also add “front matter” here (things like your introduction, and preface), and “back matter” (things like your index and bibliography).
STEP 4. Choose Your Book Design Theme
4a. Choose Your Theme
Pressbooks comes with 50+ professionally-designed book design themes to choose from. Choosing a theme governs the look and feel of all your exports, including: EPUB, Mobi, PDF and web book.
4b. Choose Your Theme Options
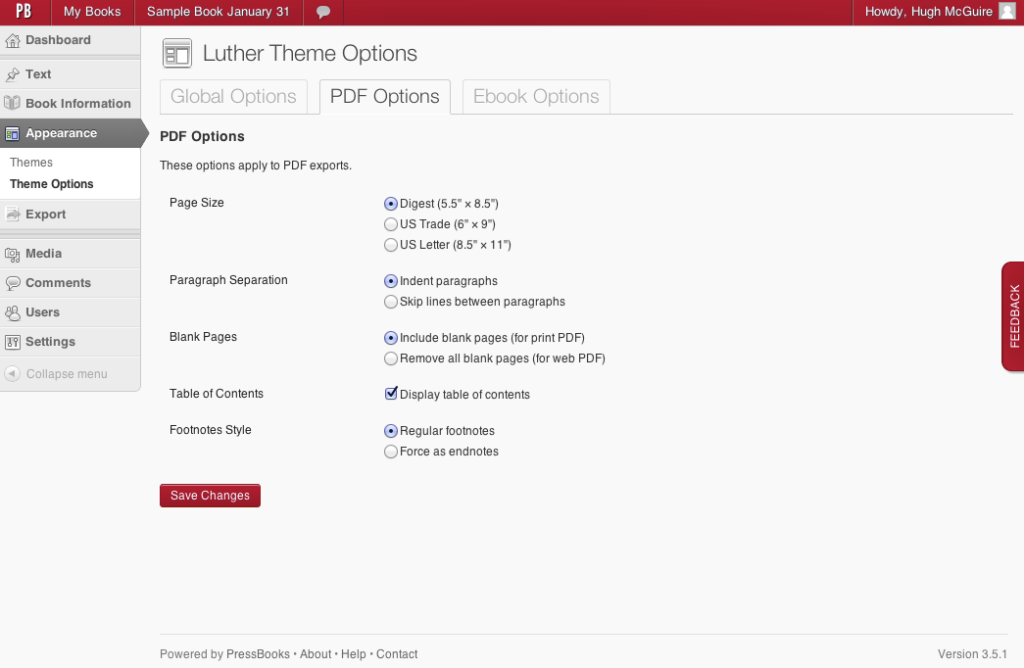
You can also change the look of your book by changing the Theme Options. You can decide whether or not you want a table of contents, whether you want chapter numbers added automatically, and adjust a few other things. There are global options, PDF options and ebook options on separate tabs.
STEP 5. Export Your Book
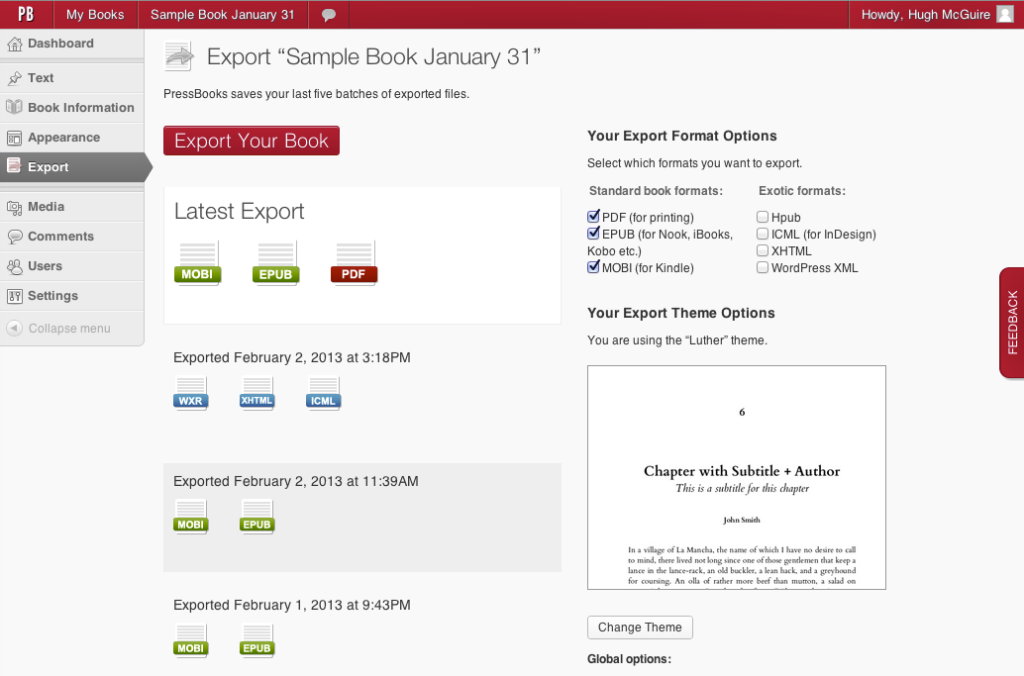
Pressbooks gives you a one-button export, and you can select PDF, EPUB, Mobi (Kindle), as well as a few more exotic options.
WATCH THE ABOVE SEQUENCE, IN VIDEO FORM
If you’d rather watch a quick demonstration, check out this series of tutorial videos for getting started.
WANT SOME MORE GUIDANCE?
Still need help? Send an email to our support desk.
GET STARTED!
You can start making a book right now … register or login to Pressbooks here.
