Revolve and Other DFM Tools
Shell is a great tool for parts requiring a uniform thickness because it is as easy as Fillet or Chamfer but can create some complex uniform thickness parts. Cast and Injection Molded parts are more producible and easier to manufacture if the thickness/cross-section of the parts is uniform and doesn’t result in any drastic thickness changes.

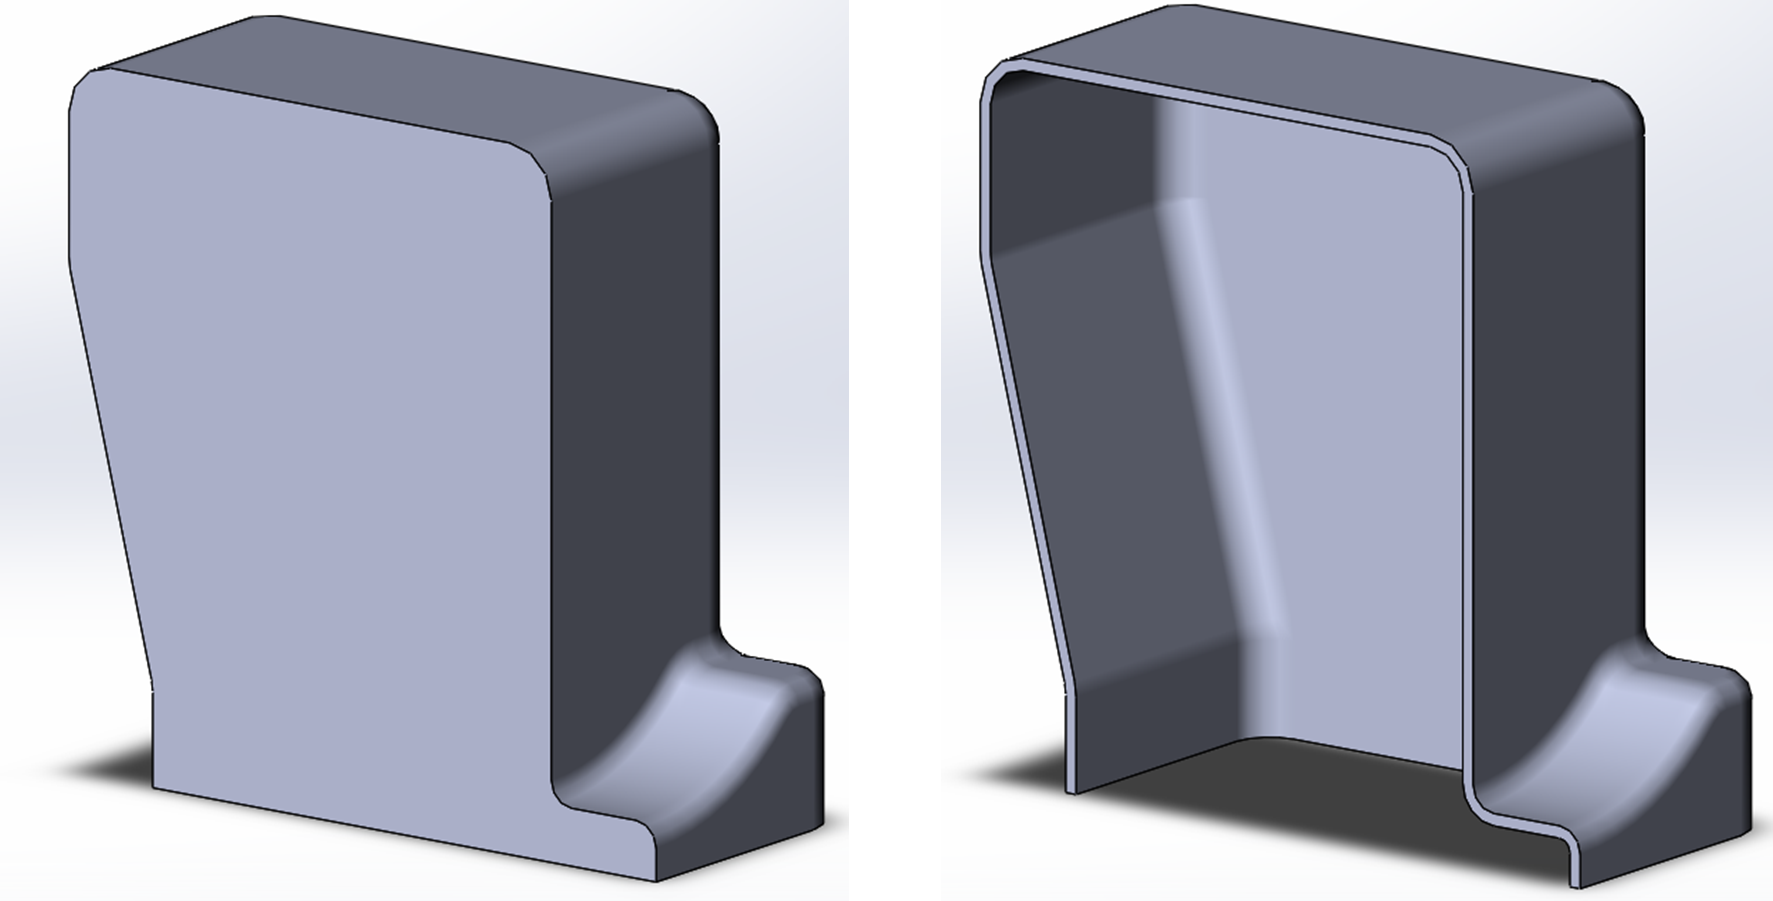
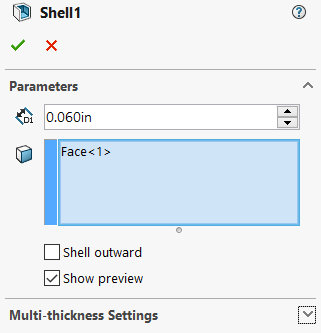
To use the Shell command, all you need to specify is a face to be removed (in Figure 5.4, the bottom is removed) and a wall thickness. Shell is also a feature-based feature, so no sketch is required to use the shell command. However, you must have some sort of solid body in the model already before being able to use Shell.

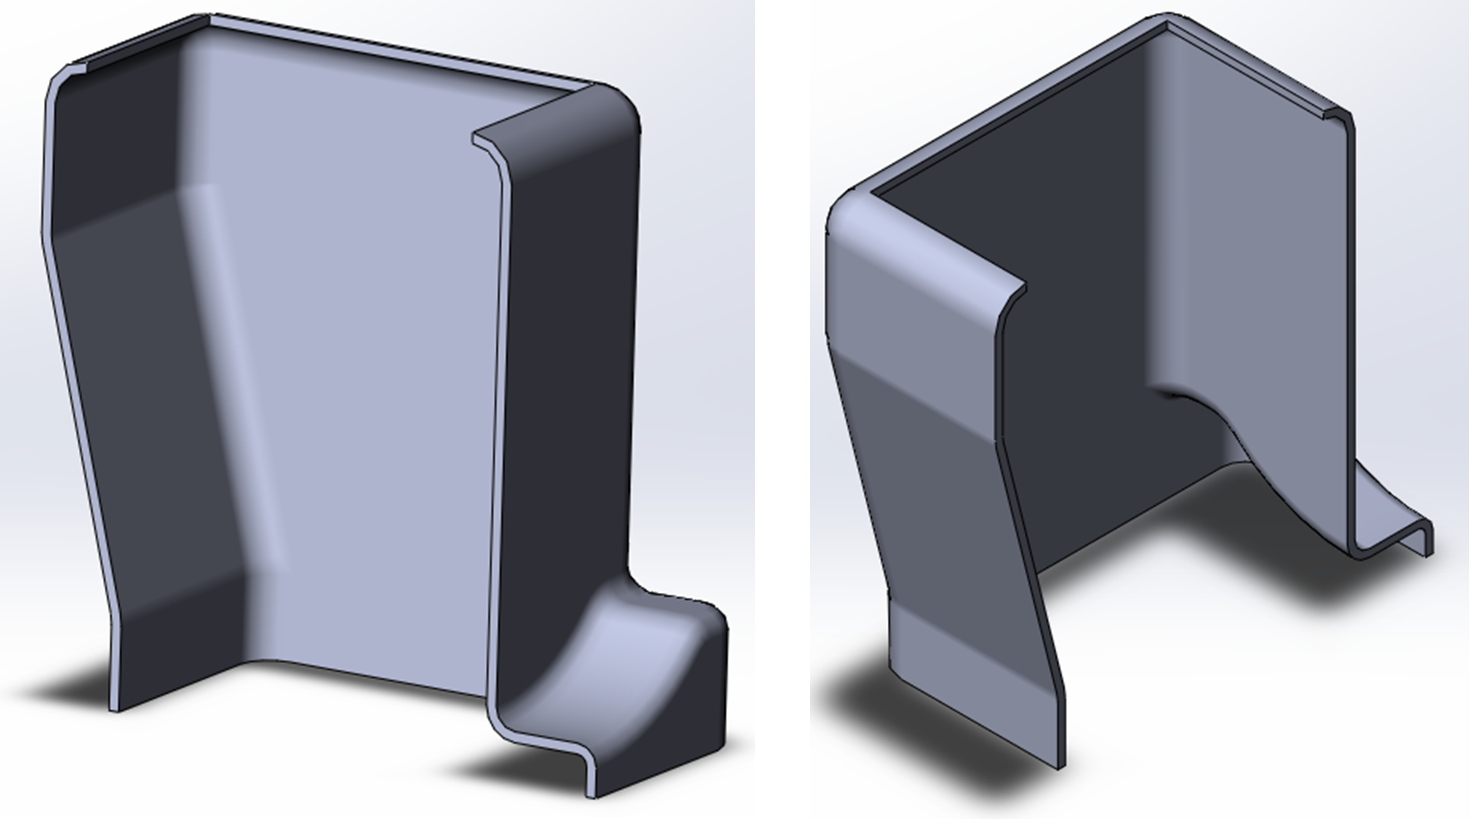
When you activate the shell feature from the CommandManager, you select your face and specify your wall thickness. Note that you can select more than one face to create situations such as that shown in Figure 5.6.

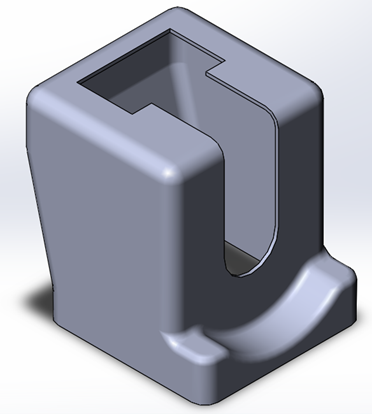
One thing to be careful of with Shell is proper placement of the feature in the FeatureManager Design Tree. Placed too early or too late and the feature isn’t appropriate for your scenario but placed just right will allow you to get uniform wall thickness. For the example used in Figure 5.4 and 5.6, the Shell was placed after all the Fillets to ensure that the Fillet radii would be offset in the Shell. However, it was made sure that Cut-Extrudes be made after the Shell to ensure proper geometry was obtained (Figure 4.7).

Exercise 5.2 Using Shell in Design
For this exercise, we will start with a model that has been prepped for using shell and perform the shell command.
- Download the CAE1009 Starter Part,
- Roll the part back before the Shell using the rollback bar,
- Shell the part with a uniform wall thickness of .060 inches and removing the bottom face. Also feel free to practice placing cut extrudes after the shell using the “Up to Next” option.
