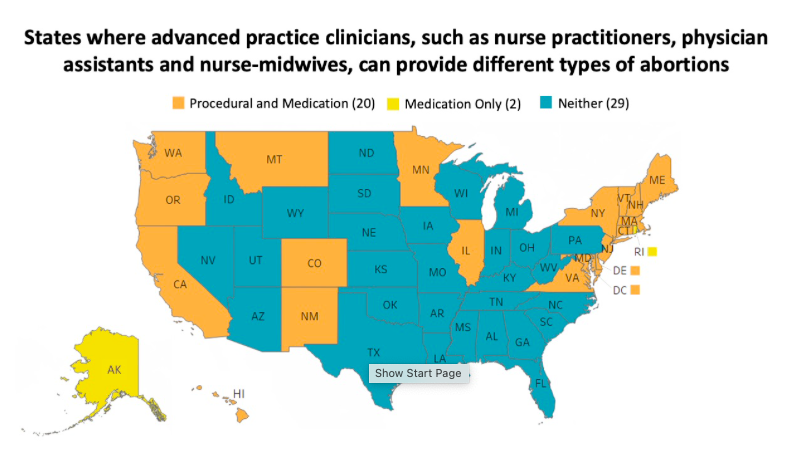
USING MVA AND EVA EQUIPMENT
Images adapted from MVA, a presentation by PRH and ARHP, 2000; 2012, 2022
 |
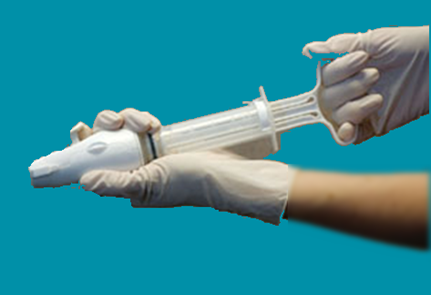
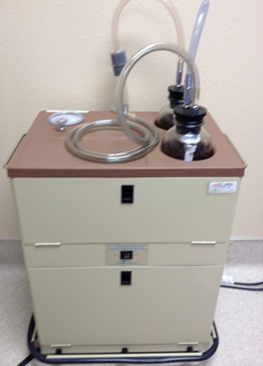
Manual Vacuum Aspirator Plus
|
|
|
|
Prepare the aspirator
|
|
|
|
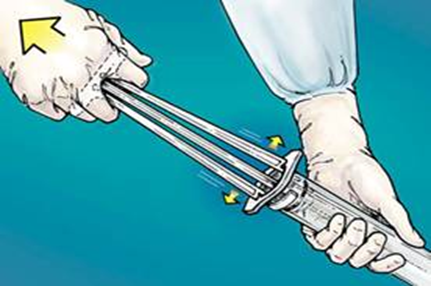
Create the vacuum
|
|
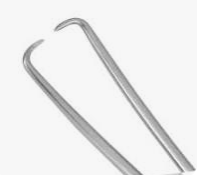 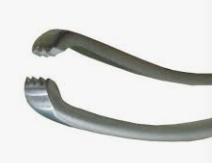 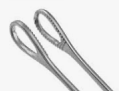 |
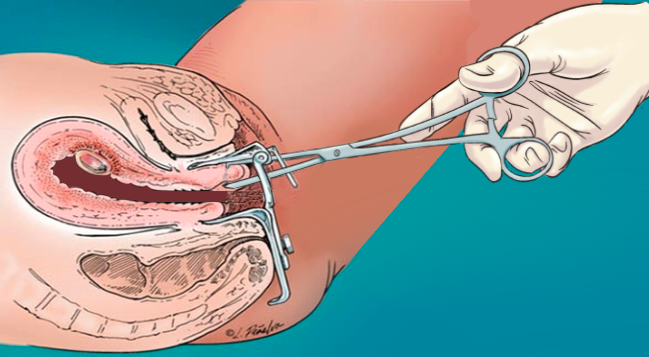
Choose a tenaculum
|
|
|
|
Place the tenaculum
|
|
|
|
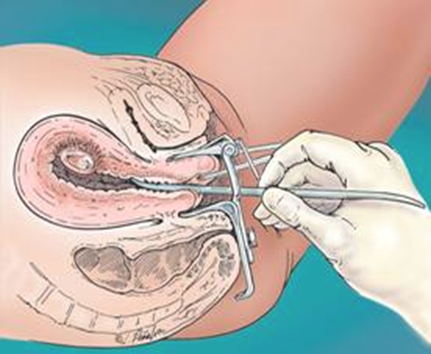
Gently dilate the cervix after paracervical block
|
|
|
|
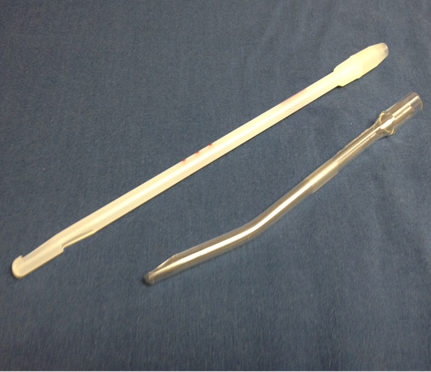
Choose a cannula
|
|
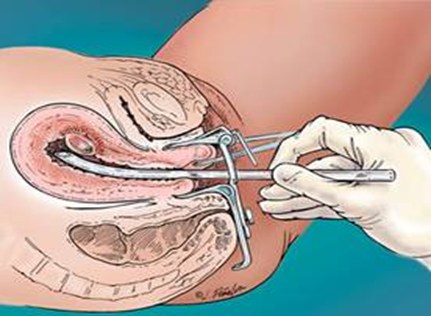 |
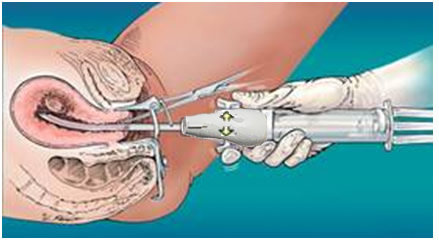
Insert the cannula
|
|
|
|
Release the valve buttons
|
|
|
|
Evacuate the uterus
|
|
|
|
Choice of Vacuum for Aspiration
EVA use:
|
|
|
|
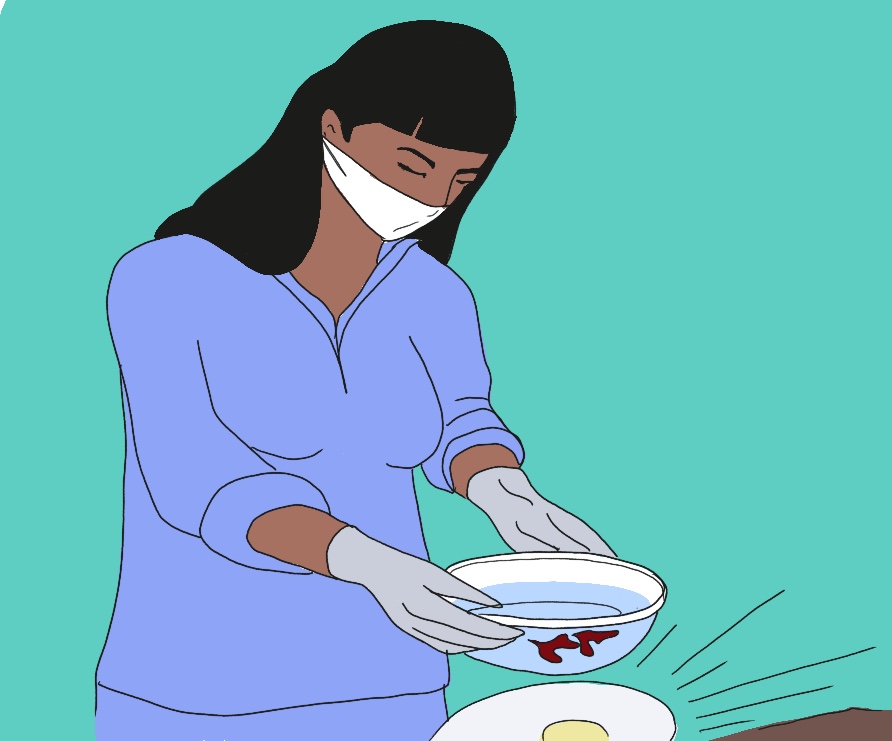
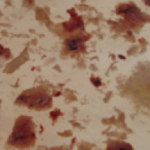
Inspect the tissue
|
|
|
|
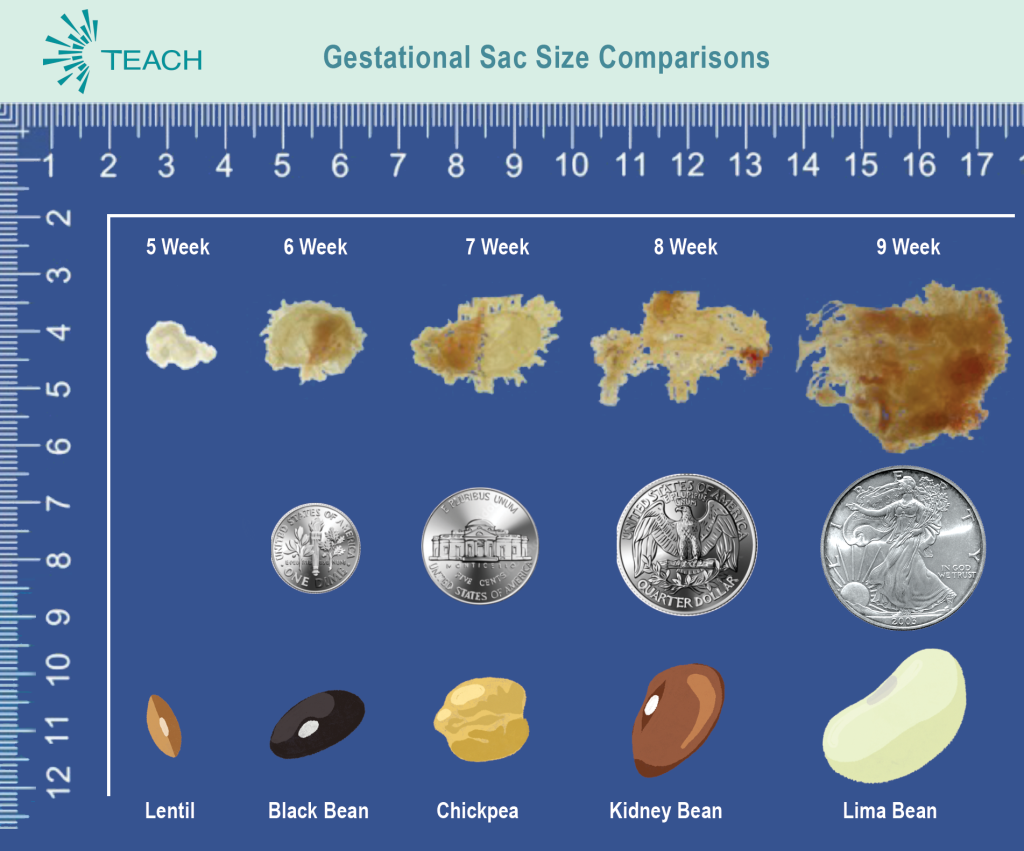
Gestational sac at 6 weeks
|
|
|
|
||
|
|
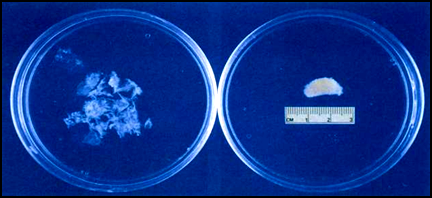
Membranes and Villi (POC)
|
Decidua (not POC)
|
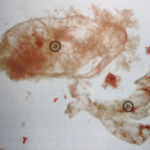 |
Decidua capsularis
Caution not to confuse b) decidua capsularis, a portion of the decidua which grows proportionally to gestational sac but is thicker and tougher (Paul 2009). |
Fetal part development (ARMS 2017)
Parts may be seen earlier. ≥ 10W look for 4 extremities, spine, calvarium and gestational sac. ≥12W must find all fetal parts + gestational sac. Other Images: MYAnetwork.org or Perinatology.com
|


Don’t hesitate to pause briefly if you are concerned that something is not going well.
- Breathe, roll your shoulders, and reassess.
- Affirm normal vital signs and check for any concerning bleeding. If all within normal limits, pause and begin troubleshooting.
- What can be optimized?
- Can you improve sedation/analgesia for patient comfort?
- Does the person need repositioning?
- Will a different speculum improve visualization?
- Will additional dilation help?
- Do you need misoprostol or to consult with a colleague?
- Can ultrasound help? If available, let the patient know that you will be using it to help guide you through the procedure safely.
- Micro-movements are usually sufficient to approach the tissue in a different way to achieve removal. Newer providers often make larger movements than necessary.
- If unable to find gestational sac in early gestational POC exam: recheck aspirate (including cannula, gauze and tubing), repeat US, reaspirate, and if still unable to find, initiate serial hCGs
- If unable to find all extremities > 10 weeks: recheck aspirate, repeat US, and reaspirate as needed
- If unable to remove calvarium > 10 weeks:
- Use US guidance, if available, to guide calvarium into the lower uterine segment (LUS). If not moving into the cannula, gently place the cannula end (with tissue) against the inside of the LUS or internal os (avoiding 3 and 9 o’clock areas) and “push” tissue into the cannula by compressing it against the uterine wall while applying traction.
- Alternatively, pull the clogged items into the LUS and through the cervix while the tissue remains at the cannula tip.
- If still unable to remove calvarium or all of the tissue through cannula, proceed to extraction with ring forceps.
- Applying slow traction to move the calvarium into the LUS before (re)attempting removal with forceps or suction.