47 Safety Equipment
Learning Objectives
Identify and explain the use of fire exits, muster points, first aid stations, eye wash stations, safety data sheets, and emergency phones.
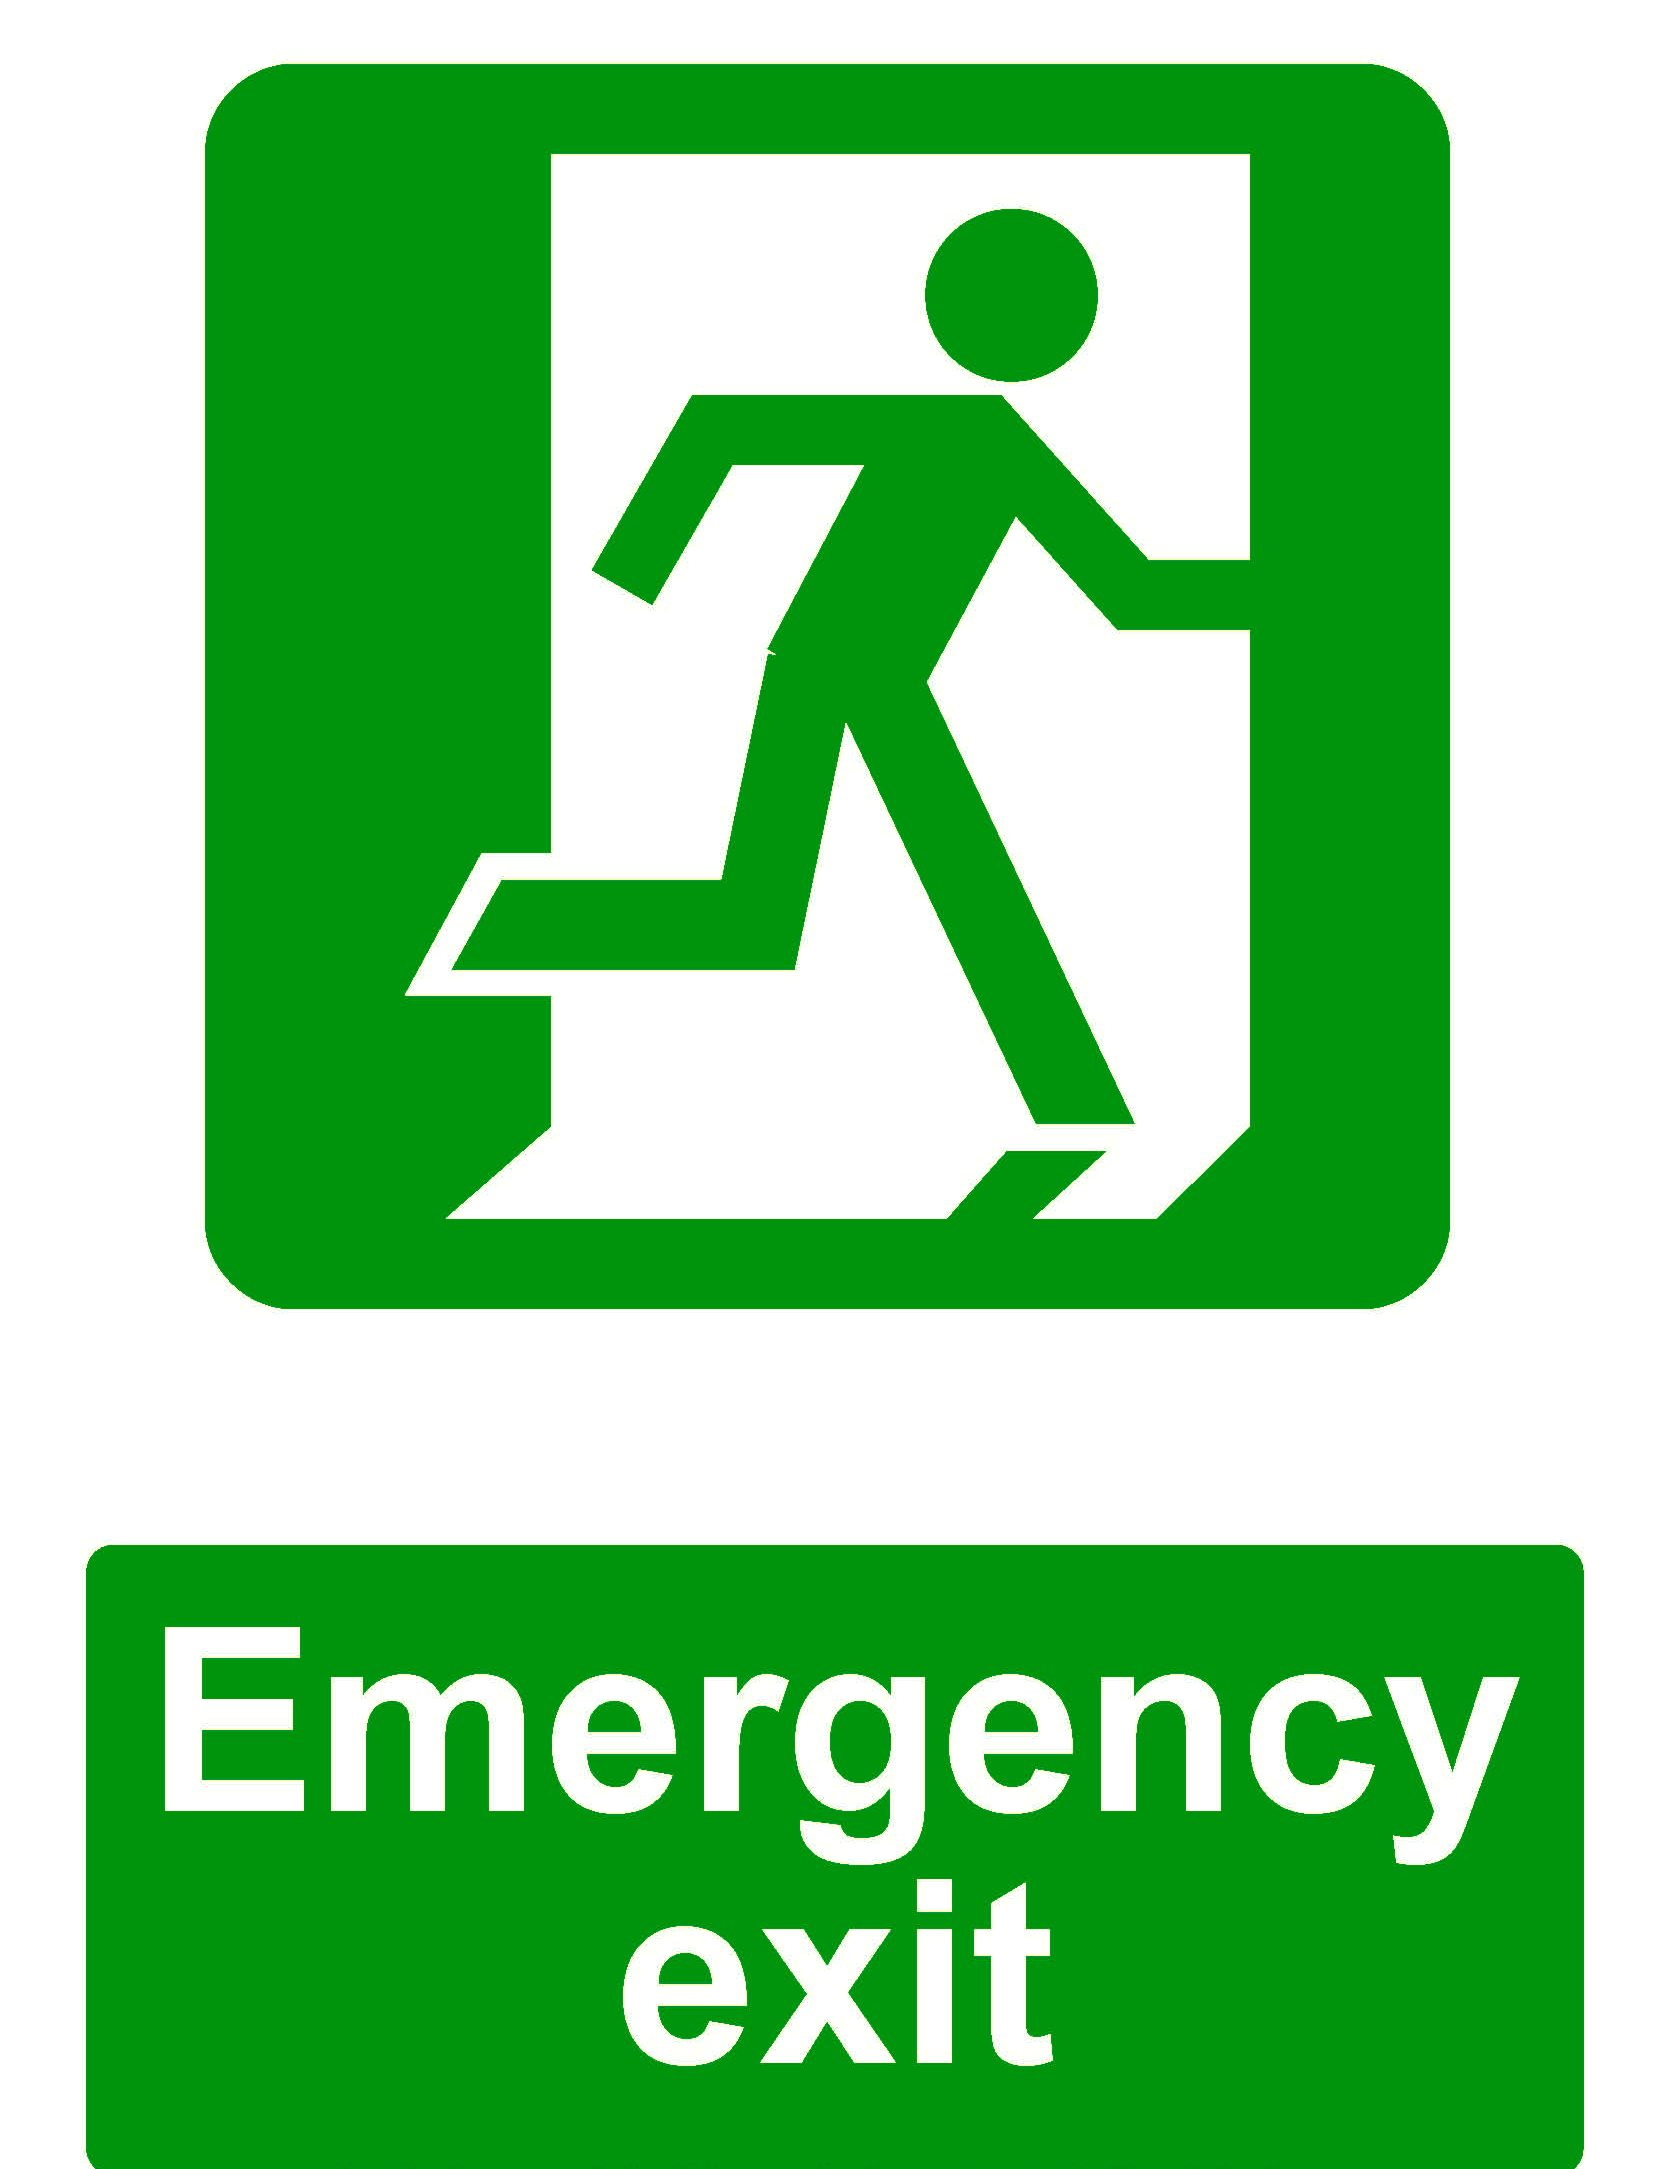
Emergency Exits
How would you escape from your workplace in an emergency? Do you know where all the exits are in case your first choice is too crowded? Are you sure the doors will be unlocked and that the exit access, such as a hallway, will not be blocked during a fire, explosion, or other crisis? Knowing the answers to these questions could keep you safe during an emergency.
What is an exit route?
An exit route is a continuous and unobstructed path of exit travel from any point within a workplace to a place of safety. An exit route consists of three parts:
- Exit access – portion of an exit route that leads to an exit.
- Exit – portion of an exit route that is generally separated from other areas to provide a protected way of travel to the exit discharge.
- Exit discharge – part of the exit route that leads directly outside or to a street, walkway, refuge area, public way, or open space with access to the outside.
Normally, a workplace must have at least two exit routes to permit prompt evacuation of employees and other building occupants during an emergency.
More than two exits are required, however, if the number of employees, size of the building, or arrangement of the workplace will not allow employees to evacuate safely.
Exit routes must be located as far away as practical from each other in case one is blocked by fire or smoke.
What are some other design and construction requirements for exit routes?
- Exit routes must be permanent parts of the workplace.
- Exit discharges must lead directly outside or to a street, walkway, refuge area, public way, or open space with access to the outside. These exit discharge areas must be large enough to accommodate the building occupants likely to use the exit route.
- Exit route doors must be unlocked from the inside. They must be free of devices or alarms that could restrict use of the exit route if the device or alarm fails.
Staff Writer, U. S. Department of Labor. Emergency exit routes – Occupational Safety and Health Administration. Occupational Health and Safety Administration. Retrieved July 26, 2022, from https://www.osha.gov/sites/default/files/publications/emergency-exit-routes-factsheet.pdf
The following artical underlines the importance of emergency exits in a facility.
Portable fire extinguishers can put out only small fires. You should be trained in order to be able to use a fire extinguisher.
SELECT and locate fire extinguishers according to:
- type of potential fire hazard
- degree of hazard
- area to be protected
FOLLOW fire safety procedures established by your employer.
GET training in the use of fire extinguishers. Contact the fire extinguisher manufacturer or your local fire department to arrange fire-extinguisher training.
Always position yourself between the fire and an exit when you attempt to put out a fire. This way you can evacuate quickly without being trapped.
In small storage areas and warehouses, fire extinguishers should be located between 9 and 15 metres of all locations depending on the size and type of extinguisher. Contact your local fire department.
Fire safety training should enable you to:
- Identify the type of fire.
- KNOW when it is safe to try to extinguish the fire, or when it is best not to.
- APPROACH the the fire in a safe manner, if necessary. KEEP a safe distance from the fire.
- USE portable fire extinguishers to control small fires.
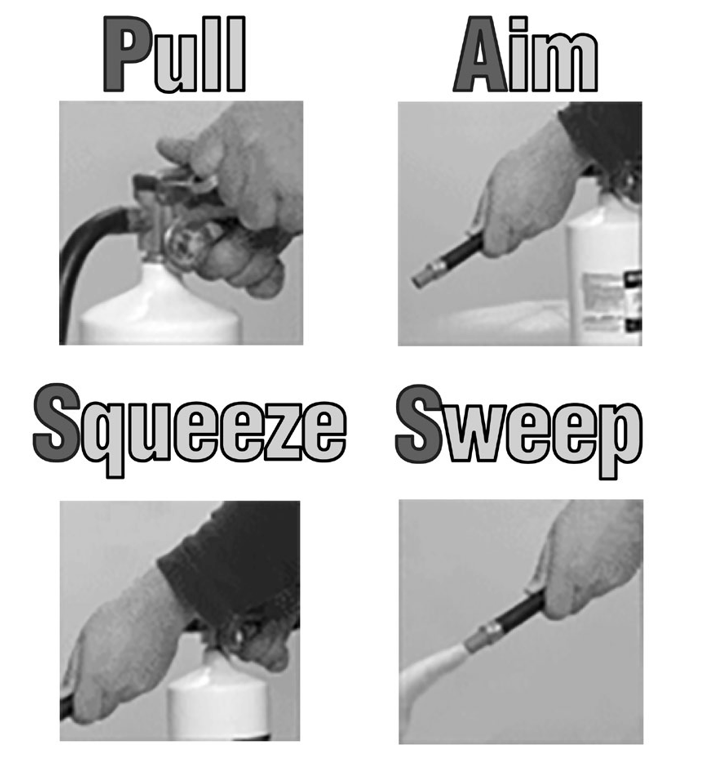
- USE the PASS technique – Pull the pin, Aim the nozzle, Squeeze the trigger, Sweep the nozzle.
Fire extinguishers must be located:
- along aisles that provide access to an EXIT
- in areas that minimize travel distance
- in accordance with fire regulations and National Fire Protection Association Standards
- FOLLOW recommendation of fire code applicable to your workplace.
- KEEP extinguishers fully charged and in their designated places.
- REPLACE used extinguishers while they’re being recharged.
- INSPECT extinguishers at least monthly to ensure that:
- they are in their designated places
- they have not been tampered with
- they are full (check the weight)
- their gauges indicate they are fully charged
- they are not corroded or otherwise damaged
- the maintenance record tags are up-to-date
- ENSURE extinguishers are serviced at least yearly.
- ATTACH a tag to show the maintenance or recharge date and signature or initials of the person who performed the service.
- ENSURE that extinguishers are tested according to manufacturer’s recommendations.
Canadian Centre for Occupational Health and Safety. (2007). Warehouse Workers Safety Guide. CCOHS Canadian Centre for Occupational Health and Safety. Retrieved July 26, 2022, from CCOHS.ca.
Eyewash Stations and Emergency Showers
Regular showers
Working conditions may result in workers’ skin being routinely exposed to substances to an extent that is harmful or offensive. In these situations, employers are required to provide suitable and adequate regular shower facilities. A regular shower is intended to prevent harmful effects that can occur after repeated exposures (cumulative or chronic effects) to certain substances or to wash off offensive substances. Employers must allow sufficient time during normal working hours for workers to use these facilities. The facilities must include suitable and clean change facilities.
Emergency showers and eyewashes
Accidents and other unanticipated events may expose workers to corrosive or other harmful substances that can injure exposed skin or eyes after a single exposure. Often the injury occurs immediately or within a short time (such as chemical burns). Some substances can be rapidly absorbed and have toxic effects within a short time (such as quick-acting poisons). Where these effects can occur after a worker or worker’s clothing is substantially contaminated by corrosive or other harmful substances, the employer must provide and maintain “an approved means of bathing or showering the worker with lukewarm water”. Where eye injury can occur from exposure to corrosive or other harmful substances, the employer must provide “approved equipment to flush the eyes”.
WorkSafe Sask, Retrieved from https://www.worksafesask.ca/wp-content/uploads/2020/06/Emergency-Showers-and-Eyewashes-FINAL.pdf, July 27, 2022.
- Eyewash stations and emergency showers should be available where people work with hazardous chemicals.
- LEARN how to use eyewash stations.
- ENSURE that an eyewash station and shower are located within 10 seconds travelling time and less than 30 metres from any hazardous work area.
- ENSURE that the normal routes to the stations are unobstructed and easy to access, even for someone who cannot see.
- ENSURE that the water supply is adequate and the units are tested weekly.
- ENSURE the location is away from electrical equipment and outlets.
- INDICATE clearly, consistently and graphically the locations of eyewash stations and emergency showers.
- ENSURE that portable units have enough water for extended washing and that they are cleaned and refilled weekly on a regular basis.
- KEEP bowl clean.
- DO NOT use portable eyewashes unless adequate water supplies are unavailable.
- DO NOT block the actuator (push handle)
Operating Procedures: Emergency Eyewash
-
- ACTIVATE unit.
- LOWER head so that both eyes are flushed.
- FLUSH EYES with water or fluid for at least fifteen minutes.
- Fifteen minutes is recommended by ANSI. However, other references recommend a minimum 20-minute flushing period if the nature of the contaminant is not known. The flushing or rinsing time can be modified if the identity and properties of the chemical are known. For example:
- a minimum 5-minute flushing time is recommended for mildly irritating chemicals,
- at least 20 minutes for moderate-to-severe irritants,
- 20 minutes for non-penetrating corrosives, and
- at least 60 minutes for penetrating corrosives.
- In all cases, if irritation persists, repeat the flushing pro- cedure. It is important to get medical attention as soon as possible after first aid has been given.
- CALL for assistance.
Operating Procedures: Emergency Showers
- REMOVE hat or head gear.
- STAND under shower head immediately.
- PULL actuator ring (the actuator is the pull handle.)
- REMOVE contaminated clothing rapidly while under water stream.
- STAY under water stream for at least fifteen minutes.
- CALL for assistance.
Canadian Centre for Occupational Health and Safety. (2007). Warehouse Workers Safety Guide. CCOHS Canadian Centre for Occupational Health and Safety. Retrieved July 26, 2022, from CCOHS.ca.
Muster Point
A muster point is a designated place to evacuate to in case of emergency. (The word muster comes from the military where troops are assembled, accounted for, and inspected.)
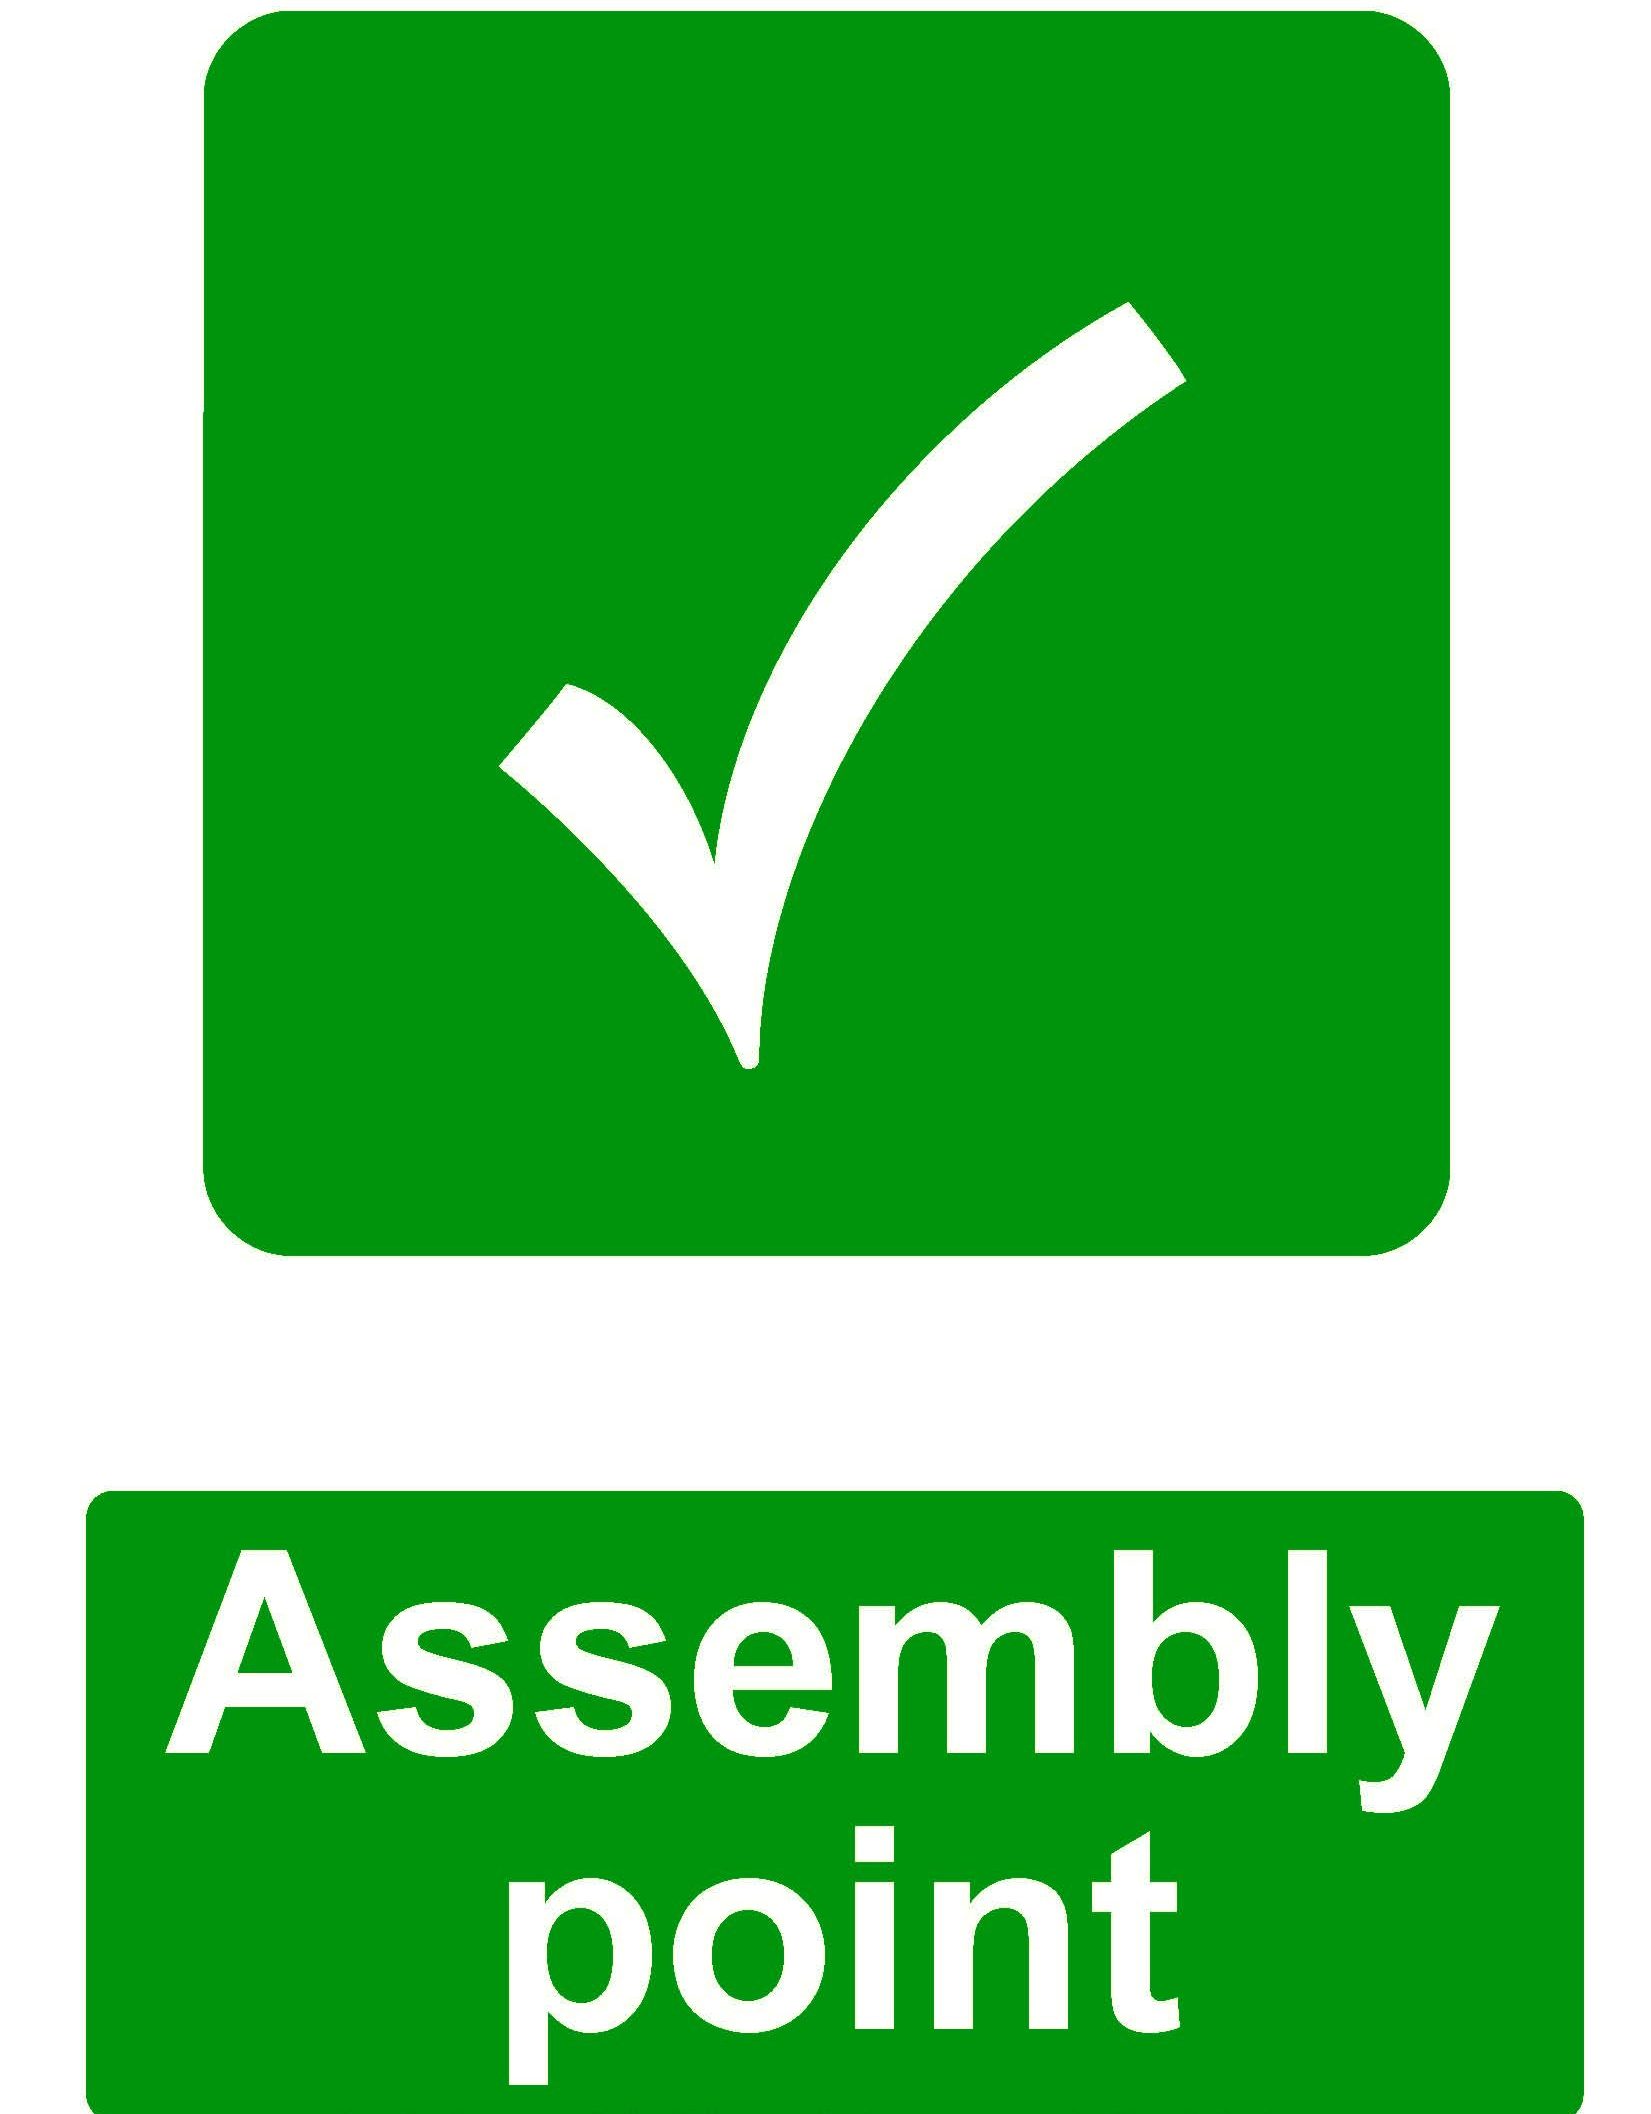
The purpose of having one designated space is:
- It is possible to tell if anyone is left in the building
- The muster point is chosen to be safe in all conditions, and far enough away from the building in case of fire.
When an emergency is sounded, you use emergency exits to go immediately to the muster point.
First Aid Kit
Only employees trained in first aid should assist a victim. Never give first aid treatment for which you are not trained.
Employees should know how to respond during an injury or illness situation. In terms of first aid, employees should know:
- Procedures to be followed when first aid is required (including what types of injuries should be reported) (e.g., who to call for help, remain with the victim until first aid attendants arrive, etc.)
- Location of first aid room and/or first aid kit(s)
- Location of a list of first aid attendants which indicates where to find the attendant or a telephone number
- Location of a list of nearest medical facilities (name, address, operating hours and telephone numbers)
- Location of a list of the organization’s key personnel by name, title and telephone numbers that are prioritized by “call first, call second, etc.”
The location of a first aid kit is often indicated by the following signs:
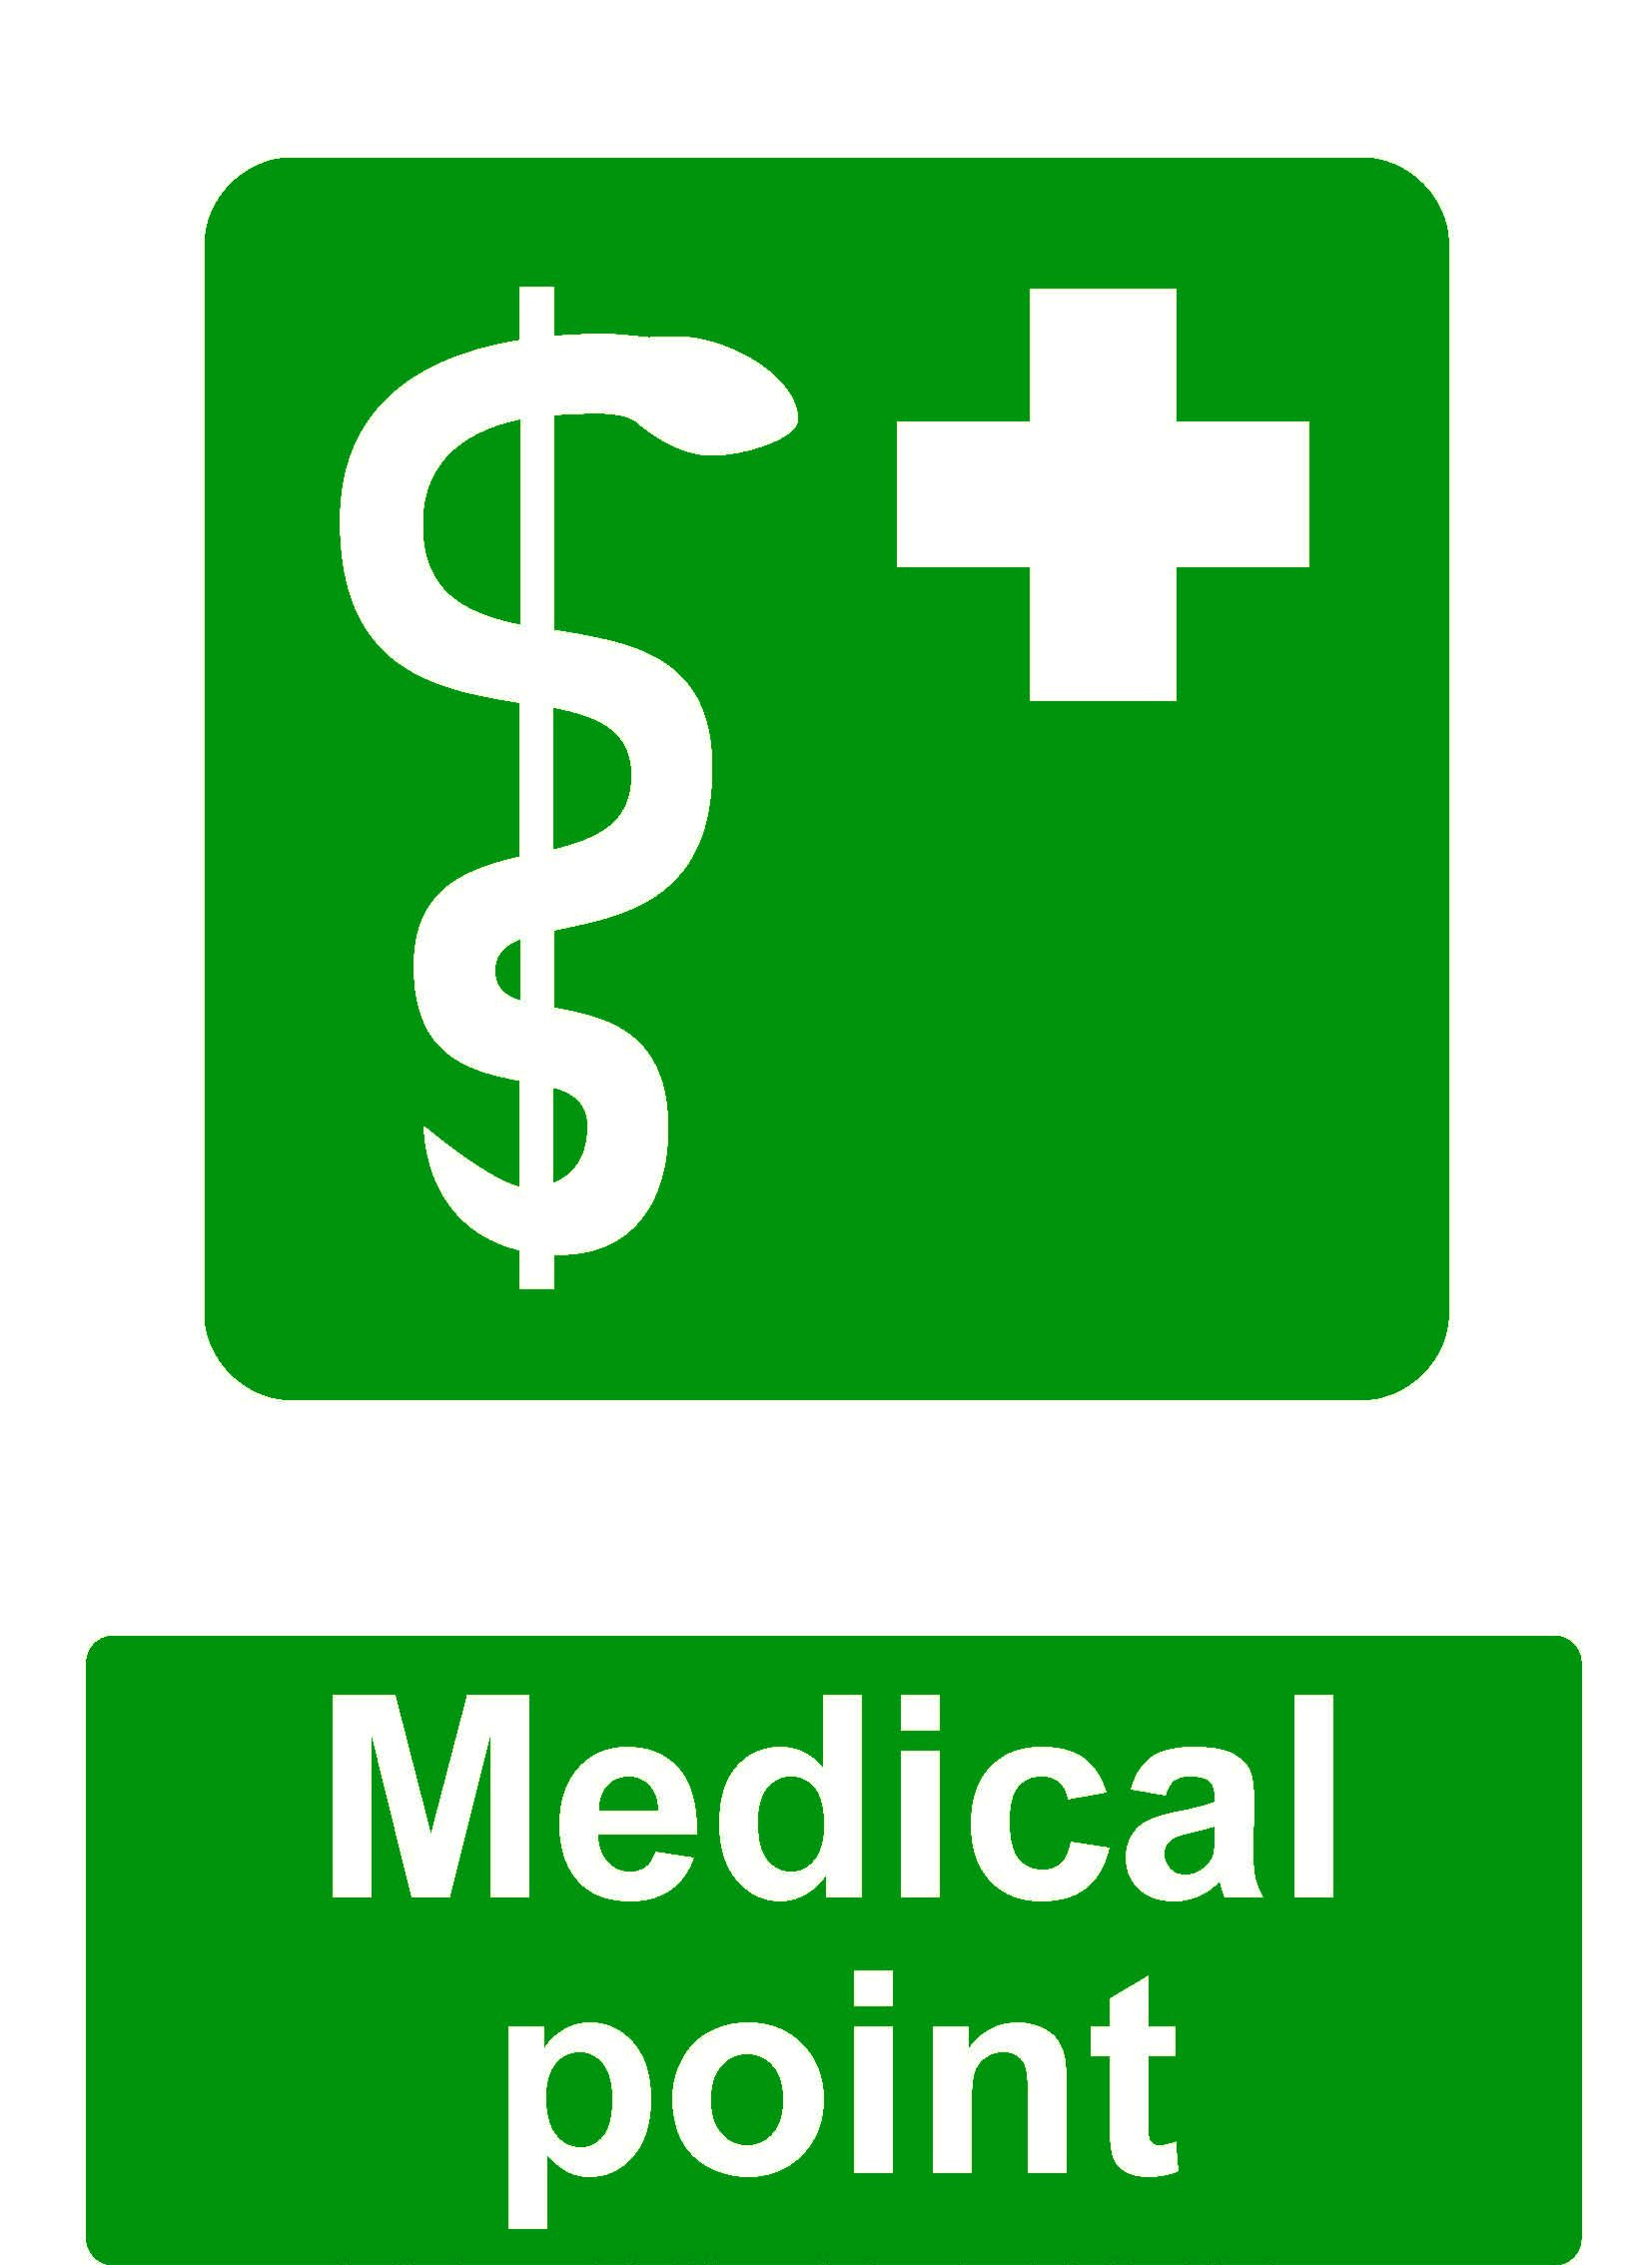 |
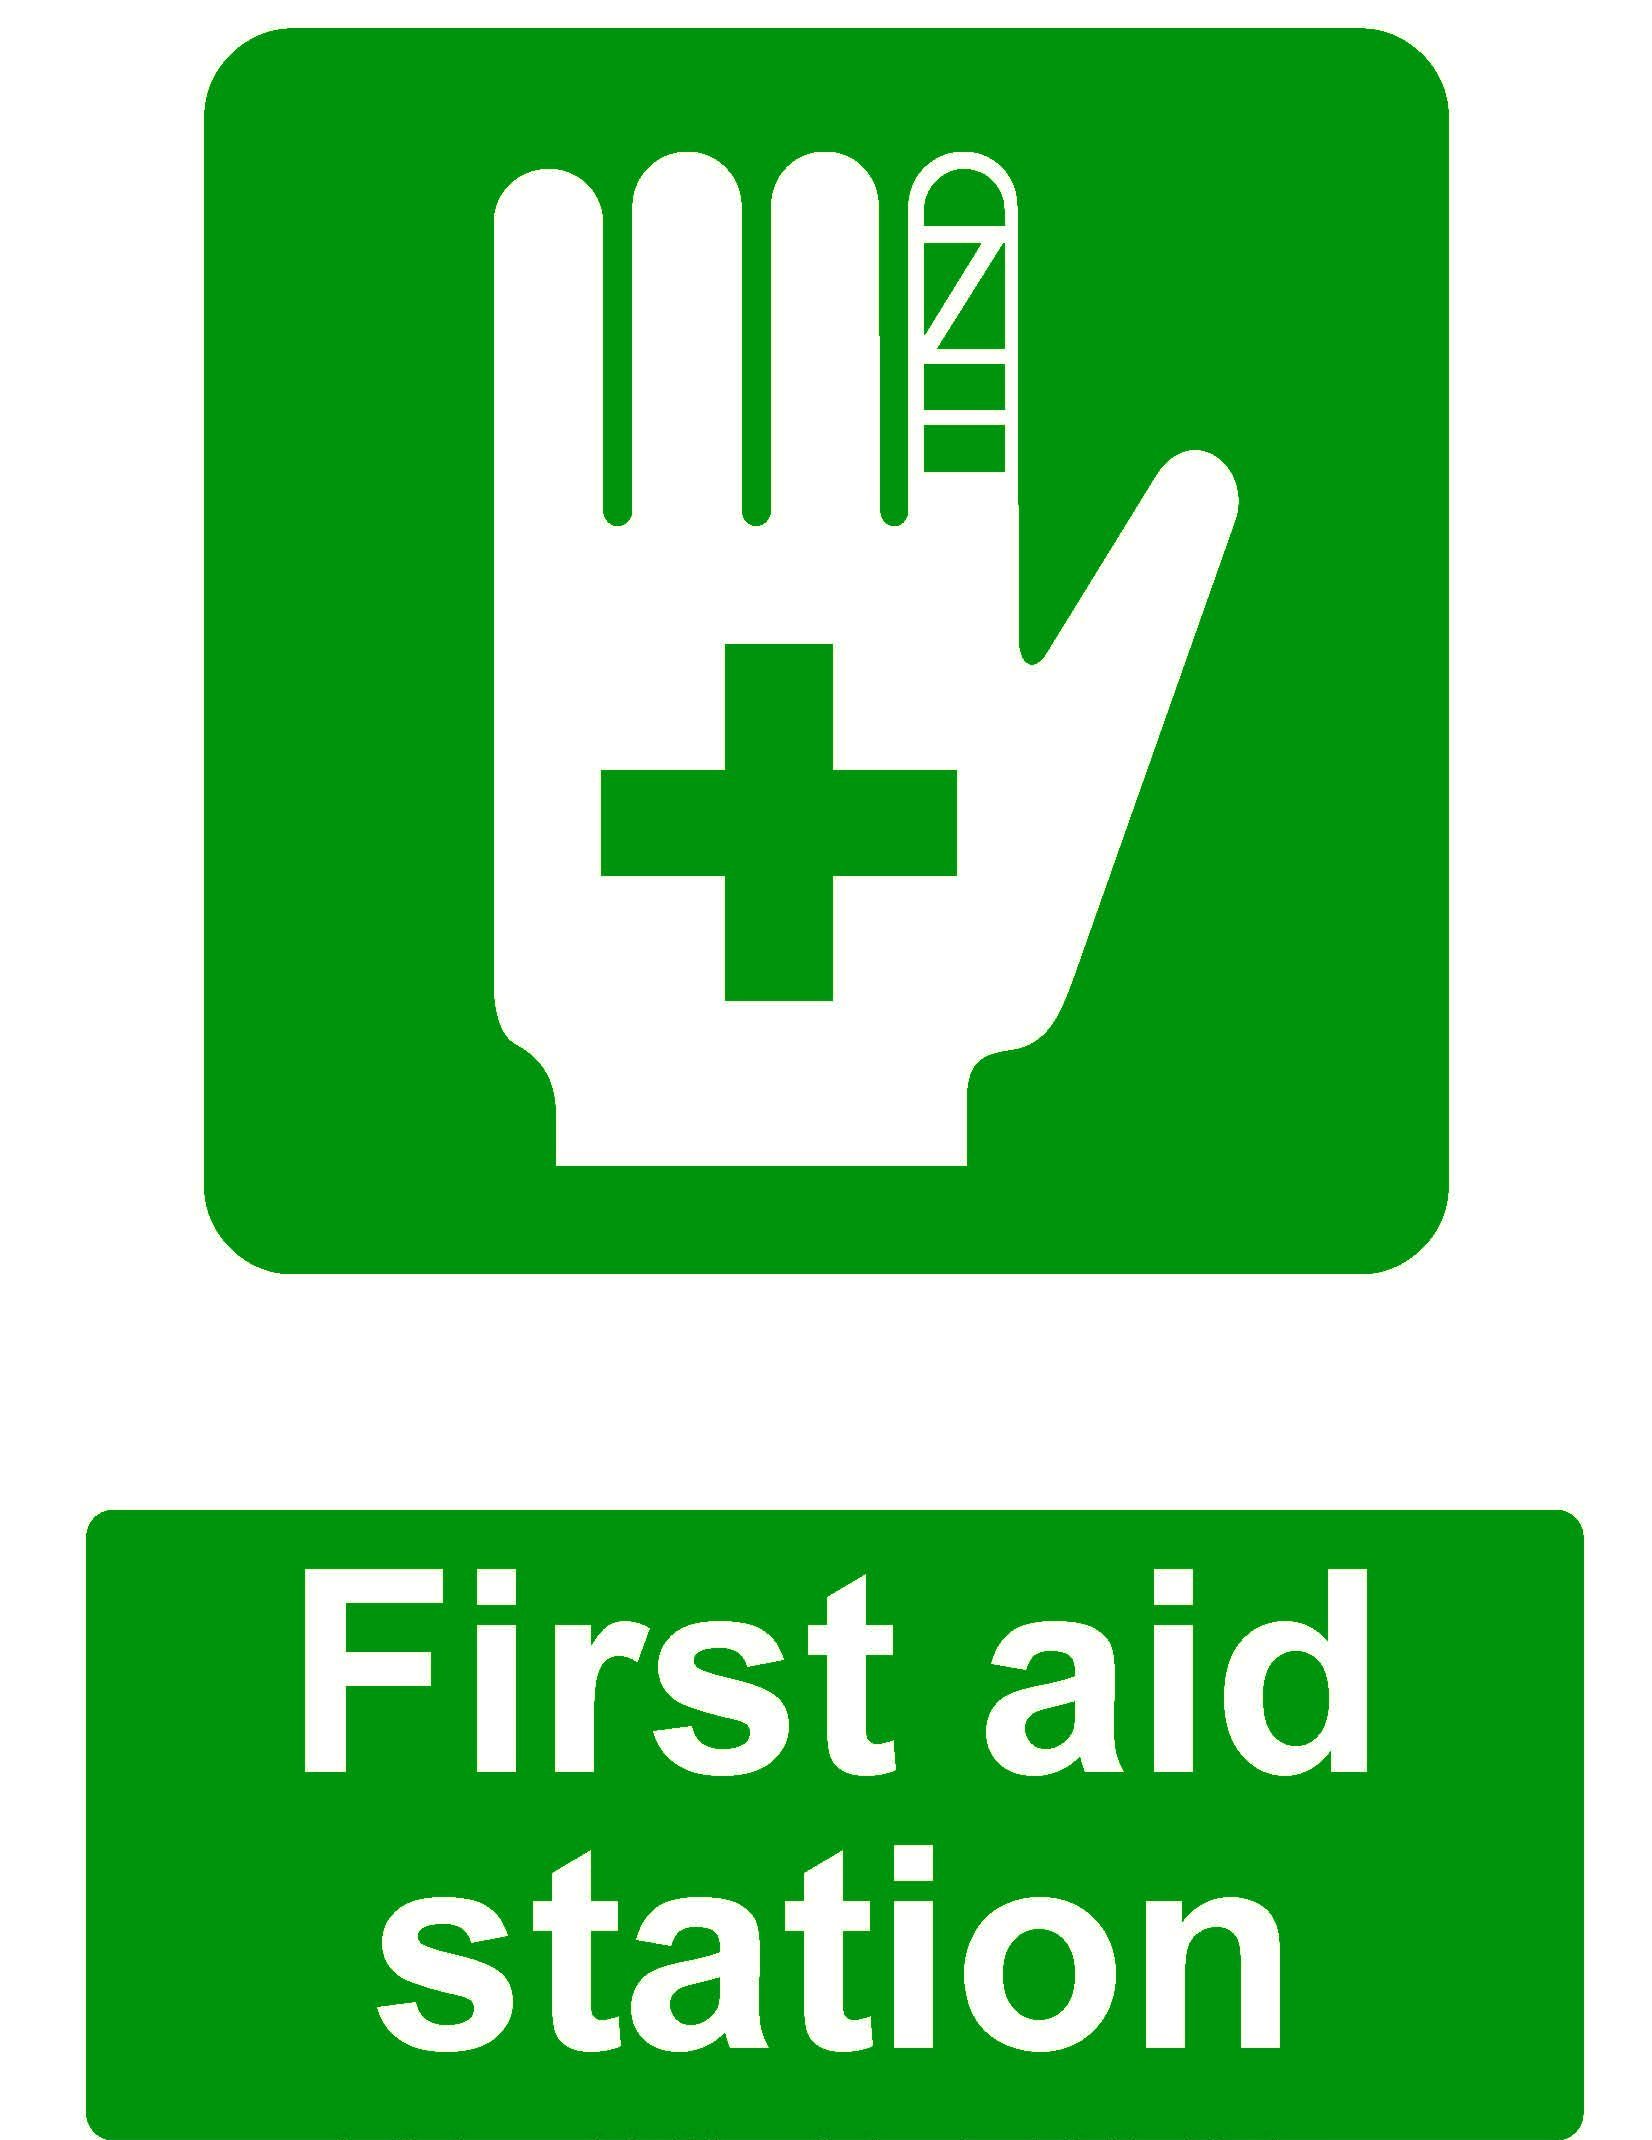 |
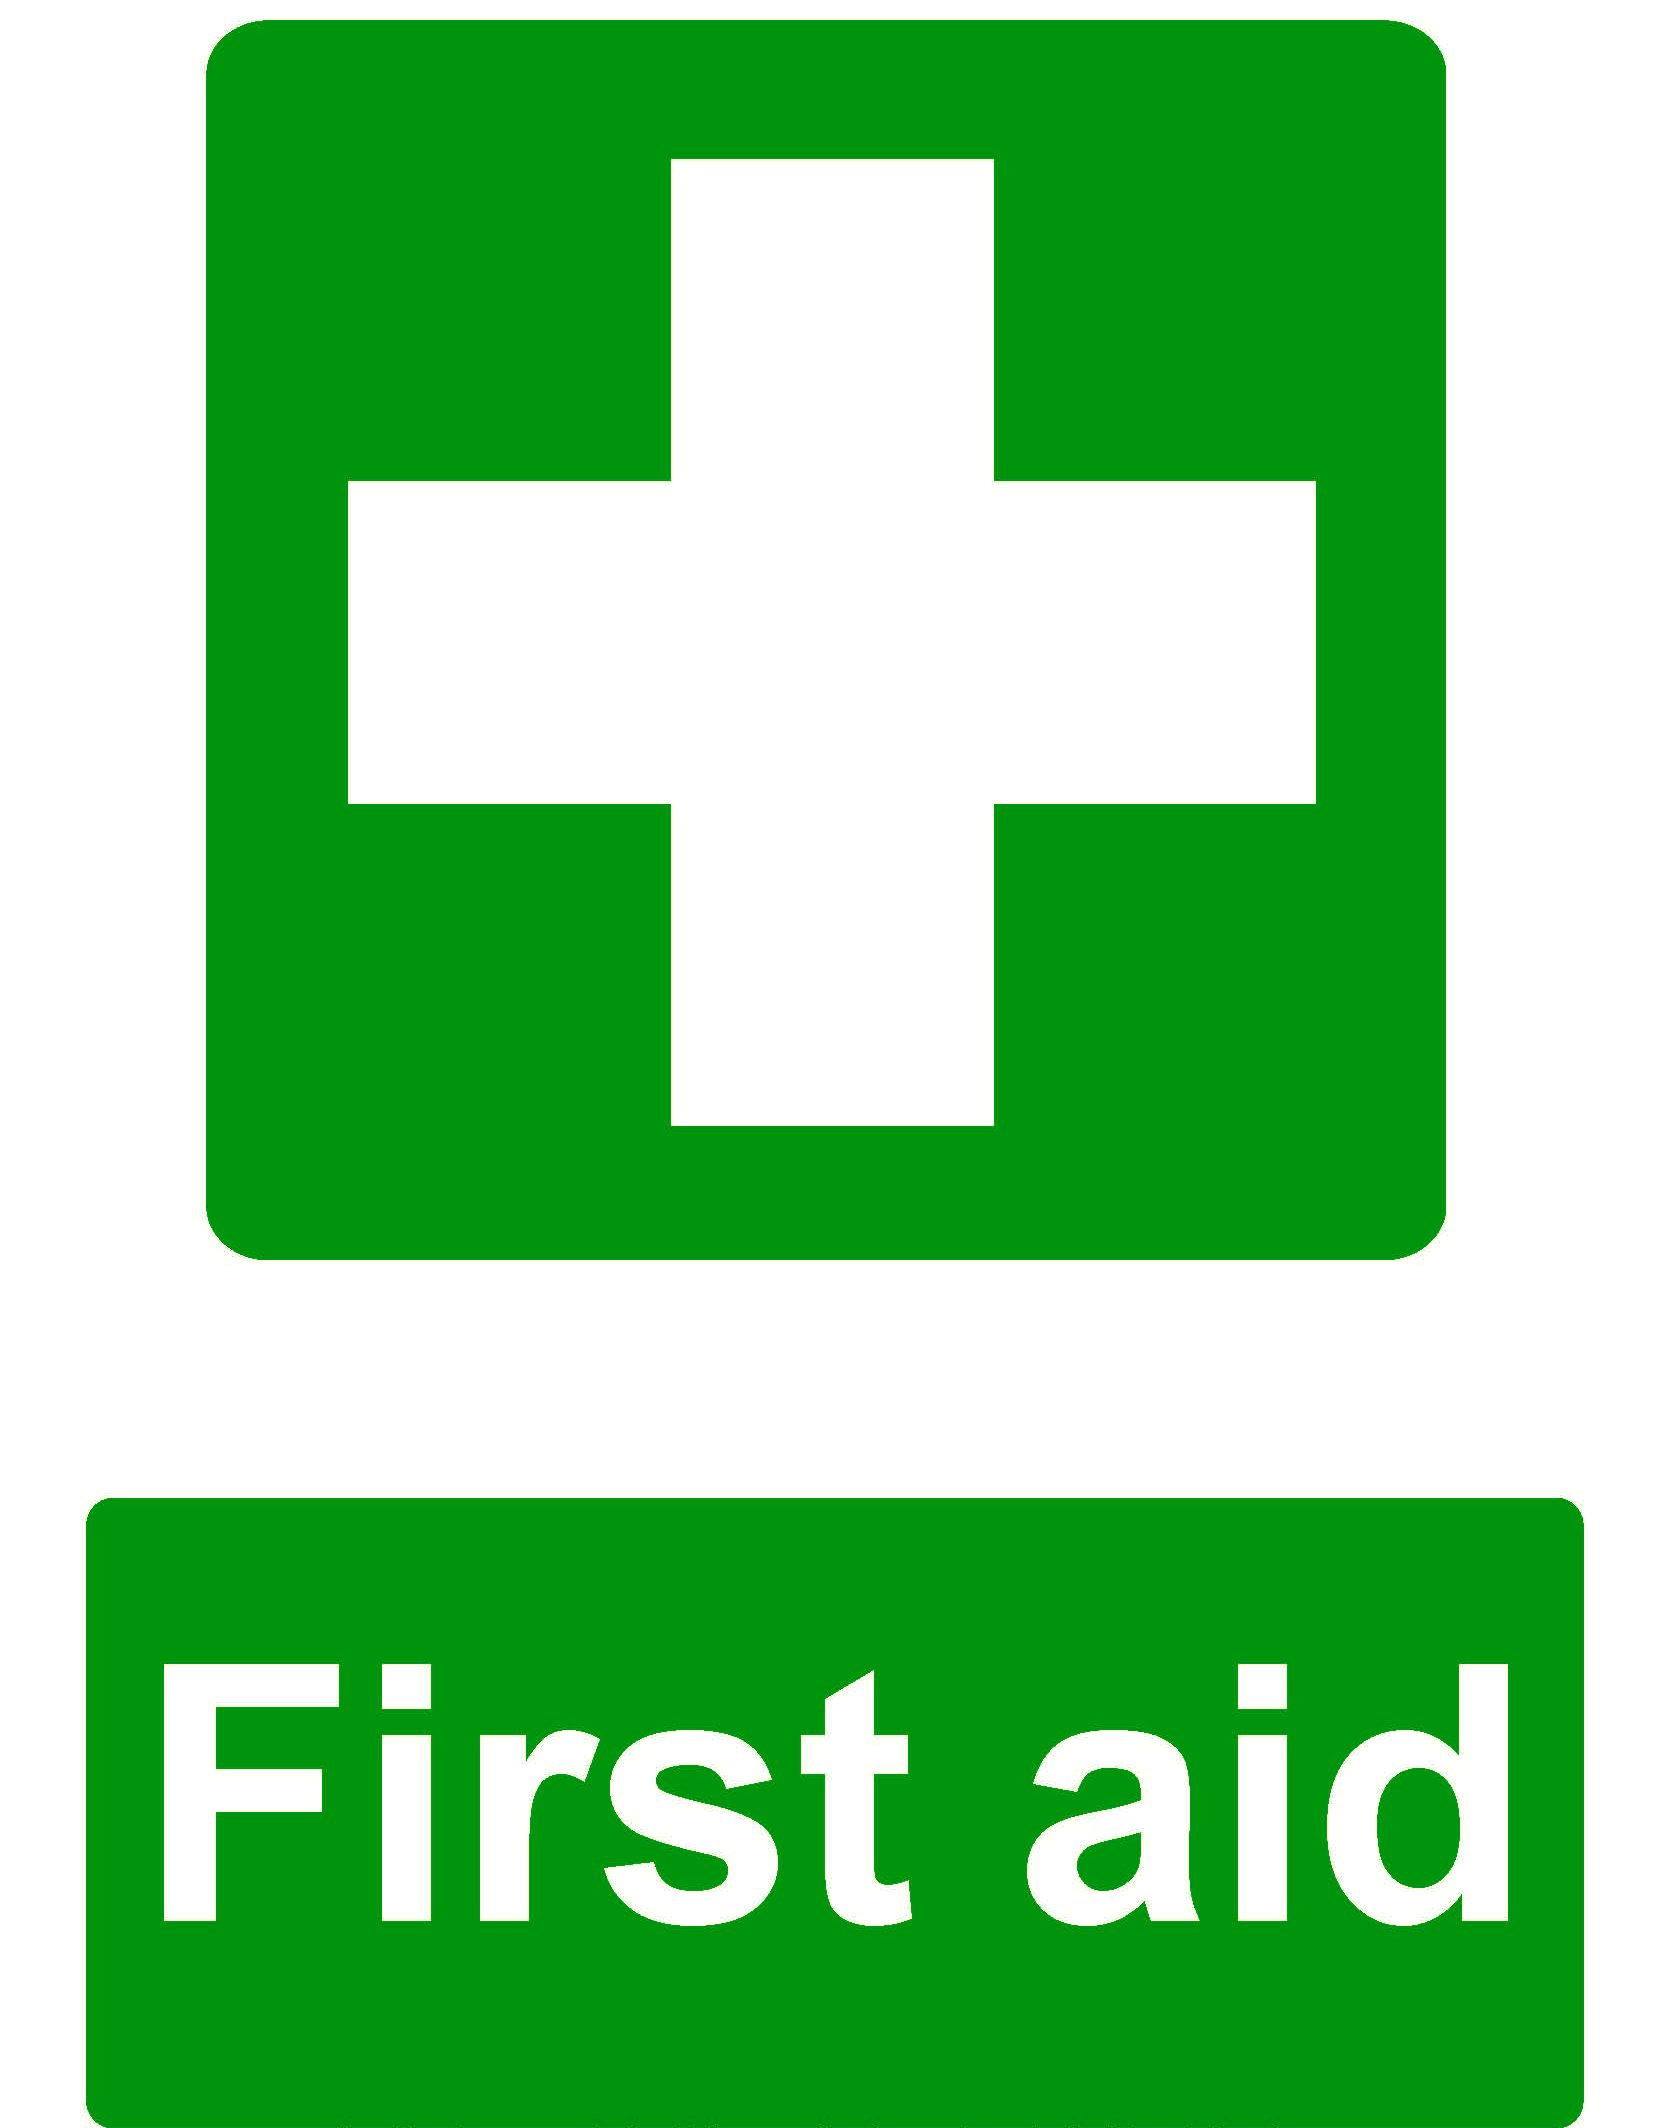 |
According to the Canadian Red Cross, a first aid kit should contain the following:
- Emergency telephone numbers for EMS/9-1-1, your local poison control centre, and your personal doctors
- Home and office phone numbers for family members, friends, or neighbours who can help
- Sterile gauze pads (dressings) in small and large squares to place over wounds
- Adhesive tape
- Roller and triangular bandages to hold dressings in place or to make an arm sling
- Adhesive bandages in assorted sizes
- Scissors
- Tweezers
- Safety pins
- Instant ice packs
- Disposable non-latex gloves, such as surgical or examination gloves
- Flashlight, with extra batteries in a separate bag
- Antiseptic wipes or soap
- Pencil and pad
- Emergency blanket
- Eye patches
- Thermometer
- Barrier devices, such as a pocket mask or face shield
- Coins for pay phone
- Canadian Red Cross first aid manual
Red Cross Canada, retrieved from https://www.redcross.ca/training-and-certification/first-aid-tips-and-resources/first-aid-tips/kit-contents, July 27, 2022.
Note: The inventory of a first aid kit is usually monitored and signed off on. Often, if you remove something from the first aid kit, you must log that item on a list located in the kit. In general, if you take the last item, report it to your company safety officer.
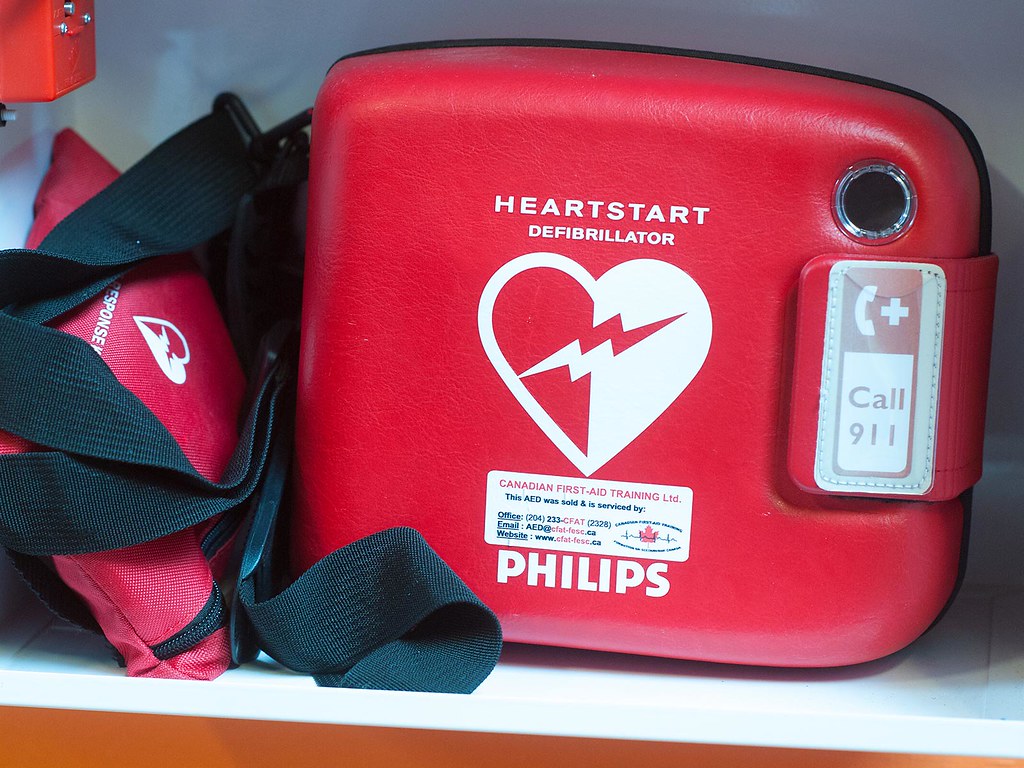
AED (Automated External Defibrillator)
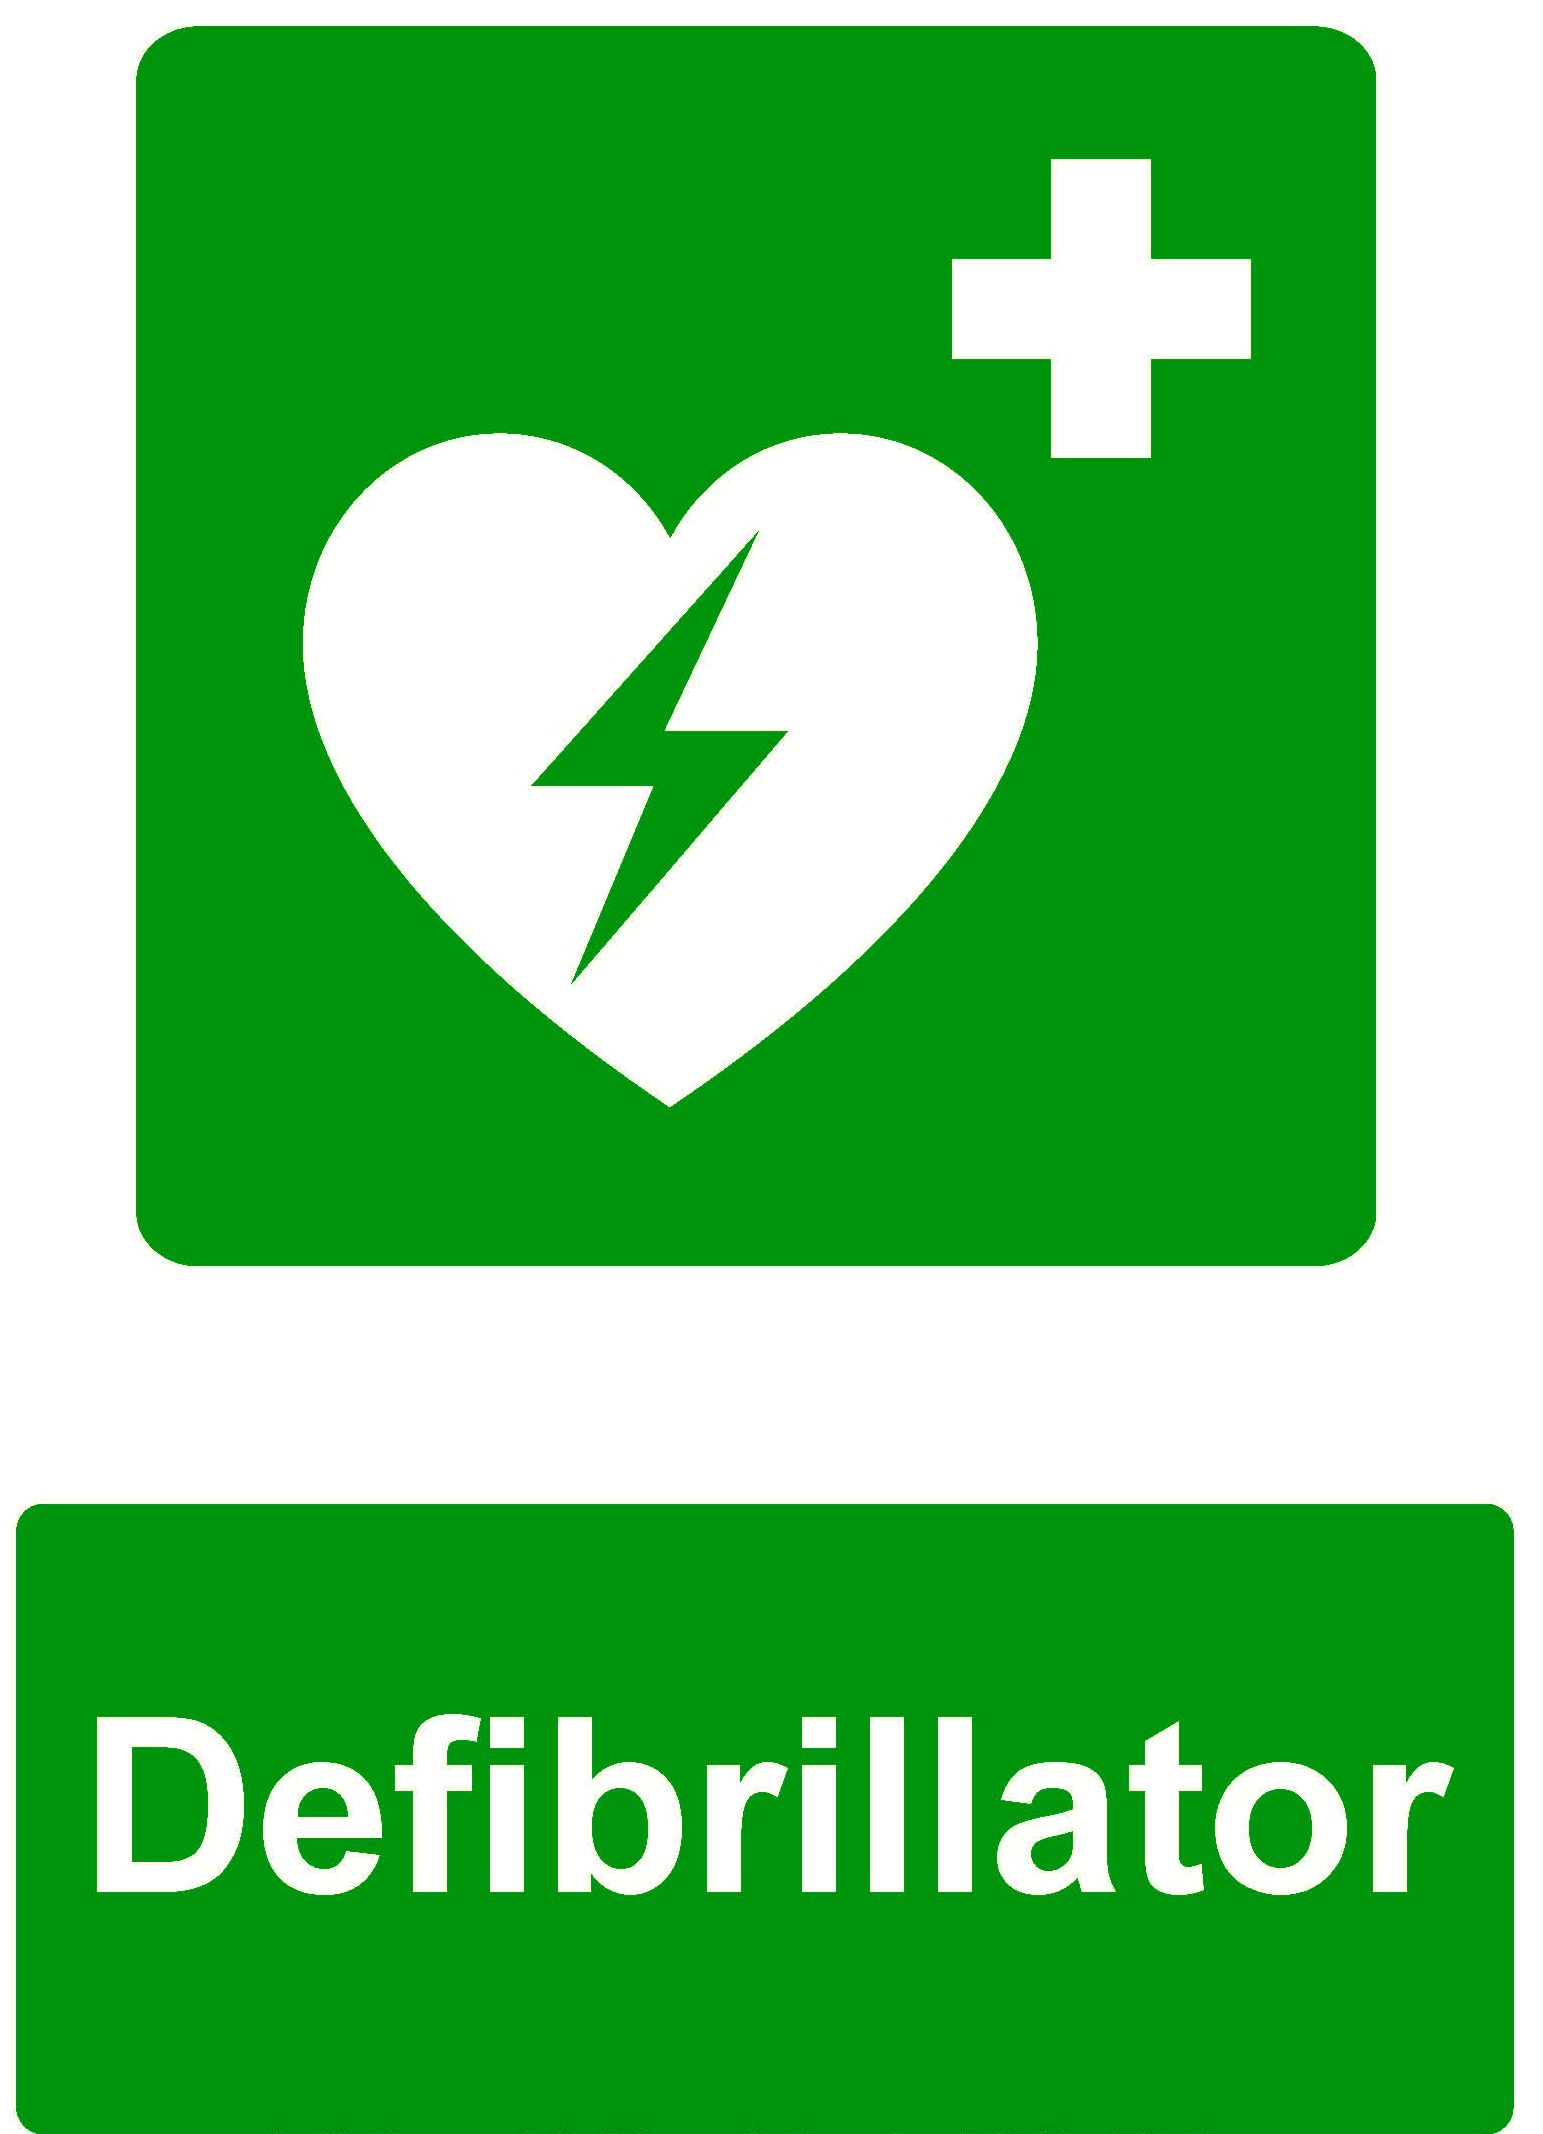
If you’re wondering what an AED is – and why they seem to be located in most offices and public buildings, you’re not alone. In fact, because these devices are now commonly available, more people than ever before are curious about them. So – just what is an AED?
An AED, or automated external defibrillator, is used to help those experiencing sudden cardiac arrest. It’s a sophisticated, yet easy-to-use, medical device that can analyze the heart’s rhythm and, if necessary, deliver an electrical shock, or defibrillation, to help the heart re-establish an effective rhythm.
You must not use an AED unless you have received the training and obtained the certification.