robpower
Author
Rob Power, EdD
Affiliation
Assistant Professor of Education, Cape Breton University
Author’s Note
This chapter was originally published as a blog post on the Power Learning Solutions blog (13 March 2020).
Overview
In recent days, there have been numerous announcements of plans by governments and institutions to shift their face-to-face (F2F) courses to online delivery. The aim is to implement social isolation practices, in order to mitigate the impacts of the COVID-19 pandemic. For many (if not most) instructors and students, this will be their first foray into the world of online teaching and learning — and that can be quite scary.
I develop courses for online learning, and I teach instructional design for online learning. I can tell you with no uncertainty that simply dumping your lecture notes and resources into an online portal is not effective. I can also tell you that it takes time, expertise, and resources, to develop and deliver optimal online courses. However, I realize that under current circumstances, these conditions cannot be met by the majority of instructors faced with rapidly moving their courses online.
I’m sharing this guide to do two things:
- To tell you that “you’ve got this!” You can do it.
- To help make the experience as effective as possible for both students and instructors in a rapid transition to online learning scenario.
First Things First
I’m not going to dive into seminal works, or the key theories that inform effective instructional design for online learning. I’m going to focus on practical strategies to get your students and your course online as quickly as possible, using tools that anyone can access and become comfortable using, while avoiding things that could lead to a disastrous experience.
The first thing to do as an instructor is to develop a “plan of attack.” You do not want to spend the rest of this term, or an entire upcoming term, panicking about how you are going to manage this transition. You need a plan that you can focus on day-to-day, and week-to-week.
Communications
Set aside time at the beginning and the end of each work day for reading and responding to emails, student inquiries, and discussion posts. It can be quite easy to eat up your entire day with these things if you don’t schedule yourself!
Development
Keeping Ahead
Stay at least one week ahead of your students. You should be using your “development” time to prepare the resources and activities that you will need for next week, while responding to students as they work through this week’s activities.
Consistency
Use a consistent format for preparing and sharing your resources and activities each week. This will help you to manage your development activities, and it will help students to navigate them once they are posted.
Time Off
Set aside time for yourself, and your family. Let your students know what your working hours are, and avoid “routine” work on the weekends. (I still check in at least once a day, just to see if there are any fires to put out, or any students who have urgent needs… even if just to send them a quick note to let then know when I will get back to them in detail.)
What to Develop, and How to Share It
For most of us, we are going to need to handle three main things in a rapid transition to online learning:
- Moving our classes / lectures online.
- Setting up channels of communication with our students.
- Posting, submitting, and grading assignments.
Moving Classes to a Virtual Space
Some institutions already have virtual classroom environments, such as Adobe Connect, Blackboard Collaborate, or even Zoom. If you are mandated to use these resources to host live (synchronous) class sessions, I strongly advise against simply lecturing to a camera for a full hour (or two hours, or three…). This can be difficult for you (to prepare enough material, and to not feel awkward). Instead, use this time to host class discussions, and to get students working on collaborative activities based on the current week’s materials. In essence… flip your class.
Lecture Capture
Using your live class time to lecture is a waste of your opportunity to connect with your students. If you are going to be lecturing to a camera anyway, it is far better to pre-record your lecture. You can share the recording through a website, or your organizations learning management system. Students can watch it at their convenience. They can pause it. They can rewind it. The can revisit it as often as they need. This frees up your live time to actually interact with your students, to get them working on collaborative activities, and to provide them with encouragement and troubleshooting support.
Easy Lecture Capture Strategies
Already have PowerPoint presentations ready for your F2F classes? Great! PowerPoint has built in features that will let you record your presentation, and share it as a video file. Refer to my video Turning PPT Presentations into Videos (Power, 2015) to learn how to do this.
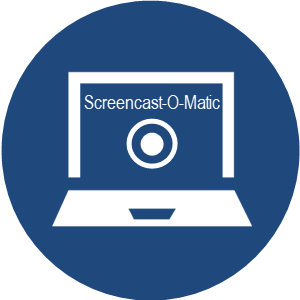
Personally, I now prefer to use Screencast-O-Matic. There is a free version available, and it is fairly easy to learn how to use. Want to learn more about how to get started using Screencast-O-Matic? Check out this Screencast-O-Matic Tutorial by Technology for Teachers and Students.
If at all possible — avoid posting lengthy “lecture” or tutorial videos. Nobody wants to watch a talking head for an hour, and your students won’t retain the key points anyway! It is perfectly okay to record your lecture all in one go… but leave a pause for a few seconds in between your major points. That way, you can “chop up” the video file into several smaller videos. A good length for an instructional video is no more than 5-10 minutes. It’s better for streaming bandwidth, and it’s easier for students to watch short videos at their convenience, and digest the key points. It also makes it easier for you to reuse individual videos in multiple courses, or as refreshers later in the course.
Use YouTube
Your institution cannot handle the bandwidth needed to stream all of the recorded lectures and live virtual classes that we’re going to be asked to facilitate — and it may not even realize that yet! Handling recorded or live video streaming requires specialized servers, with a lot of bandwidth. But, there’s no need to panic! Just use YouTube. YouTube specializes in this, and their servers are optimized for mass distribution and streaming. Upload your recorded lecture presentations to YouTube, get the link for your video, and share that with your students. Don’t want to make your recordings visible publicly? Set the video you have uploaded to “unlisted.” That will block it from search engines, but still allow anyone with the direct link to watch it. Do not set it to “Private.” Refer to my post on Using YouTube to Share Video in an Online Course (Power, 2019) for more on this.
Setting Up Channels of Communication

Just because we’re practicing social distancing in the midst of a pandemic doesn’t mean our students need to experience social isolation from either us, or their cohort. You will likely have access to a learning management system for your course once it shifts online. There are tools built in that you can take advantage of, including discussion forums. I strongly recommend setting up three main types of discussion forums:
Set up a News and Announcements forum
Put this right at the top of the course home page, so that students will see it as soon as they login to the course. Use this to post regular general announcements, important reminders, etc. I frequently also use it to post weekly wrap-ups, where I summarize what we’ve done in the previous week, and what we’re going to look at in the upcoming week.
Set up a Questions and Help forum
Put this right under the News and Announcements forum, if at all possible. I generally ask my students to use that forum for any and all questions related to the course content, assignments, or anything else that others in the class could benefit from knowing, and to refrain from sending me such questions by email. That achieves three things:
- Your students will know where to find answers to common questions.
- You can avoid answering the same question multiple times.
- You can better manage your time, as it will reduce the number of emails that you get!
I tell my students to use email to connect with me if they have an urgent matter that cannot wait until the next time I login to the course (i.e., it can’t wait until tomorrow), or if the issue is private or sensitive in nature.
Set up Weekly/Topic discussion forums
Use these for discussions related to the actual course materials and activities for a given topic or week.
Assignments
Set up some means for sharing assignment instructions, receiving assignment submissions, and distributing grades and feedback to your students. If you have access to a learning management system, it should have built-in assignment drop box tools. If not, simply set up a Google Drive folder for each assignment. Be sure to configure the link sharing settings so that students can actually save files into the folder. And be sure to specify a filenaming convention, so that you don’t end up with a dozen or more students all submitting files named simply “Assignment 1.doc.”
Want to open up a great communication channel with your assignment feedback? Now that you’ve gained some experience recording your lecture presentations, check out my recent post on Using Video to Provide Assignment Feedback (Power, 2020).
Need an Online Course Platform?
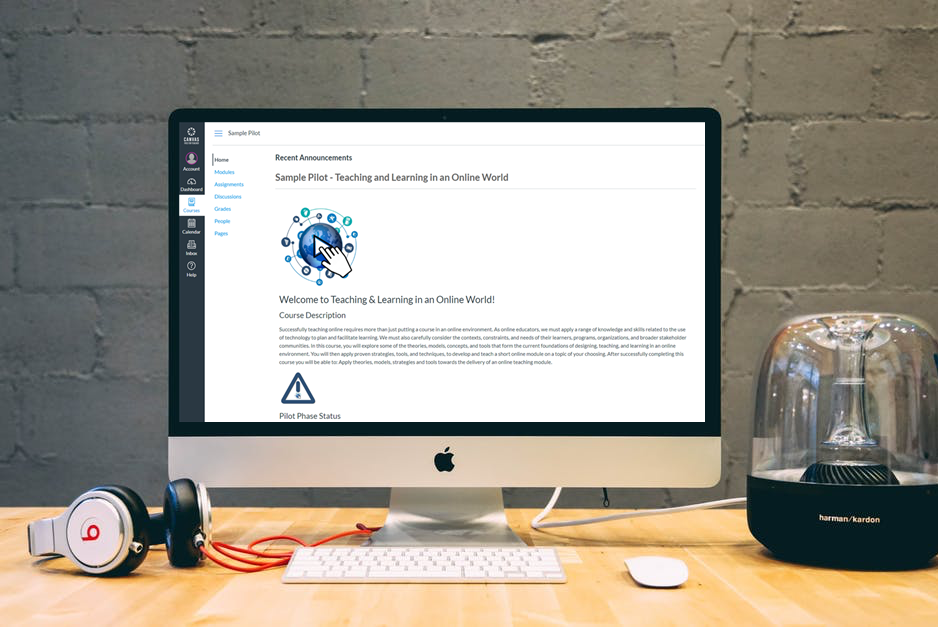
If you don’t have access to an online space such as a learning management system through your institution, I highly recommend using the Canvas Free for Teachers platform. You can get up and running quickly, and enroll up to 250 students in a single course if needed. Refer to my recent post about Creating Your Own Courses Using Canvas for everything you need to get started.
An Open Door
In addition to your regularly scheduled virtual classroom sessions, it’s a good idea to let your students know when and how they can connect with you live. I like to schedule “Open Office Hours” using an online platform. You can use your class’ Adobe Connect or Zoom link for this… but if you don’t have access to something like that, why not just use Google Hangouts? Set up a meeting room at the start of the term, share the link with your students, and schedule times when you will be logged into the space. I will login at the pre-scheduled times, and stay logged in for the whole hour (or however long the session is), even if none of my students show up. I can continue working on something else if they don’t. If they do pop in during the hour, I can meet with them just the same as if they came to my physical office on campus.
Sharing Course Resources
If your students already have physical textbooks, that’s great. But, if they don’t, you will need to provide them with some way to access the learning materials for a given topic. The easiest way to do that is to create a page in the learning management system (or on your website) for a given week or topic. Then, share links to the resources, with some introductory notes, and instructions on what to do with the resources.
If any of the materials are copyright-protected, avoid posting actual copies of the materials. Instead, post the full bibliographical reference, a link to the site hosting the resources, and any instructions that students will need to access the materials. Oftentimes, this might simply be to remind students that they will need to login to their school library account to access the resources.
Sharing Your Own Materials
If you have created your own videos, you can simply post the YouTube links for them. Some learning management systems and website platforms will let you easily “embed” the video right on the page. This might be a bit trickier if you’ve never done it before… but is a good idea if it can be done. The idea is to minimize the number of times that students need to navigate away from your course site, and then find their way back again!
If you are going to upload your own “print” materials, refer to my recent video Two Basic Steps to Make Your Documents Digitally Accessible for tips on how to make sure your documents meet basic digital accessibility requirements.
Don’t Forget Accessibility
Speaking of Digital Accessibility — just because you’re faced with a rapid online learning deployment doesn’t mean that you can ignore local, regional, state/provincial, or national Accessibility requirements! I won’t go into detail on that in this post. But, you can find some great resources to help you get started with understanding these requirements, and taking basic steps that anyone can do to meet them, from some of my recent posts:
- Accessibility in Online Teaching and Learning
- Helping Everyone Access Your Online Learning Resources
Helping Students to Manage Their Time
Students can become as overwhelmed in an online learning environment as you can, especially if it is their first time taking a course online. I frequently share the following post as a link (near the top of the course homepage) in my courses, to help students learn to manage their time with both course readings and discussions. Feel free to share it with your students!
References
Google (n.d.). Google Hangouts. [Web page]. Available from https://hangouts.google.com/
Google (2020). YouTube. [Web page]. Available from https://www.youtube.com/
Instructure (n.d.). Canvas: Free for Teacher. [Web page]. Available from https://canvas.instructure.com/login/canvas
Power, R. (2015, January 25). Turning PowerPoint Presentations in Videos. [YouTube video}. Available from https://youtu.be/40uF8H2KgoY
Power, R. (2018, June 12). Accessibility in Online Teaching and Learning. [Web log post]. Power Learning Solutions. Available from https://www.powerlearningsolutions.com/blog/accessibility-in-online-teaching-and-learning
Power, R. (2019, January 13). Optimizing Your Time with Online Courses. [Web log post]. Power Learning Solutions. Available from https://www.powerlearningsolutions.com/blog/optimizing-your-time-with-online-courses
Power, R. (2019, January 14). Using YouTube to Share Video in an Online Course. [Web log post]. Power Learning Solutions. Available from https://www.powerlearningsolutions.com/blog/using-youtube-to-share-video-in-an-online-course
Power, R. (2020, February 13). Helping Everyone Access Your Online Learning Resources. [Web log post]. Power Learning Solutions. Available from https://www.powerlearningsolutions.com/blog/helping-everyone-access-your-online-learning-resources
Power, R. (2020, February 12). Two Basic Steps to Make Your Documents Digitally Accessible. [YouTube video]. Available from https://youtu.be/AKzuXghQFnc
Power, R. (2020, February 26). Creating Your Own Courses Using Canvas. [Web log post]. Power Learning Solutions. Available from https://www.powerlearningsolutions.com/blog/creating-your-own-courses-using-canvas
Power, R. (2020, March 6). Using Video to Provide Assignment Feedback. [Web log post]. Power Learning Solutions. Available from https://www.powerlearningsolutions.com/blog/using-video-to-provide-assignment-feedback
Power, R. (2020, March 6). Using Screencast-O-Matic to Provide Video Feedback. [YouTube video]. Available from https://youtu.be/Le_ek1aRjdw
Screencast-O-Matic (2019). Video Creation for Everyone. [Web page]. Available from https://screencast-o-matic.com/
Slade, Tim (2017, February 26). 250+ Free Stock Photos for eLearning. [Web log post]. Timslade.com. Available from https://timslade.com/blog/stock-photos-for-elearning/
Technology for Teachers and Students (2016, December 26). Screencast-O-Matic Tutorial – FREE Screen Recording Tool. [YouTube video]. Available from https://youtu.be/s1jIPo1bWCo
Zoom Video Communications (2020). About Zoom. [Web page]. Available from https://zoom.us/about
