Use the Editor
Add Images
Images can serve multiple purposes in published material. They can engage readers by creating visual interest. They can also illustrate, clarify, denote relationships, call out similarities or differences, and more. Pressbooks makes it simple to incorporate images into your published work.
Prepare your Image
To ensure optimal performance for your webbook and image exports, it’s crucial to prepare your images properly before uploading them to Pressbooks. While various image formats are supported, selecting the appropriate file type and resizing your images are key steps. This will help your webbook load quickly and ensure your exports complete without issues.
Choosing the right file type
The most commonly used image file types are JPG and PNG. Here are some characteristics of both formats to help you choose the right one.
JPG (JPEG):
- Best for photographs or images with many colors and gradients.
- Smaller file size, which helps with faster loading on the web.
- Uses lossy compression, so avoid re-saving multiple times to prevent visible quality loss.
PNG:
- Best for logos, illustrations, charts, or images requiring sharp lines or transparency.
- Larger file sizes compared to JPG, but higher clarity for text and simple graphics.
- Supports transparent backgrounds, which can be useful for overlaying images on colored backgrounds.
Resizing the image
Because your book may be read on screens, e-readers, or as a PDF, it’s best to optimize for a balance between resolution and file size. The optimal size and resolution can differ depending on the book’s main format.
Webbook
- Maximum width: 1200 px for full-width images.
- For inline images: 600–800 px wide is usually sufficient.
PDF (print/digital)
- At least 300 dpi (dots per inch) for images intended for print-quality output.
- A typical image in print might be 5–6 inches wide at 300 dpi, which equals about 1500–1800 px wide.
EPUB
- Images should generally not exceed 1600 px on the longest side to balance clarity and file size.
- Stick with 150–200 dpi resolution for screen-optimized e-readers.
If your goal is to produce a book for both web and print delivery, image set up and placement must be considered. It is recommended that all images are centred and that image size is no more than 500 pixels wide and 600 pixels high.
Using a larger image can potentially push it to another page in the PDF—sometimes several pages away from its webbook position. One solution for this problem is to add page breaks to key spots in the book.
Add an Image
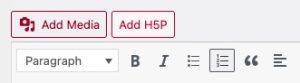
- Click the Add Media button above the editor toolbar.
- If the image has already been uploaded to the Media Library, select it and click Insert into Chapter.
- Otherwise click the Upload Files tab.

- Add the image by dragging and dropping it in the window or by selecting it through your file navigator.
- Add image alternative text and image information.
📕 Learn more about adding image details in our User Guide chapter on Manage Your Media. - Choose the desired alignment and size for the image.
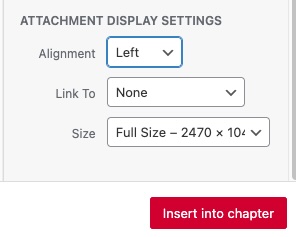
- Click Insert into chapter.
Edit an Image in a Chapter
- Click on the image in the Visual editor.
- Click the Edit button in the image toolbar.
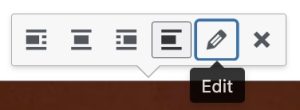
- Review and edit the image details (alternative text, caption, display settings, etc.)
