Manage Your Book
Manage Your Media
📌 Plan requirement: Enterprise, Collaboration
Adding images and other media makes your content more engaging for readers. Pressbooks allows you to incorporate different types of media into your webbook, including images, audio, video, documents, and more! The Media Library is where all of your Pressbook’s uploaded media will be stored. The Media menu allows you to add new media in bulk, edit your media, and add important information like titles, captions, and alt text.
View your Book’s Media
In your book’s admin menu, click Media to view your Media Libarary.
The Media Library allows you to view and edit your book’s media. By default, the files are sorted by the most recent. Through the toolbar at the top of the Media Library window you can search for, filter and sort your media.
| Display Media Library files as a list | |
| Display Media Library files as a grid | |
| Filter Media Library by media type | |
| Filter Media Library by upload date | |
| Select multiple media items for permanent deletion | |
 |
Search your Media Library by filename, title, caption, or any other details you have included with your attachments. |
Add Media to your Media Library
- In your book’s admin menu, click Media.
- Click Add New Media File.

- Click Select Files.
A window to select files from your computer opens. - Navigate to and select the file(s) you want to upload and confirm.
✔️ The media file is imported and displays in the Media Library.
Note: On most Pressbooks networks, the maximum upload size for a single attachment is 25 MB. This limit may be lower, depending on your network manager’s preferences. If you have questions about file upload limits, contact your network manager.
Alternatively to steps 3 and 4, you can drag and drop files directly onto the Media Library window to upload them.
Add Details to your Media
Adding details to your media files let’s you keep track of relevant information such as alternative text, captions, descriptions and copyright information. Including alternative text (also known as alt text) for all non-decorative images is important for accessibility reasons. Alt text is useful for users who are visually impaired and using screen readers, allowing them to understand the content of a media attachment. Learn more about alt text principles from WebAim. If you are using media that you did not create yourself, there are also fields available to include attribution for the media, including a source URL, author details, and licensing information.
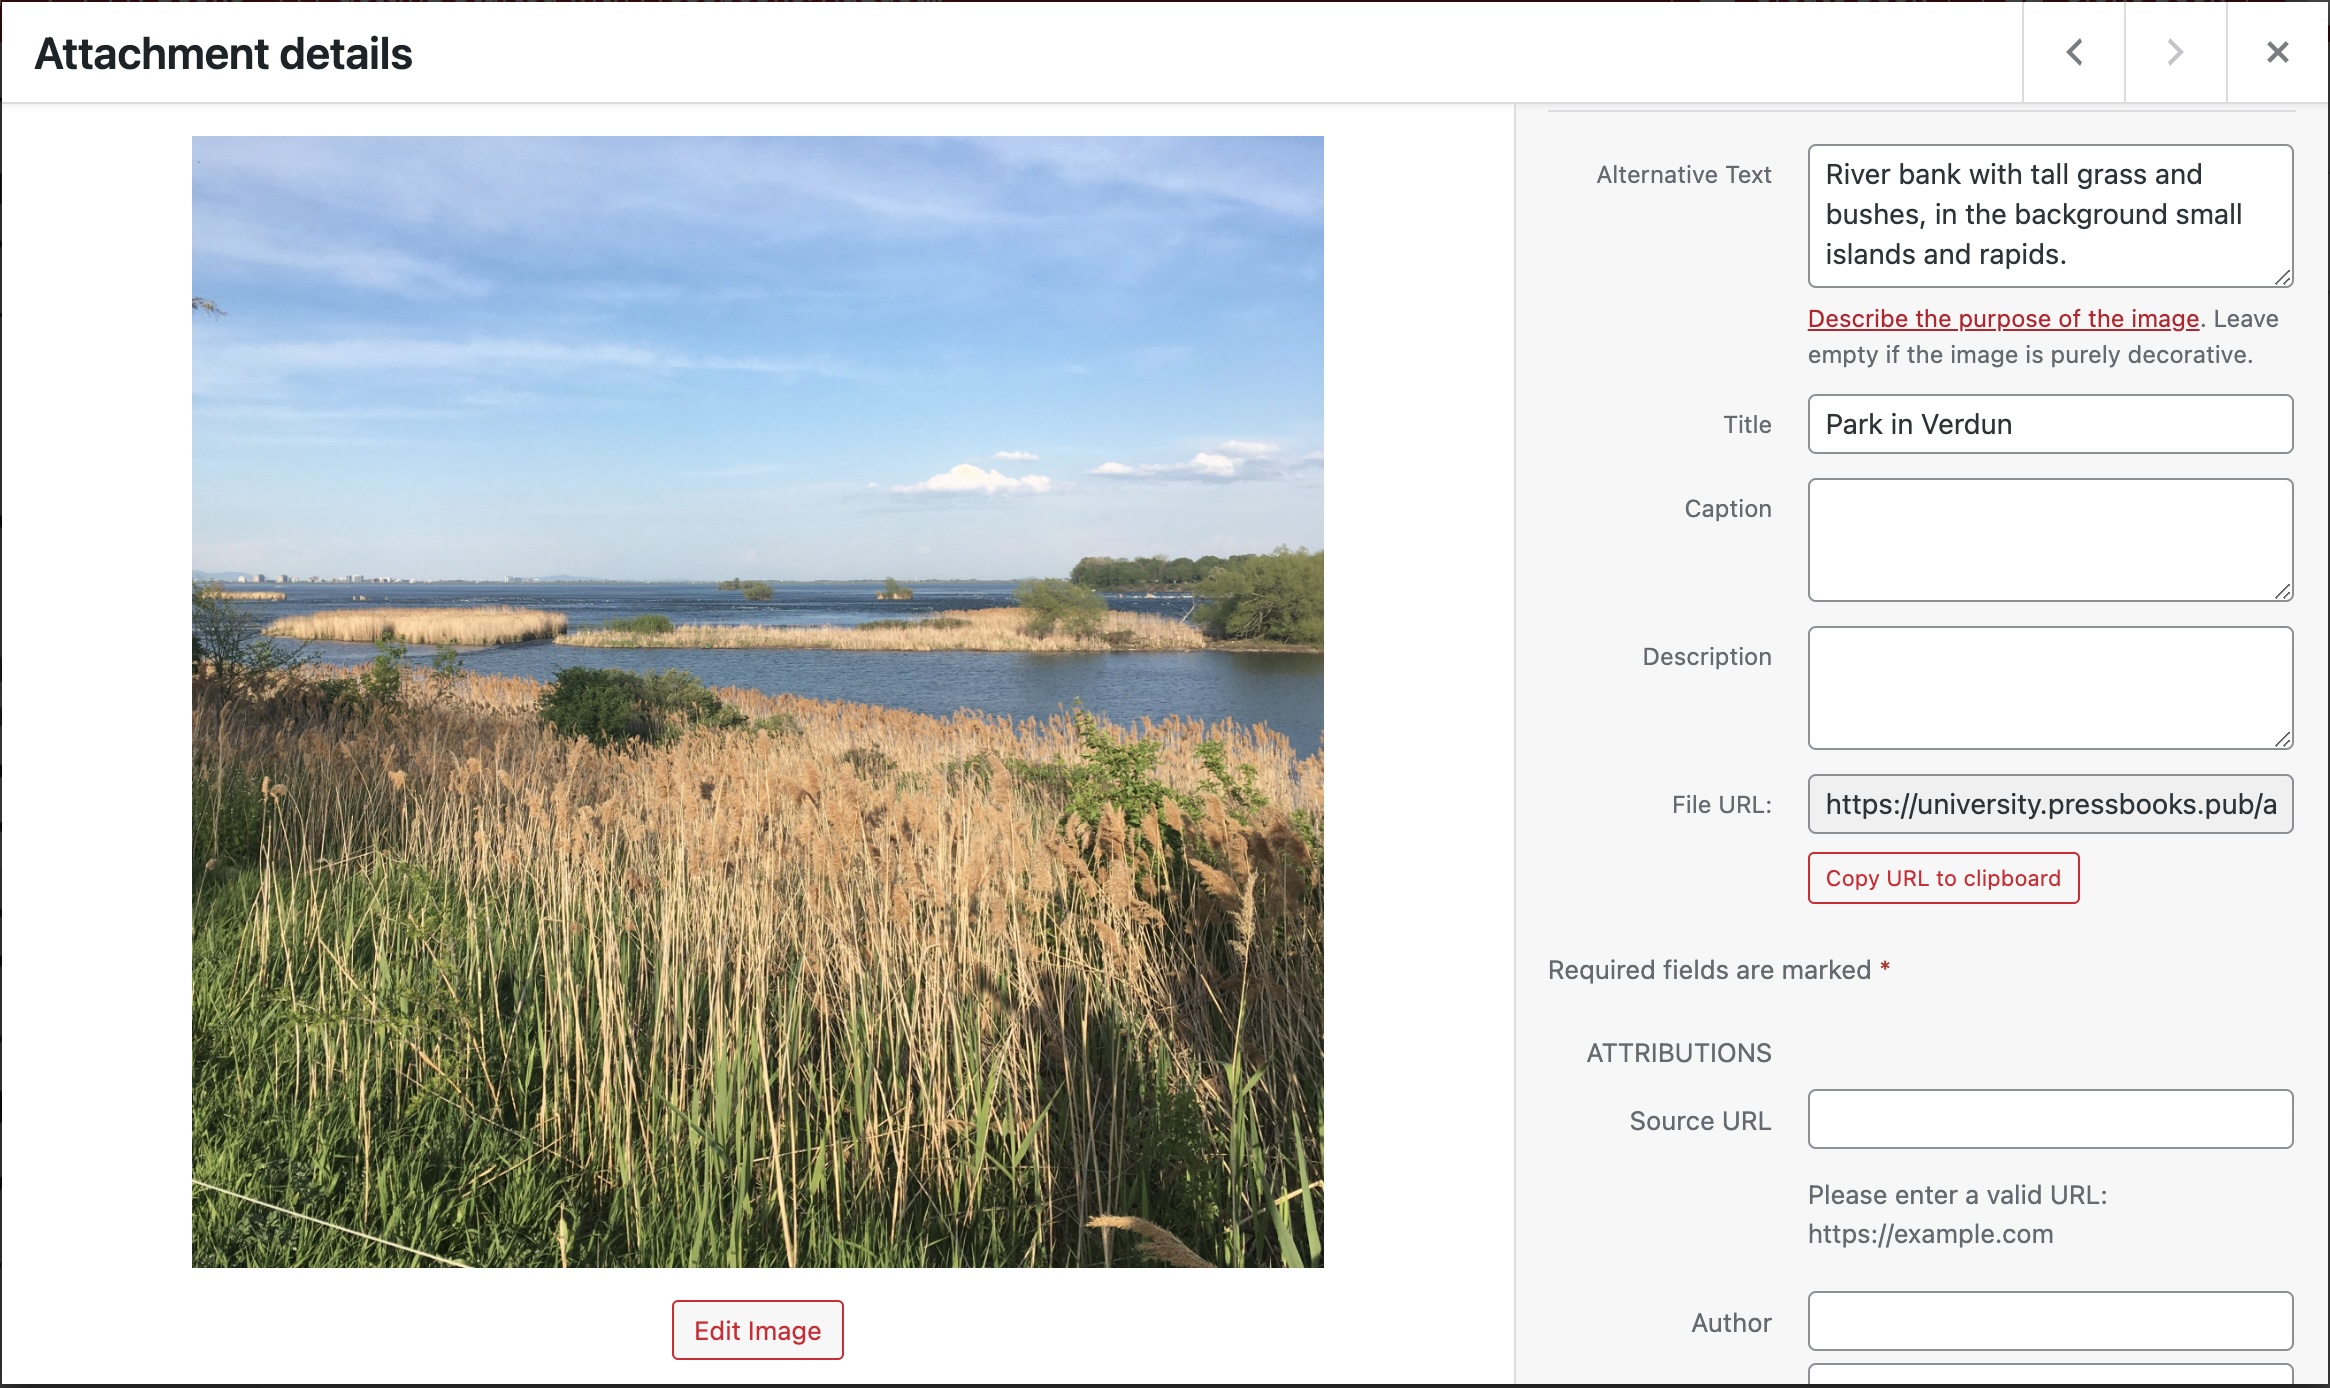
To add or edit alt text for your media:
- In your media library, click on the image you want to add information for.
The Attachment Detail window opens. - In the textbox Alternative Text enter the description for your image.
- Click
 in the top right corner to exit the window.
The information is automatically saved.
The above instructions can be adapted to modify other information in the Attachment details for a media file.
Edit an Image
It is possible to edit some aspects of images you have uploaded within your media Library. You can perform edits like cropping, rotating, or flipping your media as well as changing the scale or aspect ratio.
⚠️ Editing an image may break how the image appears where you had already inserted it before.
To edit an image:
-
- In your media library, click on the image you want to edit.
The Attachment Detail window opens. - Click on Edit Image.
The image edit window opens.
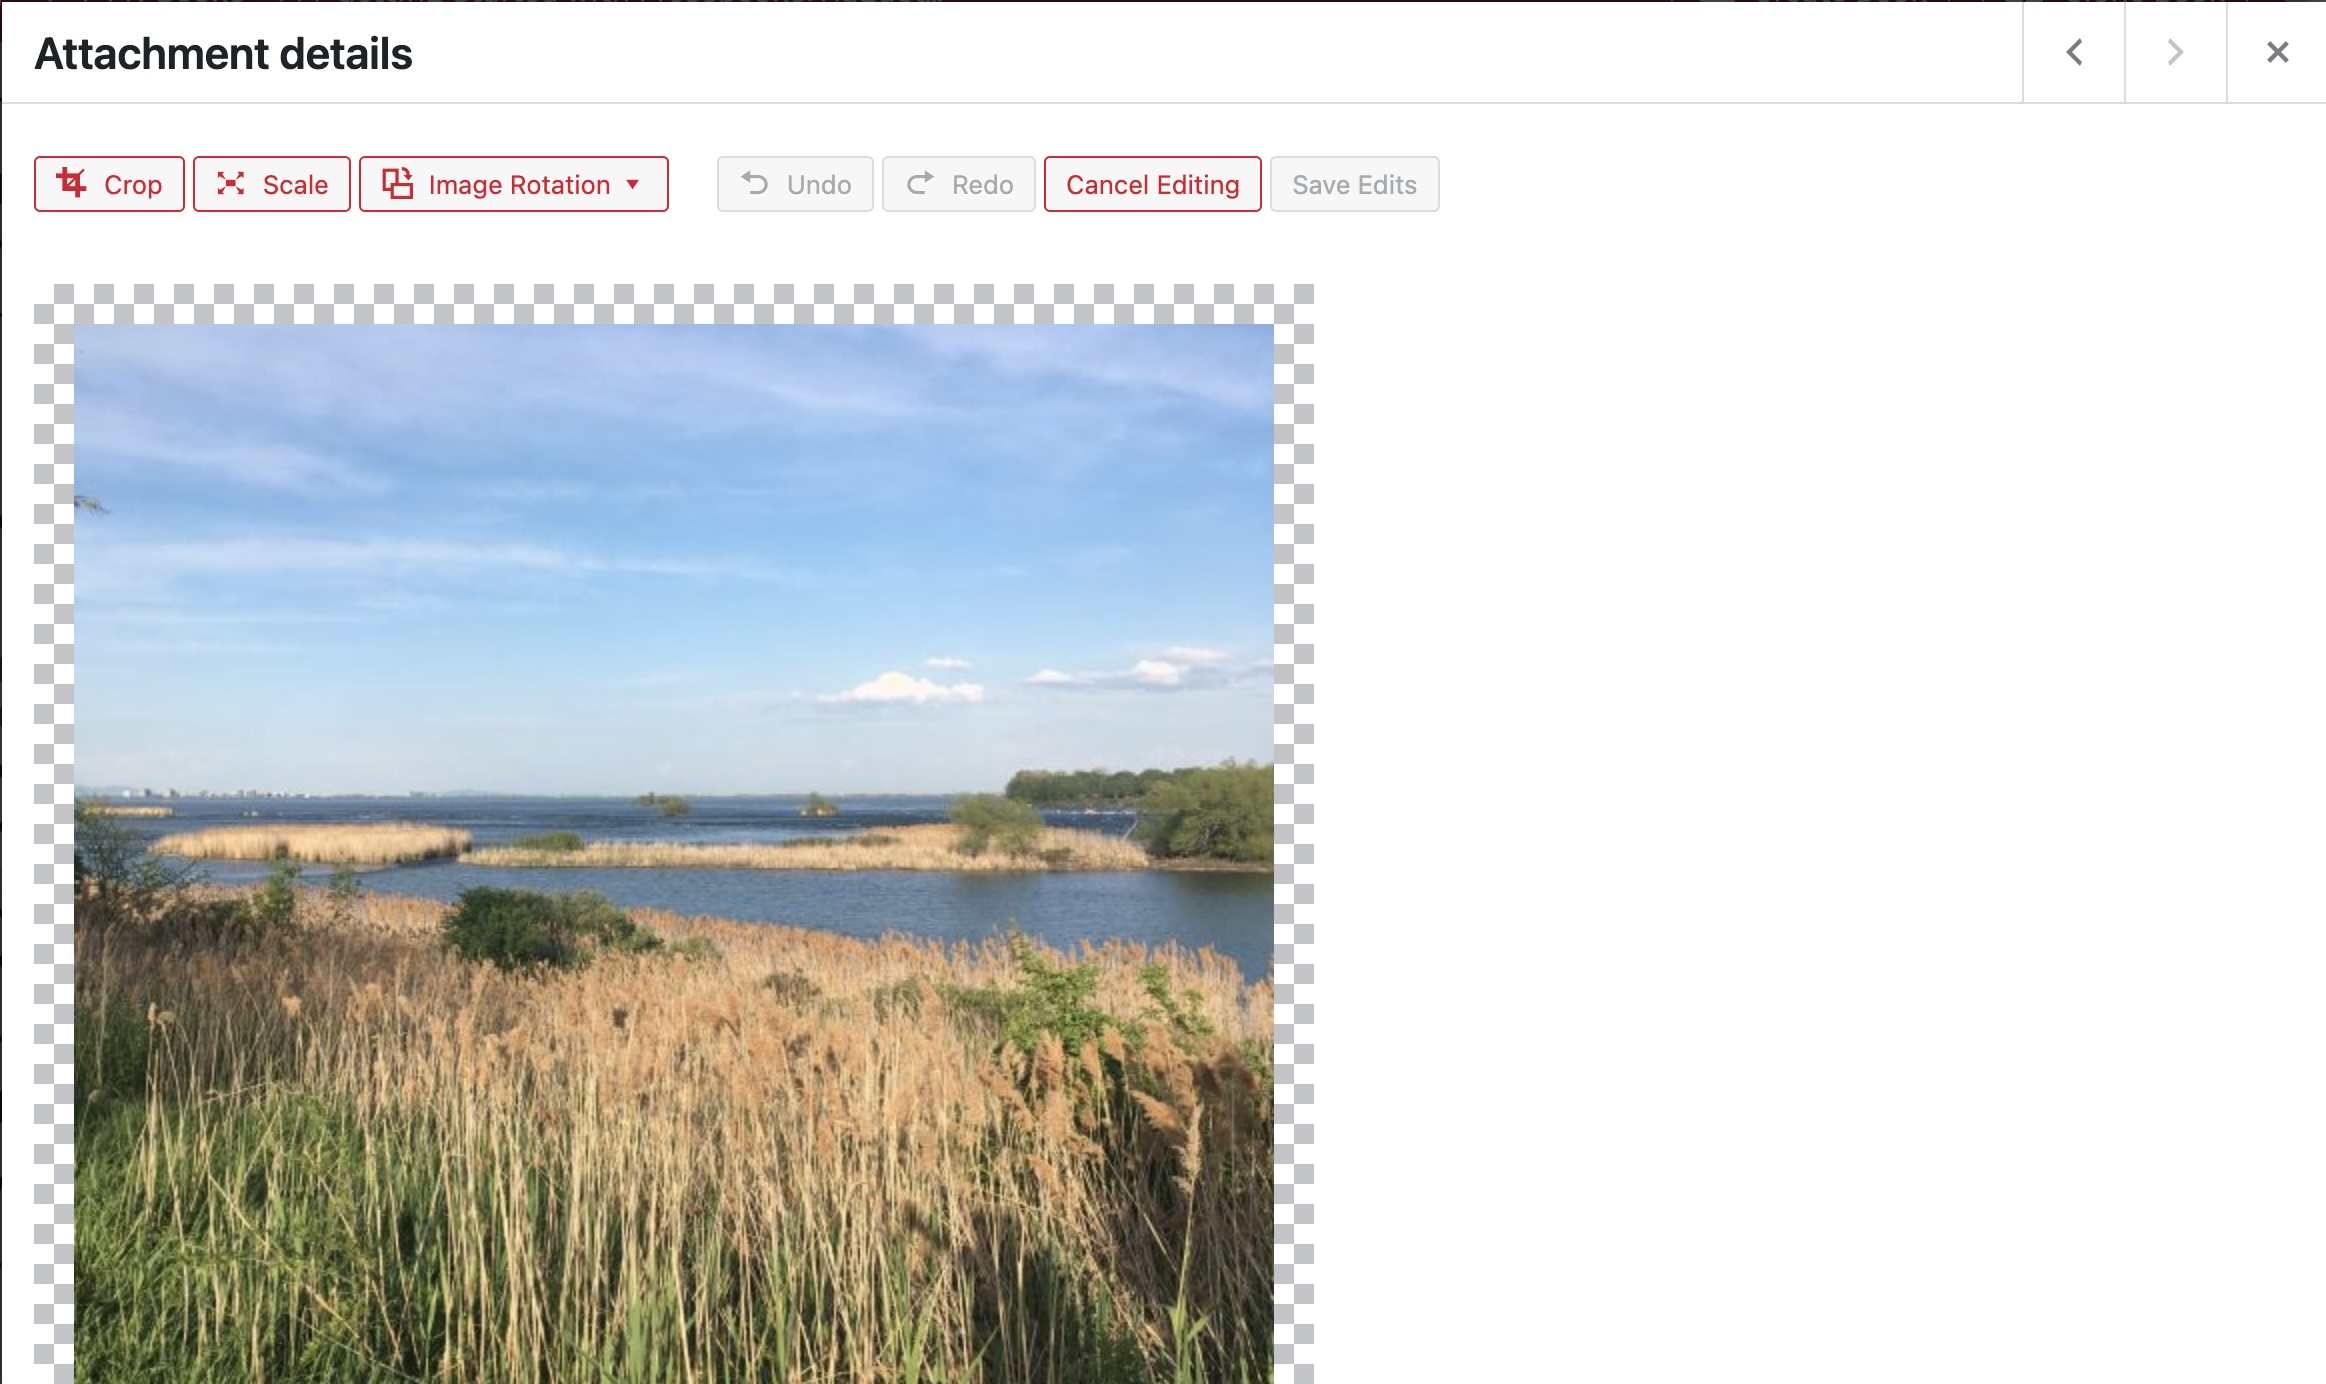
- Perform one or more of the following edit actions: Crop, Scale, Image Rotation.
- Crop:
- Click Crop.
- Use the handles on the selection rectangle to select the part of the image to preserve.
- Click Apply Crop.
- Click Save Edits.
- Scale:
- Click Scale.
- Enter the desired values in the New dimensions fields.
- Click Scale.
- Image Rotation:
- Click Image Rotation.
- Select the option you want to perform from the dropdown.
- Click Save Edits.
- Crop:
- Click to exit the Attachment details window.
- In your media library, click on the image you want to edit.
Delete media
You can delete media files from your media library one by one or in bulk.
To delete a single media file:
- In your media library, click on the image you want to delete.
The Attachment Detail window opens. - Click Delete permanently at the bottom right of the window.
A pop up window asking for confirmation appears. - Click OK.
To delete multiple media files at once:
- In your media library, click on Bulk select.
- Click on the images you want to delete.
- Click on Delete permanently.
A pop up window asking for confirmation appears. - Click OK.
