The Simple 6 Step Guide to Making a Book with Pressbooks
Getting started with Pressbooks is easy and learning the basics takes just a few minutes. This quick guide walks you through the essential steps to create, organize, and share your book. Start here and explore additional guide chapters for more in-depth instructions whenever you need them.
Step 1: Sign In
Pressbooks Enterprise
If you use Pressbooks through your institution’s network, navigate to the URL in your invitation email and enter your credentials.
Pressbooks Self-Publisher
If you use Pressbooks via our Self-Publisher site, navigate to https://pressbooks.pub/auth/ and enter your credentials or sign up for a new account.
Pressbooks Public
If you use Pressbooks through your library’s network, navigate to the URL in your welcome email and enter your credentials.
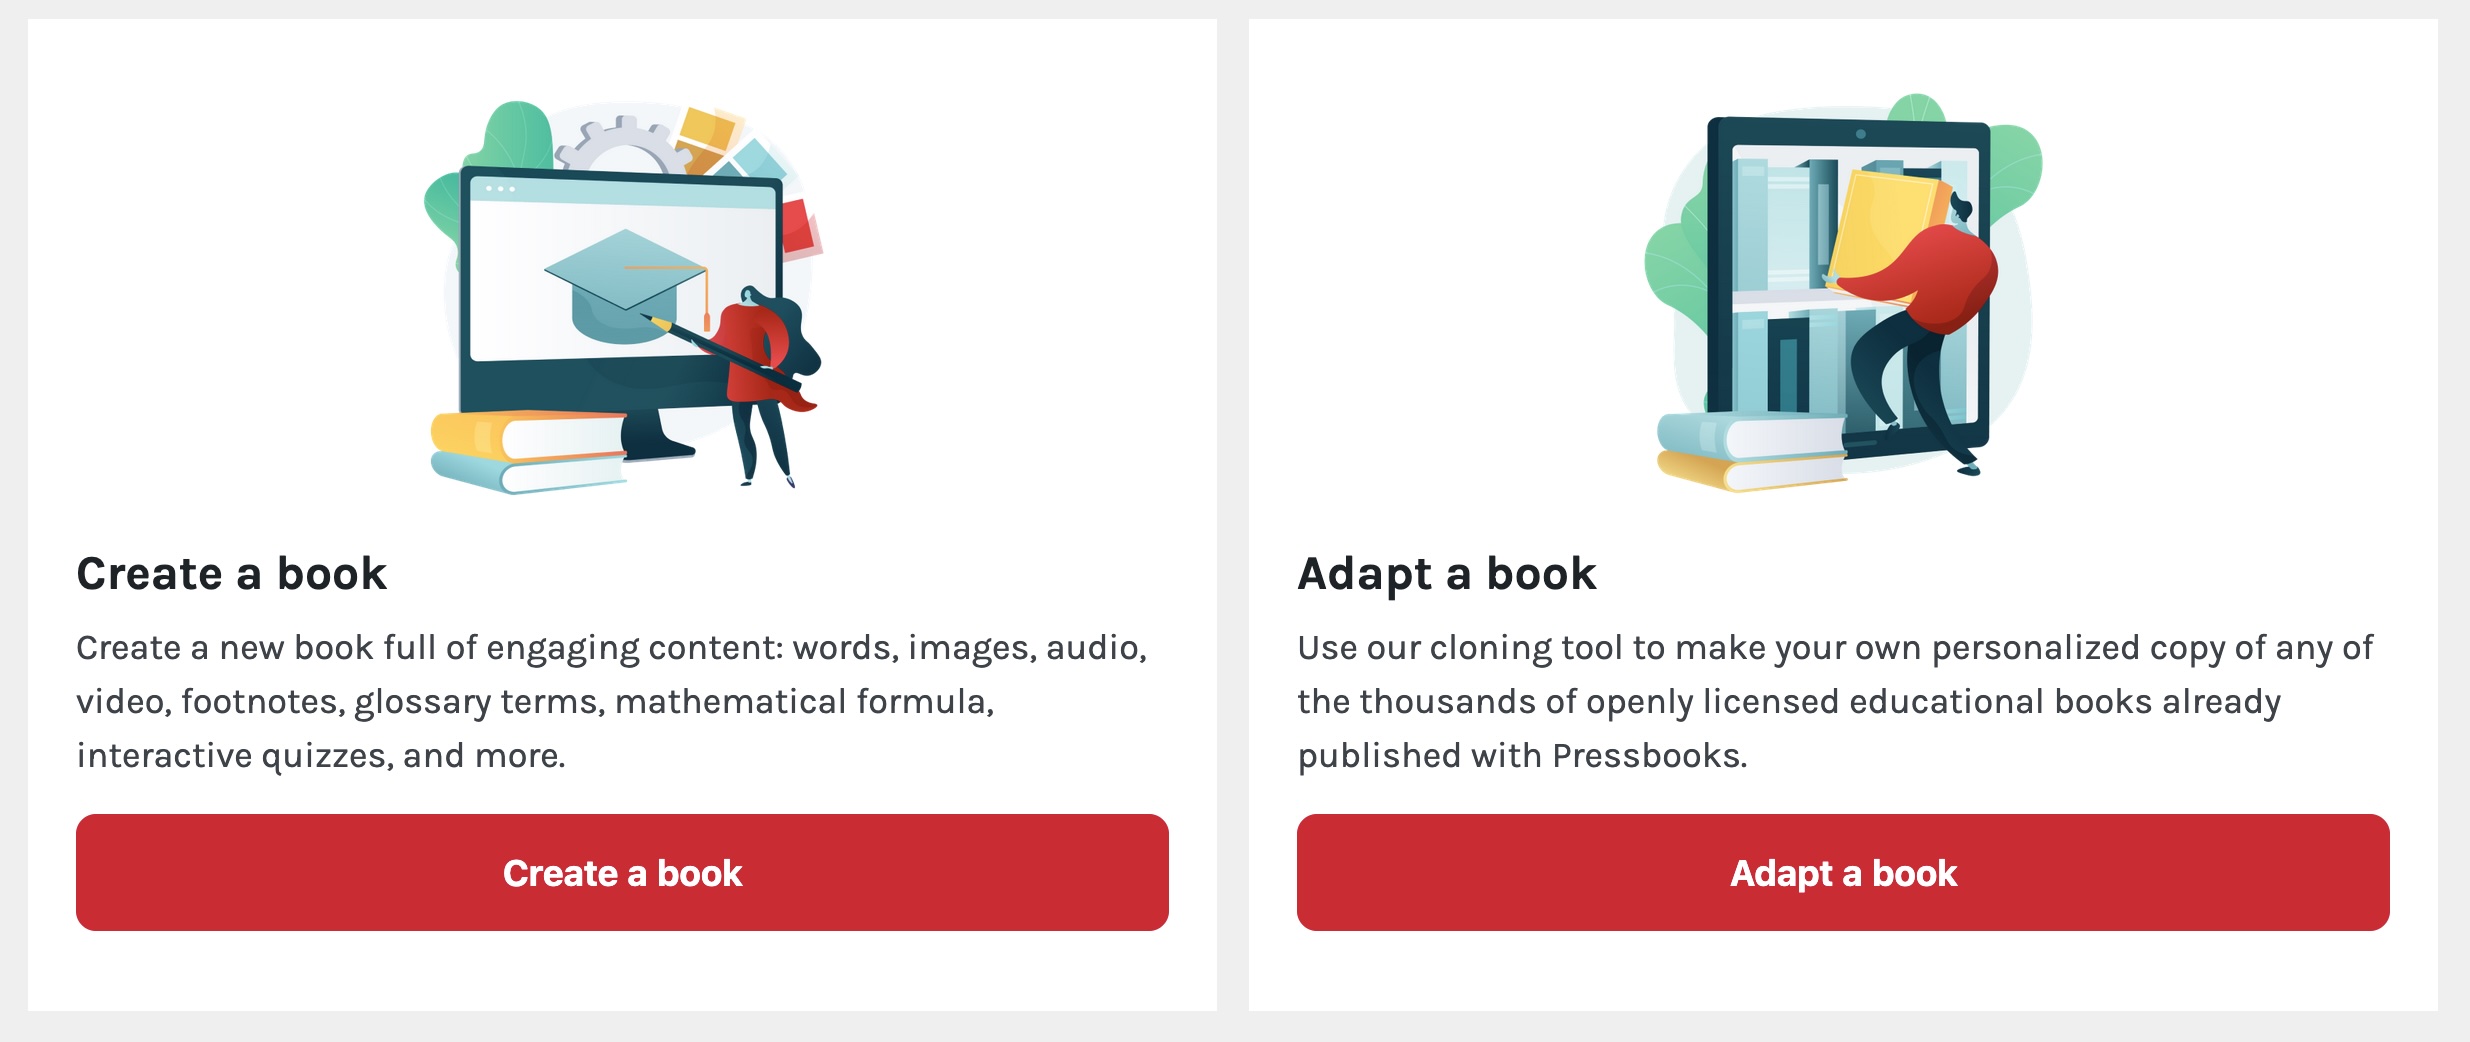
Step 2: Create Your Book
- In your admin dashboard click the Create a book button.
If you do not see this option, contact your network manager.
The “Create a new book” page opens. - Type in your desired Site Name. This is the URL where your webbook will live. The site name cannot be changed later, so choose this value carefully.

- Type your desired Book Title.
The book title can be easily changed at any point in the future. - Choose whether your webbook should be visible to the public or not and click the corresponding option.
You can change this setting at any point in the future. - Click Create Book.
✔️ The book will be created for you and you will be taken to its dashboard.
Step 3: Add Book Information
The Book Info page is where you add and edit important information (metadata) about your book.
- From your book dashboard, click Book Info.

- Enter the desired information in the fields on the Book Info page.
- Click Save.
📕 Read our guide chapter on Book Info for more information.
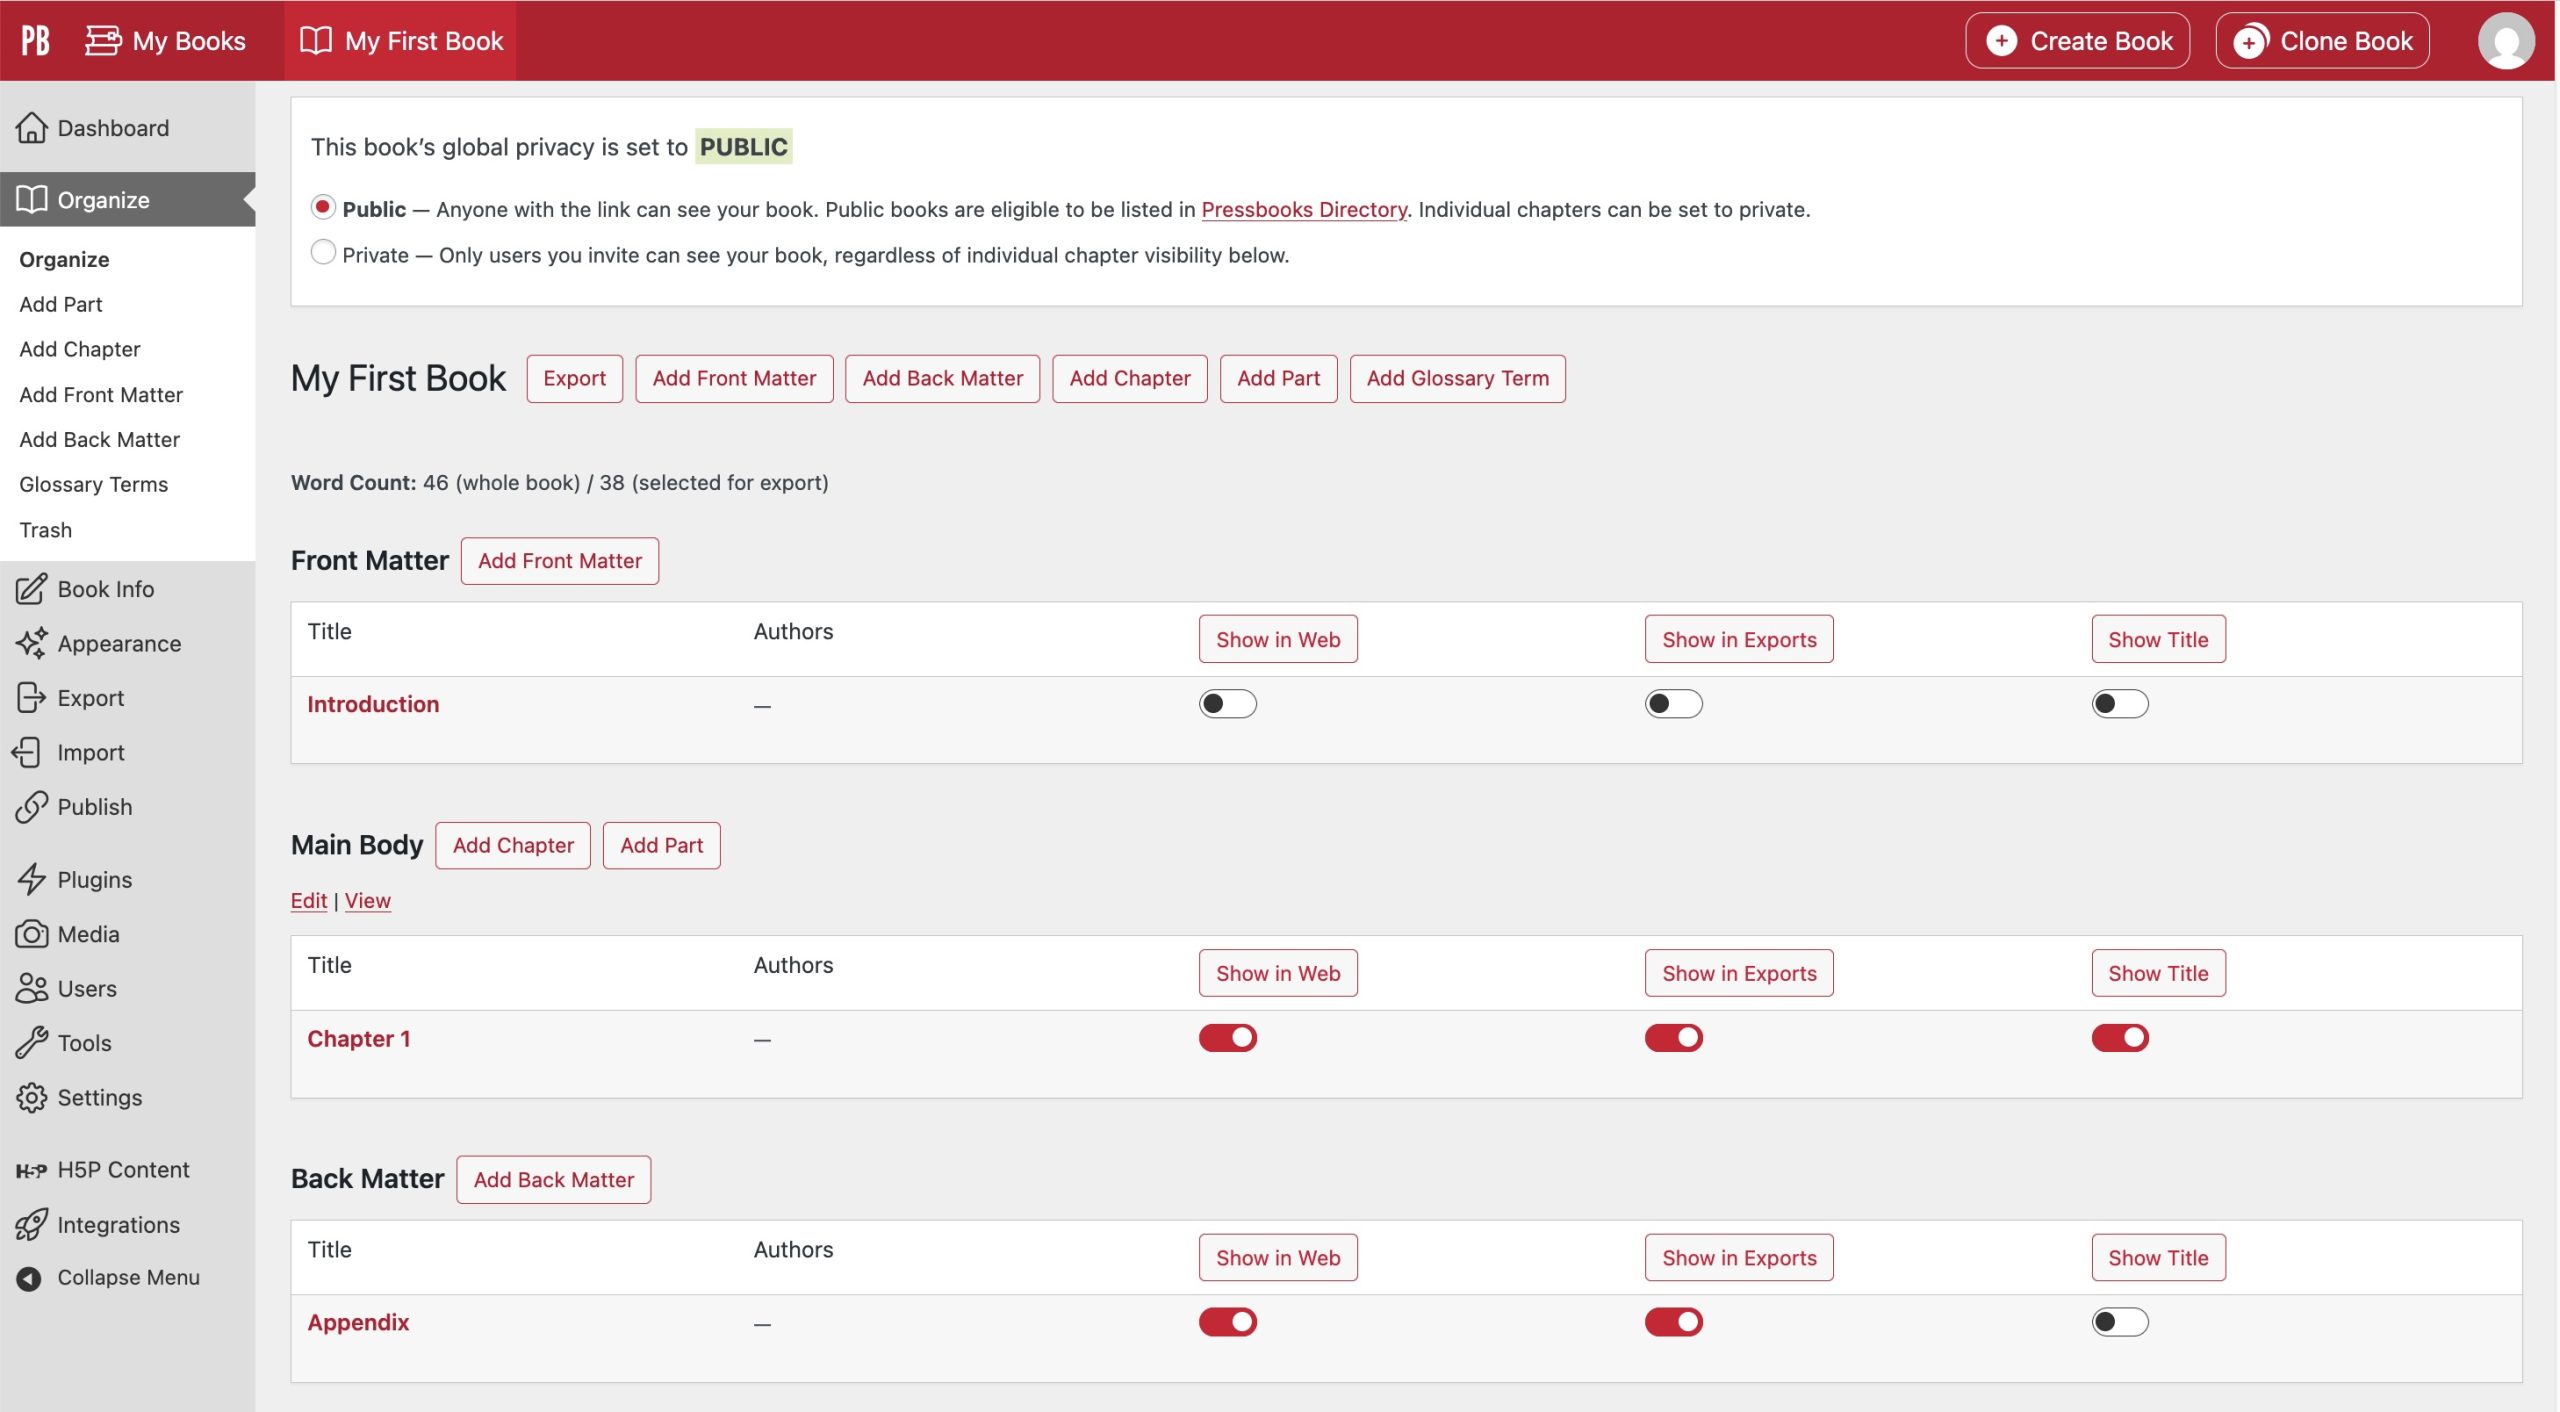
Step 4: Add and Organize Content
You can add and organize your text from the Organize page in the left sidebar menu of your book dashboard. The Organize page will allow you to see all of your existing content, its order, and its display status. You’ll see the three main components of your book on this page:
Front Matter: Content in this section may include your introduction, foreword, dedication, and more.
📕 You can read more in our chapter on Front Matter.
Parts & Chapters: These comprise main body of your book. Your book can contain one or more Parts. Each part can contain one or more Chapters.
📕 Learn more in our chapters on adding Parts and adding Chapters to your book.
Back Matter: Content in this section may include your epilogue, appendix, information about contributors, and more.
📕More details can be found in our chapter on Back Matter.
📕 For more information on other ways to import your text into Pressbooks, check out our guide chapter on bringing your content into Pressbooks.
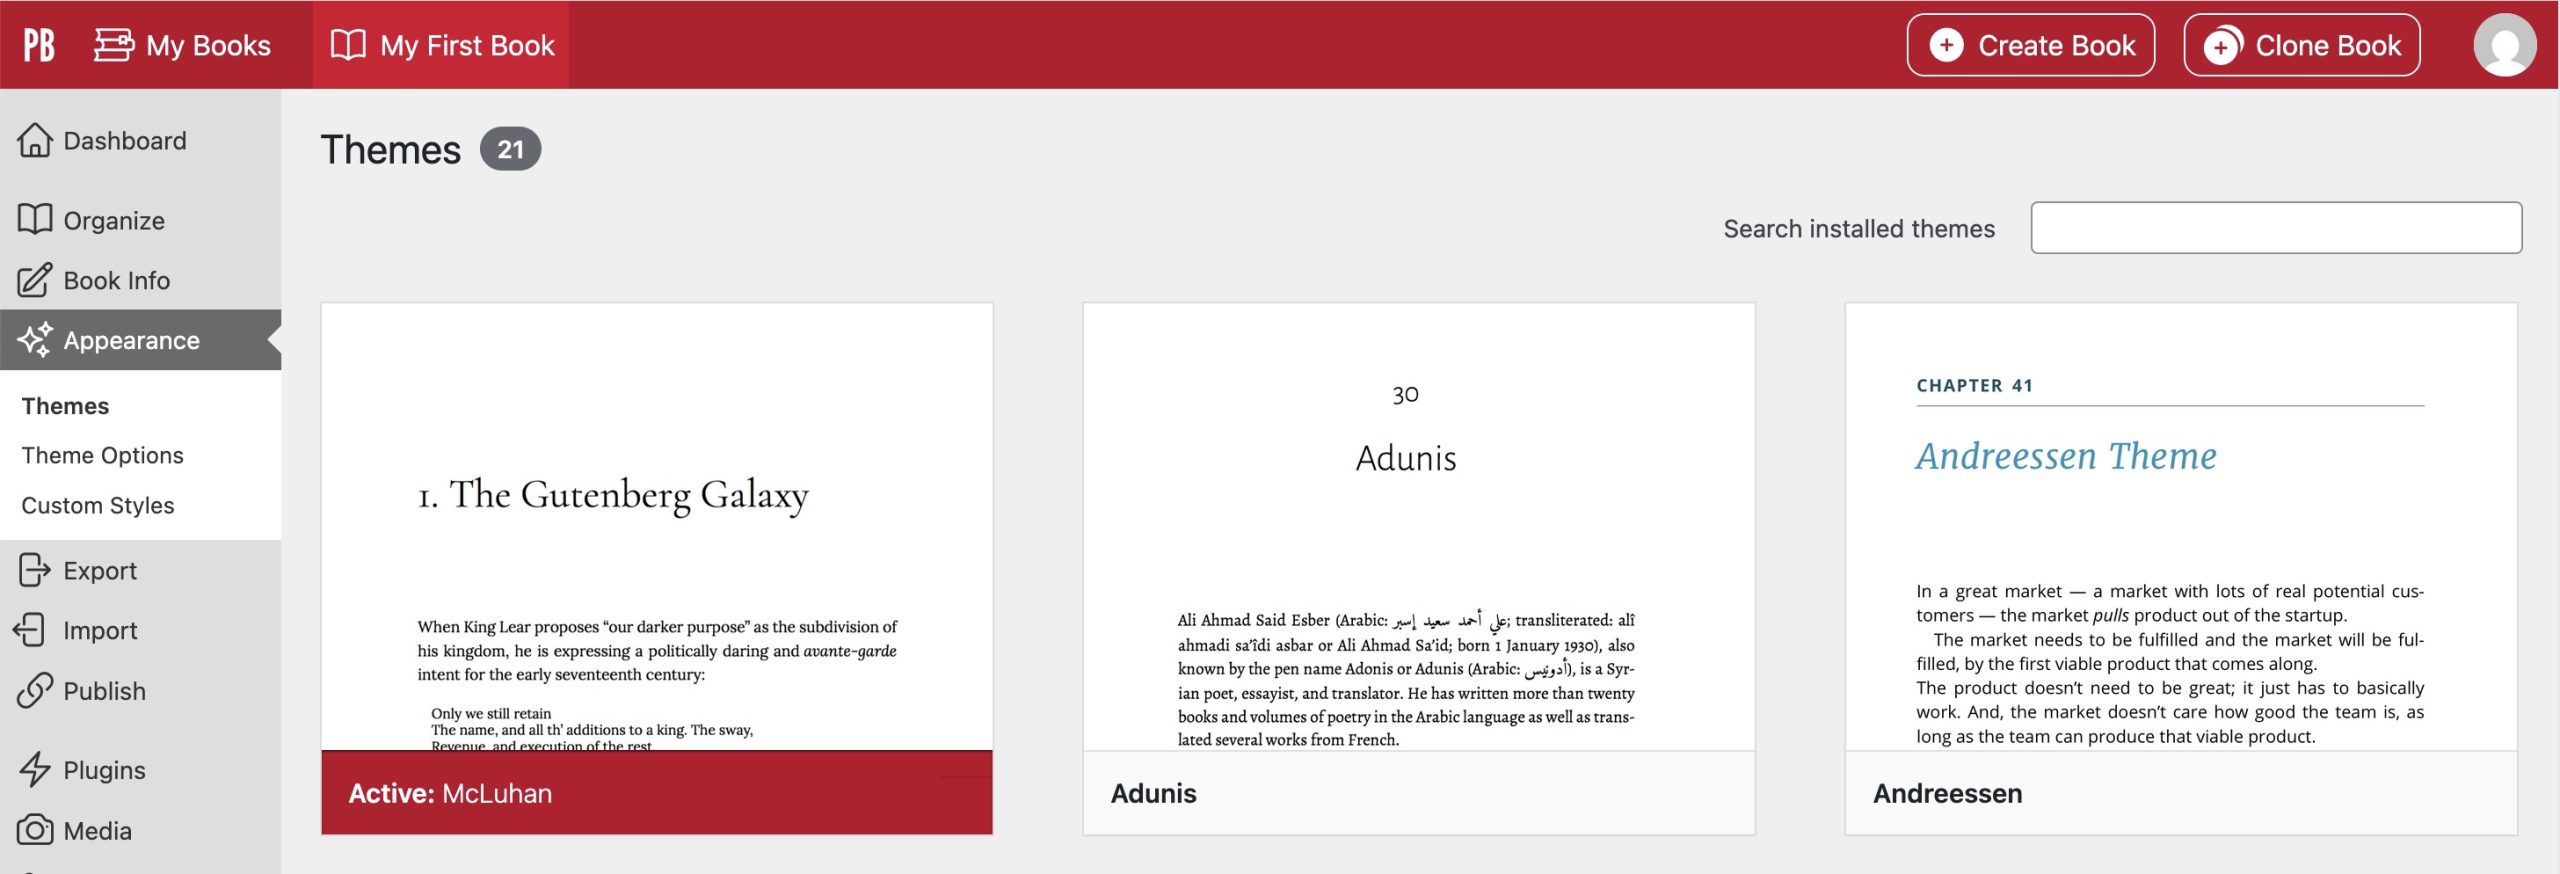
Step 5: Choose Your Book Theme
Once you’ve entered or imported the content that will make up your book, select and apply your preferred Theme. Each Pressbooks theme is a unique template which governs the display of your webbook and export formats (including PDF and ebook exports).
Browse available themes by clicking Appearance > Themes from your book’s dashboard:
📕 Once you’ve selected a theme, you can customize several of the design elements for your webbook and export files using Theme Options or Custom CSS.
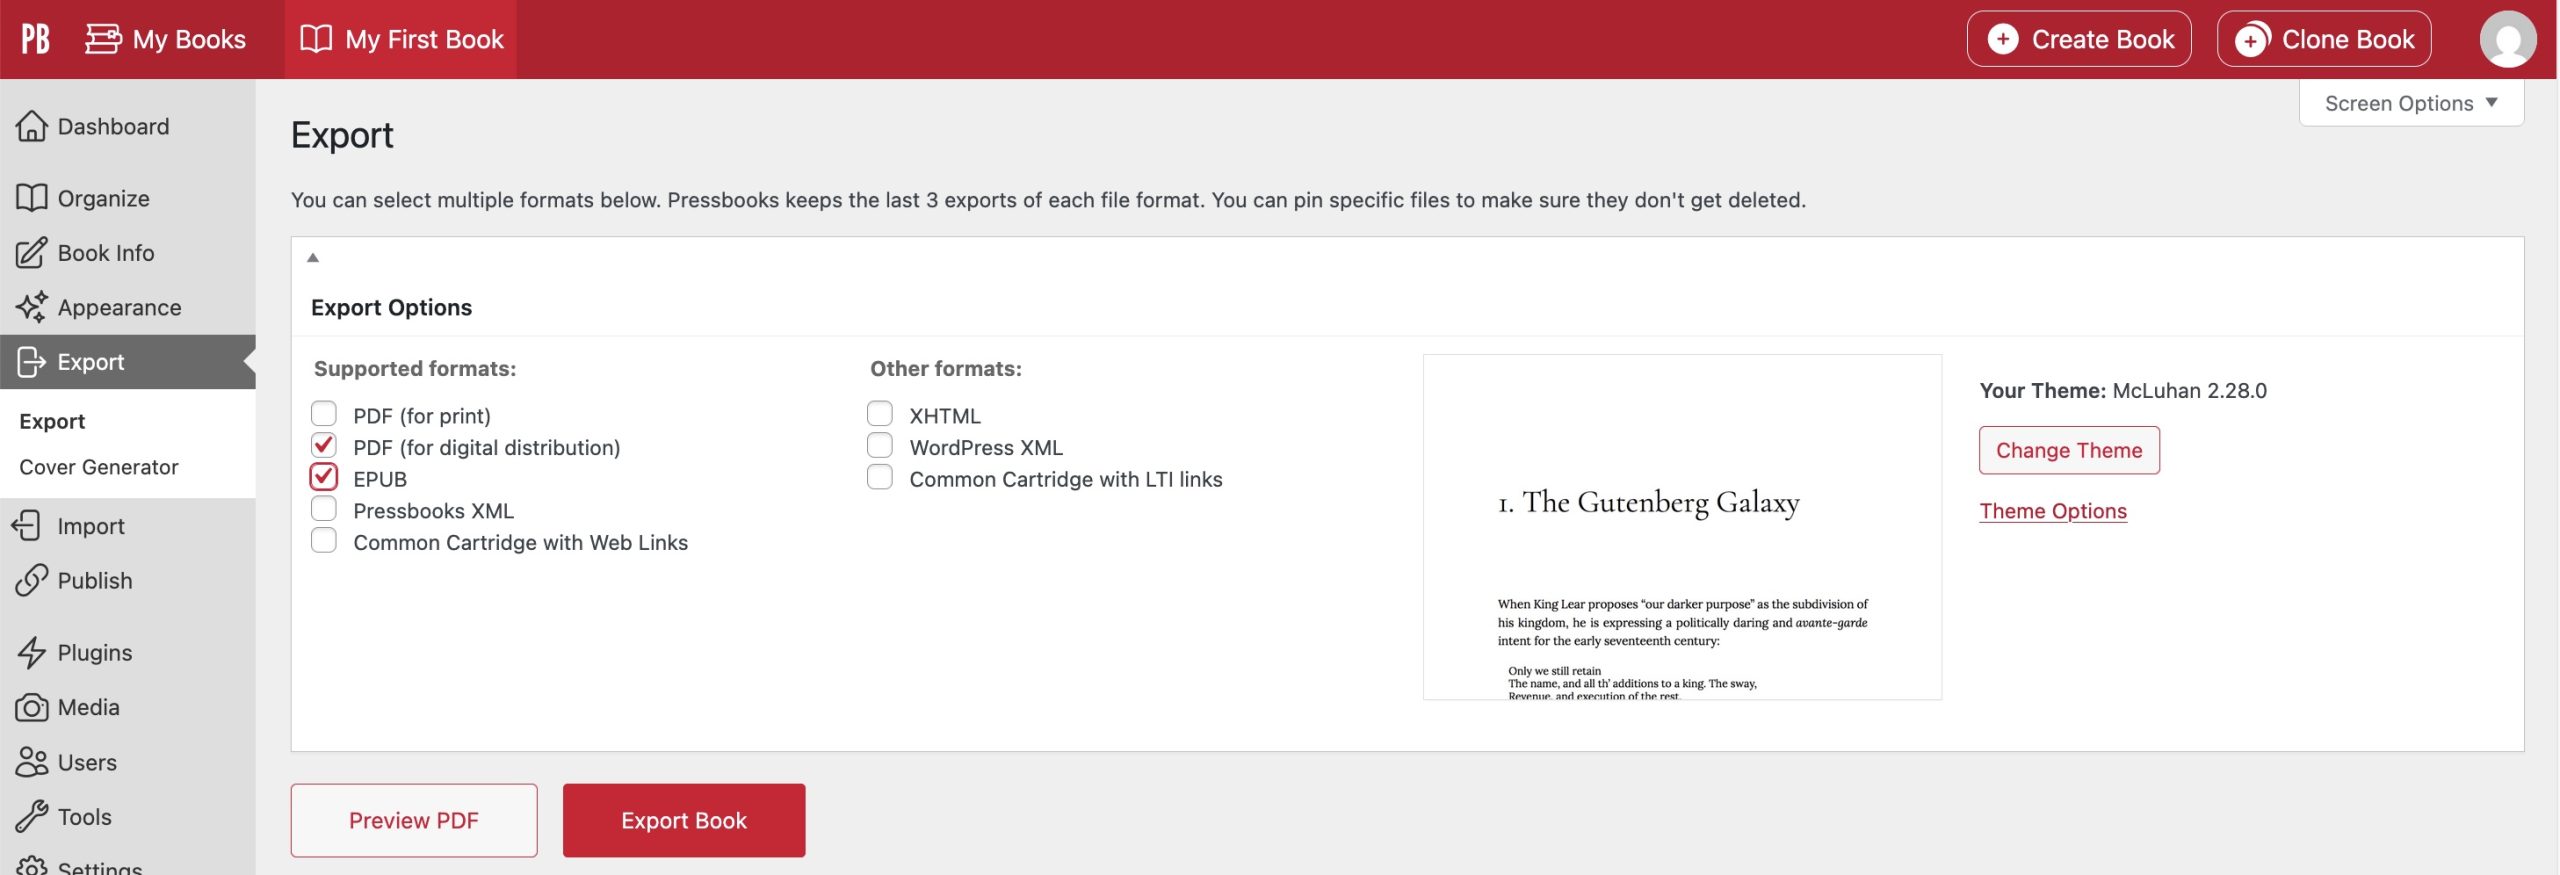
Step 6: Export Your Book
Once you’re happy with the appearance of your book, you can publish it to the web as a webbook or produce exports for distribution or for sale. To produce and download export files for your book, click Export from your book dashboard:
⚠️ On Pressbooks Self-Publisher, export files will have Pressbooks watermarks and the webbook cannot be made public until the book has an active subscription. See our chapter on how to subscribe to your book.
