Learning Objectives
- Learning basic tech needs
- Understanding recording options
- Choosing the right equipment for your budget
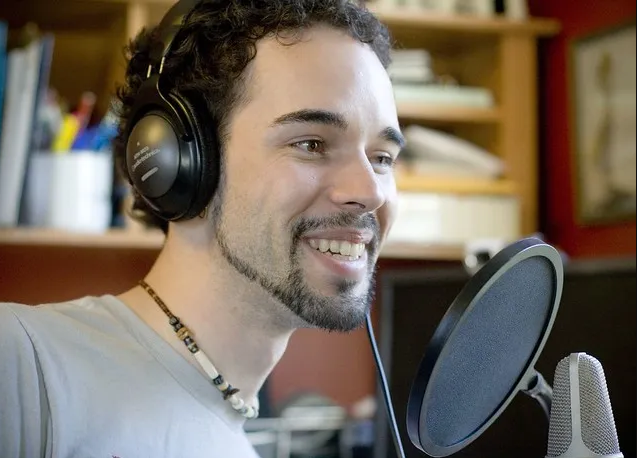

For most people, entry-level access to producing a podcast involves recording equipment, a computer, internet connection, and editing software. Choices will be influenced by your pocketbook, experience, and personal preferences but this guide emphasizes free or low-cost equipment.
There are three main styles of podcast microphones: hand-held, stand, and lavalier and they all have pros and cons. That should not be confused with the pickup pattern within a microphone and is explained a bit later.
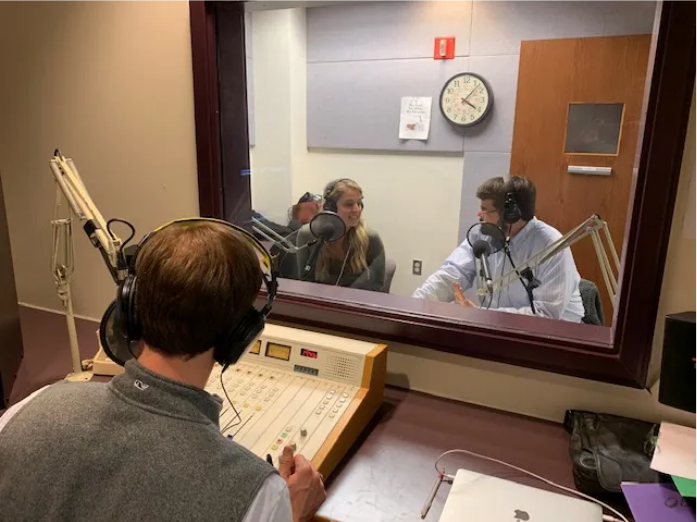
Recording a podcast can be as simple as using your smartphone or as complex as recording in a professional studio. There are free and low-cost options to consider as well as professional-level resources available to many schools, universities, and businesses.
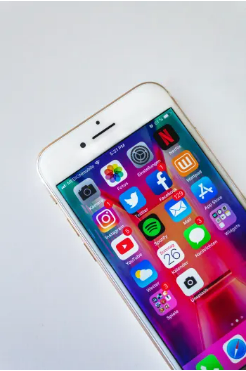
At the most basic level, a smartphone app can be your microphone for recording. On the iPhone, Voice Memo can be launched from your home screen for interviews and narration, and the same is true for androids.
The audio quality is so good that some professional radio reporters just use their iPhones for newsgathering instead of separate digital audio recorders. Neal Augenstein of WTOP radio in Washington, D.C., pioneered the use of the iPhone for professional radio reporting. Android phones also offer low-cost voice apps.
Be sure to have an external hard drive to download the audio off the phone so it doesn’t take up valuable space on your computer hard drive and slow overall operation.
A smartphone works well for voice-over recording/narration by one person. However, when recording both an interviewer and interviewee and when gathering ambient sound from the environment, some extra help is needed.
Your iPhone or iPad can be turned into a high-quality field recorder like a Zoom H4n, by using an X/Y microphone attachment for just under $100 but note that it uses a lightning connection.
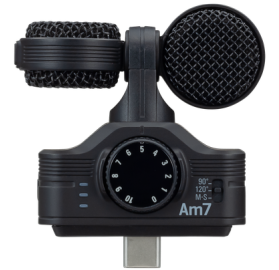
While this attachment saves you the cost of buying a field recorder, I’ve found it to be a bit cumbersome because your phone needs to be connected without a protective phone case in order for the lightning connector to be solid and and it’s not the most reliable.
While it’s possible to use the built-in microphone of a computer to record audio, it’s not the preferred method because the sound is distant and hollow-sounding, which is irritating to listen to for any length of time.
A vast improvement in recording audio quality can be achieved by doing the following:
Handheld microphones can be held or put into a mic stand or attached using a boom arm for very good for recording in the field as well as in a home studio.
Some low-cost good quality choices for around $70 include the ATR2100, and the Samson QU2, microphones. Both are dynamic mics, which are considered better for live recording and both have USB and XLR connections. The MAONO mic for around $60 is a Cardioid dynamic microphone that can capture sound in front of the microphone and reduces possible background noise from the other side and rear. Look for package deals that might also give you a pop filter or other options on these mics.
Pay attention to mic connections because choosing one that directly connects to your computer can greatly enhance your audio quality which should be of prime consideration to a podcaster. USB connects directly to the computer while an XLR three-pin cable connector can be used for higher-end recording using either audio recorders or audio board mixers. Owned a mic that allows you use either of these connections creates an opportunity to grow your tech skills without having to get a new microphone.
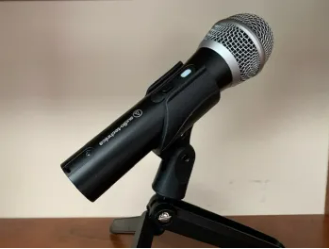
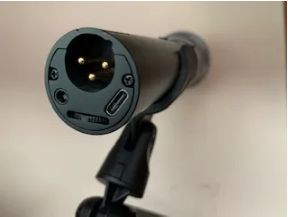

For a deal, look at buying streaming or podcast equipment packages such as this one from Audio-Technica. Prices start at $70 for a mic with USB and XLR connections, headphones and an adjustable boom arm. For a few dollars more, get a windscreen for the mic. There also are packages that include the mic, windscreen, tripod, and earphones.
To find the best equipment for your needs, online reviews can be helpful but note that reviewers can be influenced if they receive a fee from the manufacturer.
Higher Quality Mics
Reviews
In addition to using a handheld mic like the ATR2100 for recording, I use a Yeti microphone because I can assign the pickup pattern to my recording circumstances. After 28 years the well-known ‘Blue’ Yeti brand was retired by Logitech.
I use the cardioid pickup pattern when recording solo and the bidirectional setting when doing an in-person interview – this setting puts the sound in front of the interviewer and the guest, rejecting sound from the sides.
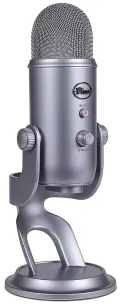
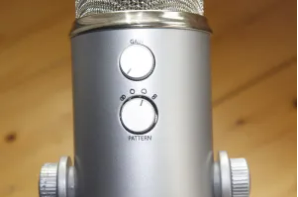
The Yeti is already a standing microphone so there’s no need to buy an additional stand and it has a USB connection that plugs directly into my computer.
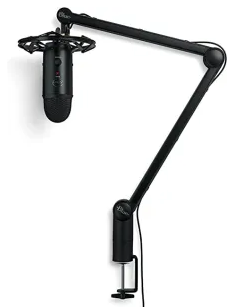
However, the Yeti can also be taken out of the stand and put into a boom arm with a shock mount, so the mic can move in a horizontal plane – allowing for better positioning of the mic, reducing noise from vibrations, and creating more desk space. Since the Yeti is heavy be sure to get a strong boom arm, which can cost $100.
Lavalier microphones get direct sound because the mic attaches to a speaker’s clothing and then to the audio recorder or a mobile phone with an input jack. However, because lav mics tend to have an omnidirectional pickup pattern that easily picks up sound from all directions, it’s distracting for a podcast.
Before ordering any equipment be sure to check compatibility with your smartphone. Exercise caution because not all adapters work that well and you may not know that until you test it. Technology will evolve so keep looking for solutions and checking for the latest news via publications listed at the end of this chapter.
Each type of microphone has a pickup pattern inside that determines how sound enters — it’s not something you can see by just looking at a microphone.
Cardioid mics pick up sound mostly from the front of the mic; bi-directional mics from the front and back (making it ideal for interviews); and omnidirectional mics pick up sound from all sides, which is not ideal for podcasts.
Radio and television reporters often also have the luxury of a shotgun microphone – which picks up sound narrowly that is right in front of the mic and rejects sound from the sides and rear.
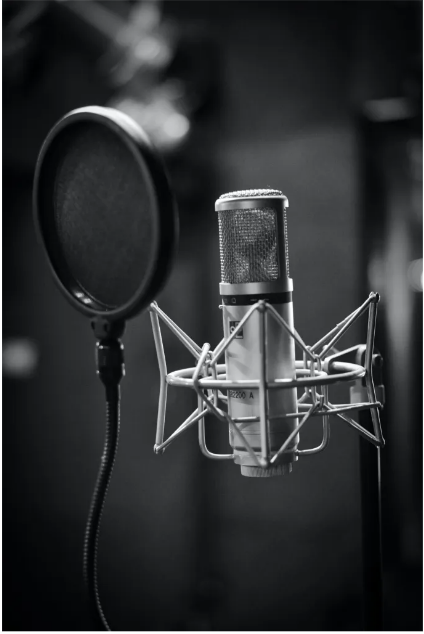
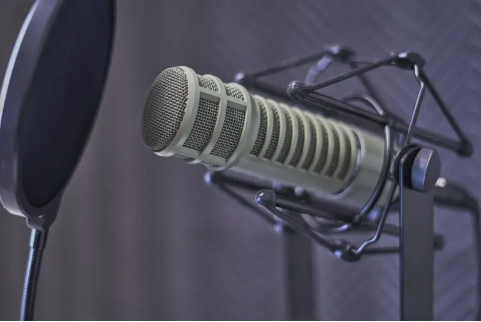
To improve recordings, microphones can have pop filters that go in front of or surround a microphone. These are also called pop shields, windscreens or dead cats. They block out plosives — the popping and hissing sound often heard on words with the letters p, b, t, d, k, and g.

Transom has examples of how these filters can make a world of difference. Filters are low-cost and worth the investment.
In a pinch, you can make a homemade filter by taking a metal hanger and stringing some pantyhose over a loop! 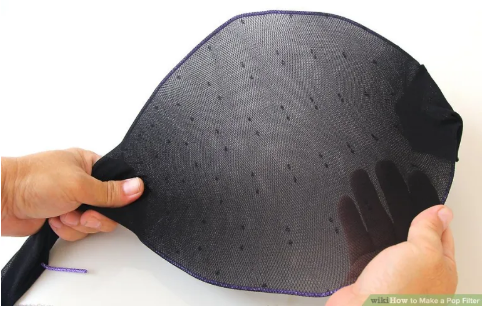 Others are made with paper and tissue paper.
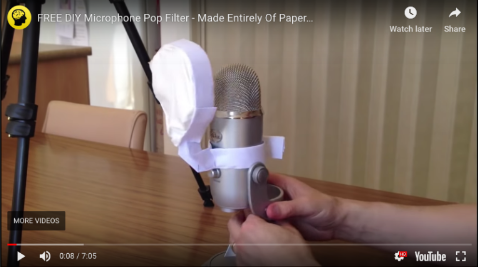
When it comes to handheld microphones, you’ll need a sturdy mic stand or add a shock mount around the mic to minimize vibrations. However, this isn’t essential and some are included in equipment packages.
Headphones should be used when recording interviews and when editing rather than relying on a computer’s speakers. While earbuds work okay, they are really better for gaming rather than podcasting, so look for headphones that cover the ears.
If your budget allows, invest in “cans” or closed-back headphones that go over your ears for better quality.
Digital audio recorders start with the budget-friendly Zoom H1n and increase in price for later models. Other recorders from Tascam are around the same price point, with more expensive advanced models from Sony and Marantz.
Keep in mind that you will need to buy multimedia cards if you plan to record for a longer period of time than the memory card has which comes with the recorder.
Zoom H1n-$119; prices higher for H4n, H6, H8


Zoom calls the Podtrak P4 the “first recorder designed specifically for podcasters,” at $173.

The Zoom Podtrack P4 has space for four mics, two echo-free remote call-ins and separate headphone feeds for all your guests.
Here’s a video look at the features.
Once you go beyond recording one or two people, getting a good-quality recording gets more complicated and expensive.
While USB mics are popular because they plug directly into the computer – however, in most instances using two USB mics in one computer is neither easy nor recommended. The computer will have trouble recognizing a second USB, especially if they are the same type, like a Yeti.
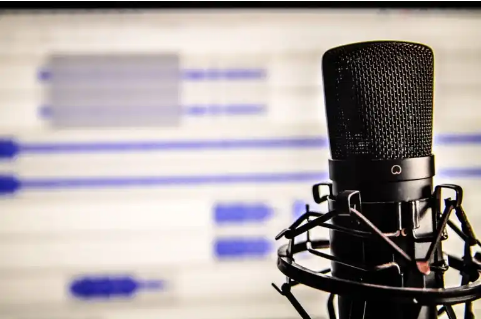
A typical workaround involves more expense than you likely need at the start. An audio interface or mixer works as a bridge between the microphones and computer to allow multiple mic connections with other inputs, such as XLR connections.
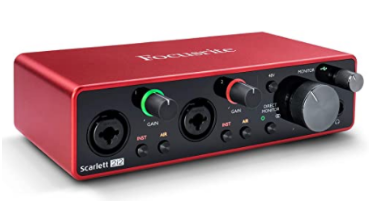
The mic goes into the audio interface, which then plugs into your computer on a USB or thunderbolt cable. The recording is sent to your computer using audio software. Be sure to note how many USB outlets are on a particular model of the mixer as the price goes up with more outlets.
Most beginning podcasters don’t use popular interfaces like the Focusrite Scarlett or Tascam because they can be complicated and cost $180 on up. Other mixer options are reviewed for price and function by Discoverpods.com.
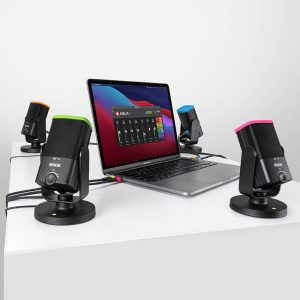
RØDE Connect is free software that allows up to four microphones to connect with a recording interface on one computer. But, it works best with the company’s NT-USB+ mini mic which costs $100. You can find YouTube videos with advice on how to make the system work with other mics, but that will involve the use of even more apps.
For recording on a Windows platform, the free virtual audio mixer VoiceMeeter will let you hook up 2 USB mics with a control panel that has a range of different input options. The Podcast Host covers how to use the software inside Audacity.
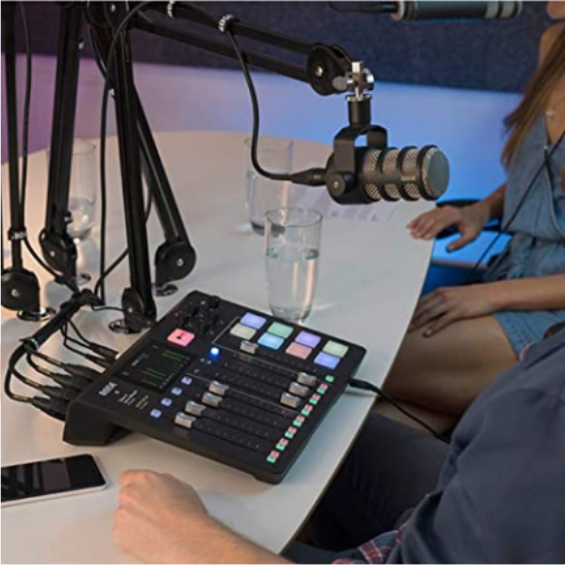
Another option for recording with multiple mics is the original RODECaster Pro, which is a mini-production studio for around $500. It has four XLR mic inputs, a USB connection to a computer and sound effects. An upgraded version, the RodeCaster Pro II, goes for $700.
The best advice is not to overwhelm yourself by making expensive purchases but instead to learn good recording practices and techniques, which are covered in the next chapter.
Safely handling equipment became of vital importance during the pandemic and journalists reporting news from the scene took more precautions with their equipment, a good practice anytime.

You can inexpensively protect your gear by putting plastic wrap around microphones and using good ole soap and water to clean windscreens. These are safety measures that media services at colleges and universities also need to take. NPR audio engineers created a video illustrating the process.
“Reporters and producers in the field: You don’t want to wave unprotected gear in an interviewee’s face — for everyone’s sake,” says Sean Phillips.