Skin Tag Removal
Step 1: Cleanse area with chlorhexidine or other approved cleansing agent
Step 2: Inject 1-2mL of xylocaine with or without epinephrine into the base of the skin tag to create a wheal
The wheal raises the lesion and allows it to be propped up by the injected anesthesia so it can be better stabilized and visualized during the procedure. Test sensation with needle prick prior to beginning the procedure.
Note: Anesthesia may not be required for removal of small skin tags (<2mm at the base).
Step 3: Pull skin tag taut
Grasp the skin tag at the largest part with a toothed forceps and gently pull taut to visualize the stalk base.
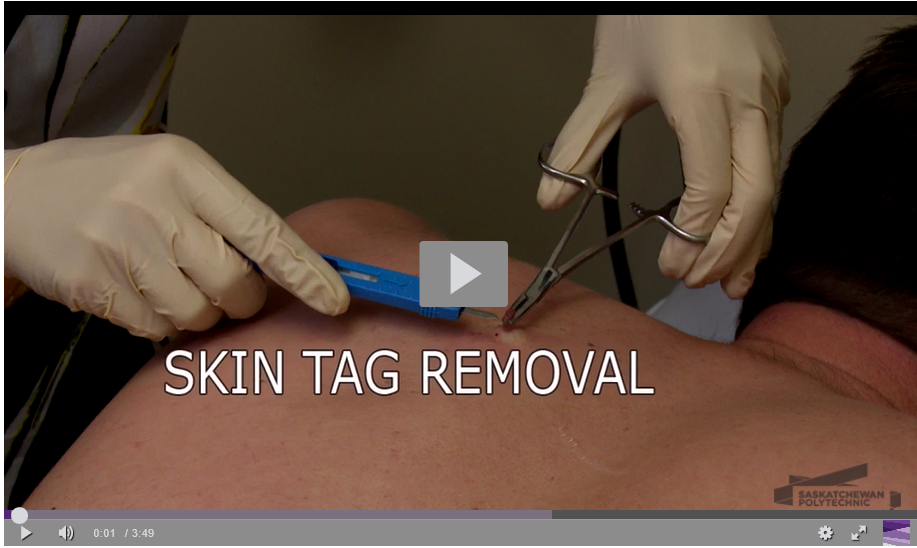
Step 4: Detach skin tag at base of stalk
1. Electrocautery Technique
- Activate the electrocautery tool to heat tip.
- Apply gentle pressure with repeated, quick motions until the stalk detaches.
- Firm continued pressure with heat can result in pain and/or burns.
2. Snips Technique
- Hold a No. 15 scalpel blade tangential to the skin surface.
- Slice the stalk using a forward smooth sweeping stroke of the blade going as close to the base of the stalk as possible.
- Alternatively, iris scissors can be used to cut the stalk as close to the base as possible.
Step 5: Achieve hemostasis
Sustained firm pressure at the site is usually sufficient to achieve hemostasis.
- The electrocautery technique results in minimal bleeding as the vessels are cauterized during removal of the skin tag.
- Alternatively, a hemostatic agent (such as silver nitrate or aluminum chloride) can be applied using a cotton-tipped applicator.