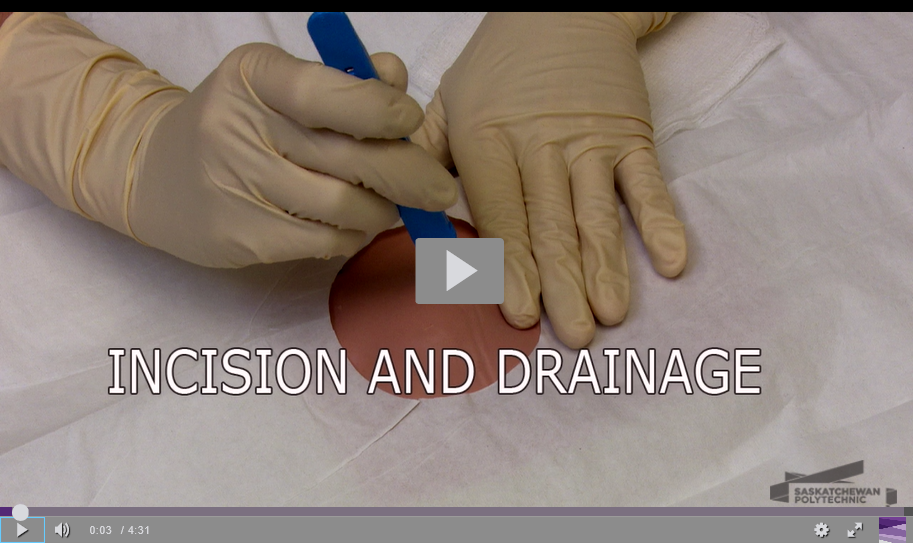
Incision and Drainage
Step 1: Health history and physical examination
Step 2: Cleanse the area with chlorhexidine
Wound cleansing reduces risk of sepsis to the wound site. Cleanse a wide area around the wound to prevent contamination of suture material and surgical instruments during the procedure.
Step 3: Anesthetize the area
Use a field block technique to anesthetize the area. Tissue around an abscess is acidotic making local anesthetic less effective; therefore, ensure the field block around the abscess is about 1 cm from the erythema. Using anesthetic with epinephrine will constrict blood vessels and decrease bleeding during the procedure. Avoid use of epinephrine in the digits, ears, and nose due to the risk of ischemia.
Another approach is the use of topical anesthetic, such as ethyl chloride sprayed on the site where the incision will be made.
Reassure the patient that the pain will decrease once the pressure is relieved.
Use a needle prick to check for sensation.
Step 4: Drape the site
Step 5: Open the abscess
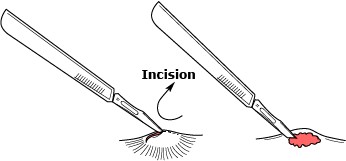
 Using a number 11 scalpel blade open the abscess directly over the center of the abscess along existing skin-tension lines and allow the purulent matter to drain under its own pressure.
Use a quick decisive motion to minimize patient discomfort.
The incision must be sufficiently wide to allow appropriate drainage and to prevent premature closure of the incision.
Apply pressure to the area to assist with expression of pus and the abscess contents.
Step 6: Perform blunt dissection
Step 7: Irrigate
Step 8: Insert packing material
Avoid overpacking the wound; this may cause ischemia of the surrounding tissues and impede the desired drainage of purulent material Packing material should keep the walls of the abscess separated and allow further drainage of infected debris while preventing premature closure of wound which can lead to re-accumulation of bacteria and recurrent abscesses.
Step 9: Apply dressing

