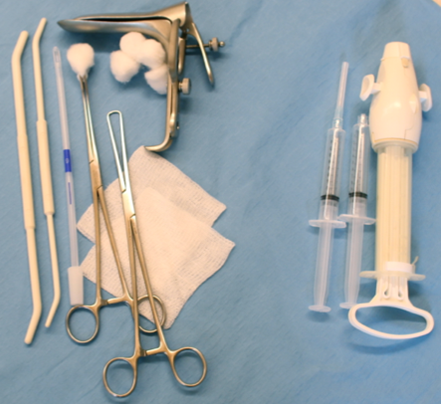
NO-TOUCH TECHNIQUE
Preventing infection after uterine aspiration is an important goal. Measures to accomplish this include properly sterilizing instruments, administering prophylactic antibiotics as indicated, minimizing bacterial entry into the sterile uterine cavity, and meticulously using the “no touch” technique to assure that the portions of instruments entering the uterus remain sterile (Paul 2009). To follow no-touch technique:
- Maintain sterility of procedure tray, separating non-sterile instruments.
- Place contaminated instruments in a separate designated “non-sterile” area of tray.
- Avoid contamination by gathering needed materials before placing speculum.
- Hold only the center of dilators, not the tips that will enter the uterus. If needed, can use sterile gauze to hold the end of the dilators while maintaining sterility of the dilator.
- Attach sterile cannula to vacuum source without touching the cannula tip.
- Avoid vaginal contamination of uterine instruments.
- Change out instruments that will enter the uterus if inadvertently contaminated.
Even with antiseptic use, it is impossible to “sterilize” the vagina. In fact, randomized studies showed that preoperative antiseptic vaginal cleansing had no effect on post-abortal infection rates (Varli 2006, Achilles 2011), and may decrease healthy vaginal flora without significantly decreasing endocervical bacteria. Use of non-sterile gloves for uterine aspiration is acceptable if the no-touch technique is maintained.
