5.10 Creating Images with CSS
Although I started learning about HTML way back in high school, I only have a passing familiarity with it. I never got into the ‘div’ tag, for example, and I never really learned much about CSS or JavaScript. Back then, I was in awe of digital artists who skillfully used CSS to customize the original blog themes they designed down to the very last detail. Before I came across those, I didn’t even know the colors of the scrollbar could be changed!
That’s why I was intrigued by the ‘Images and CSS’ portion of J. David Eisenberg’s course HTML Images and Figures on LinkedIn Learning. I was amazed at all the ways images could be manipulated – “transformed” via rotation or “clipped” into almost any shape – though I can’t think of when I would add a black line to border my images …
Image borders aside, the possibilities for image manipulation with CSS are endless. I’m sure the techniques Eisenberg outlines in his video are just the beginning. At first, I tried just what he suggested: I went to CSS-Tricks.com and searched for “effects.” The results I got were indeed stunning, but they also seemed too advanced! They seemed better suited to a web developer than to a beginner like myself. I needed a more basic project, suitable for beginners, that I could follow along with.
One article I found was Michael Mangialardi’s A Beginner’s Guide to Pure CSS Images. Mangialardi is a front-end developer in Virginia and has written several articles for Medium.com, sometimes as part of a series called Coding Artist. Seems appropriate for this tutorial!
Right from the start, he lets you know exactly what to expect:
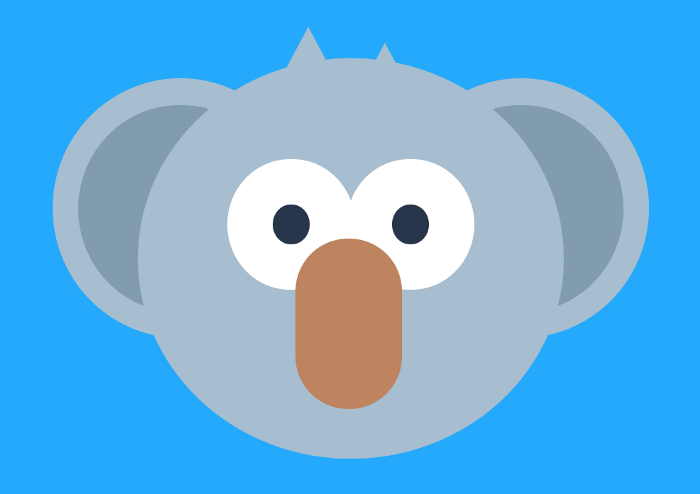
What you’re getting into: 17 min read. A detailed explanation of how to create pure CSS images. We will start with an overview and work our way to creating a Koala in pure CSS.
What I assume you know: My teaching method is to not assume you know basic principles. Unless you are a complete novice with HTML and CSS, I don’t make any assumptions.
If you’re not a beginner: I will be repeating basic principles often. Just skim past the parts that are easy for you and keep in mind this is meant to help people of all skill ranges.
For me, this turned out to be more like a 2-hour exercise than a 17-minute read, but since I am a complete novice when it comes to CSS, I appreciate a method that doesn’t make any assumptions. If you follow along with the article (and ignore some minor grammatical inconsistencies), you too can create this image:
I’m not sure how often I’d use pure CSS images in the real world, but I felt like playing around with these shapes. They offered some real insight into how CSS works in general. Or as Mangialardi puts it:
Learning to make vector graphics teaches you about layouts, color palettes, manipulations of shapes, and overall creativity which does have a carry over to front-end development.
-Michael Mangialardi
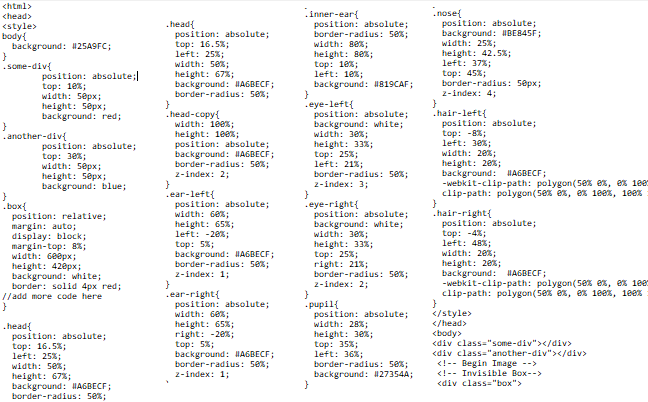
One thing this tutorial helped make me aware of was the relationship between CSS and its target div tags. The title of the article may be a little misleading: even though it promises “pure” CSS images, the reality is that the CSS in the head tag of the webpage acts on specific div tags (which are HTML) nested in the body.
The ‘div’ tag
The ‘div’ tag in html basically creates a container that other elements – images, text, or any kind of content – can be placed inside. It can be used to move elements around on the page, and it can be styled using CSS or Javascript. In this tutorial, this style is applied using the ‘class’ attribute. If you break the image down into its component shapes, each one can be generated using its own CSS style and div tag.
‘Parent’ and ‘Child’
The most crucial part of the process is making sure the various div elements are nested correctly. By the end, you should be familiar with the terms ‘parent’ and ‘child’ element. Remember how the div is a container for other elements – you could even put a div inside of another div! If you nest a div element inside another div, the containing div is called the ‘parent’ div. The one inside is called the ‘child’ div. This comes into play with everything from sizing to positioning of divs. Although it only introduces them offhandedly, this tutorial is a good primer for parent and child elements and how they affect one another.
Clip paths
Creating this koala involved a new-to-me property of CSS called ‘clip path’. As Eisenberg says in his video, “you can […] use the clip-path property to trim the image to fit within a geometric shape.” Mangialardi only uses clip-paths on the triangular hair of the koala, but you could have a much more complex polygonal clip-path with many more points. Mangialardi even links to a resource that can help you create your own custom clip-paths by generating the CSS code. It’s called Clippy (not to be confused with a certain Microsoft assistant). I even used Clippy to make my own animal!

Final thoughts
Mangialardi’s article may not have been word-perfect, but I felt it was a decent introduction to CSS via pure CSS images. I think it could be helpful for people like me, who aren’t even used to looking at CSS code. Over the course of the tutorial, I was forced to be aware of each semicolon, and repeatedly “comment out” different portions of the CSS. But I wasn’t content to merely follow the tutorial. After I finished, I felt confident enough to try my hand at making my very own animal:
I hope this encourages you to try your hand at making an image out of pure CSS, too!
This chapter is a revised version of a blog post titled “Creating Images with CSS” on Writing References.
